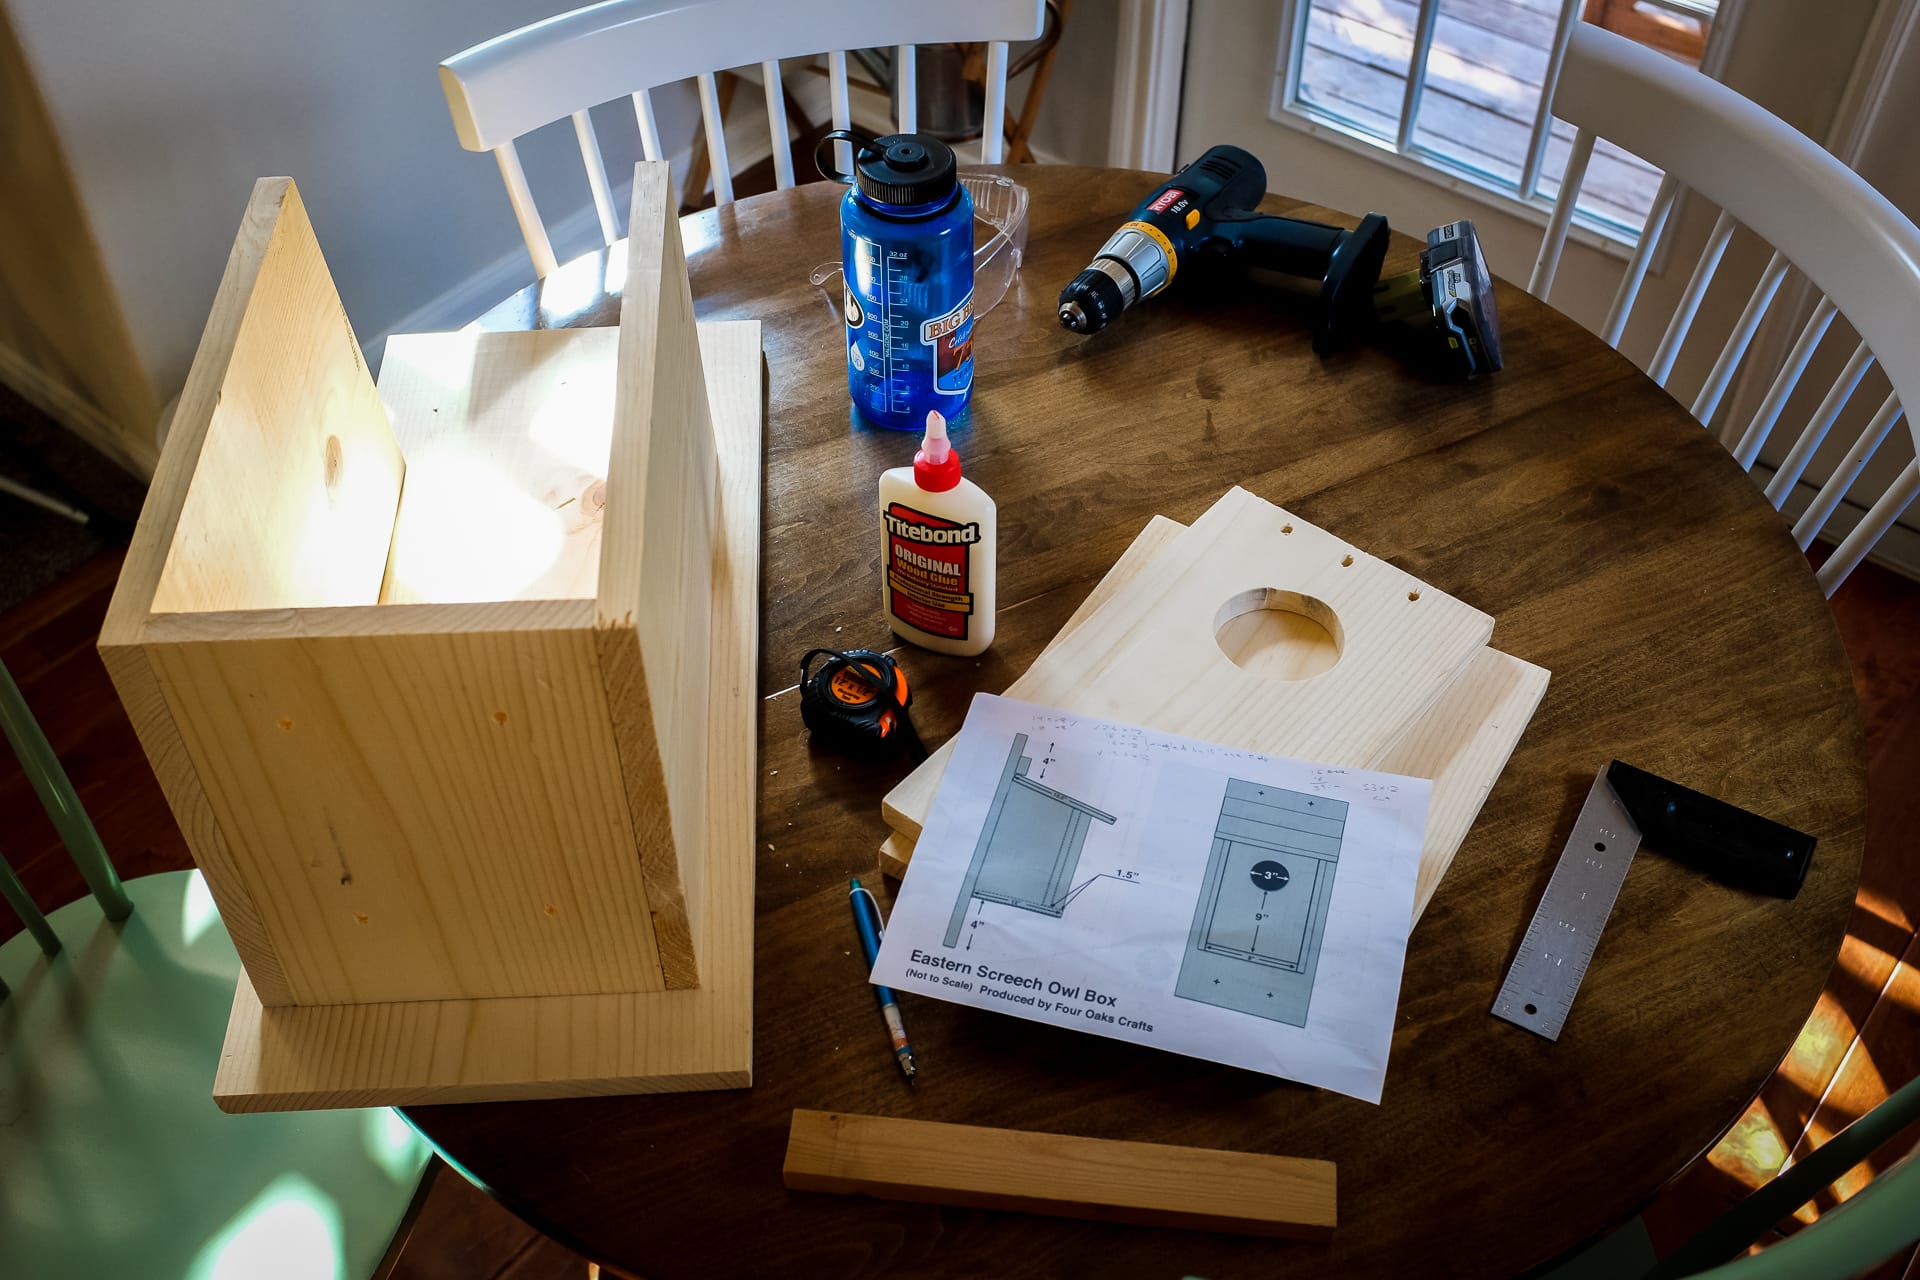
“In Process” Cedar Park, 2020
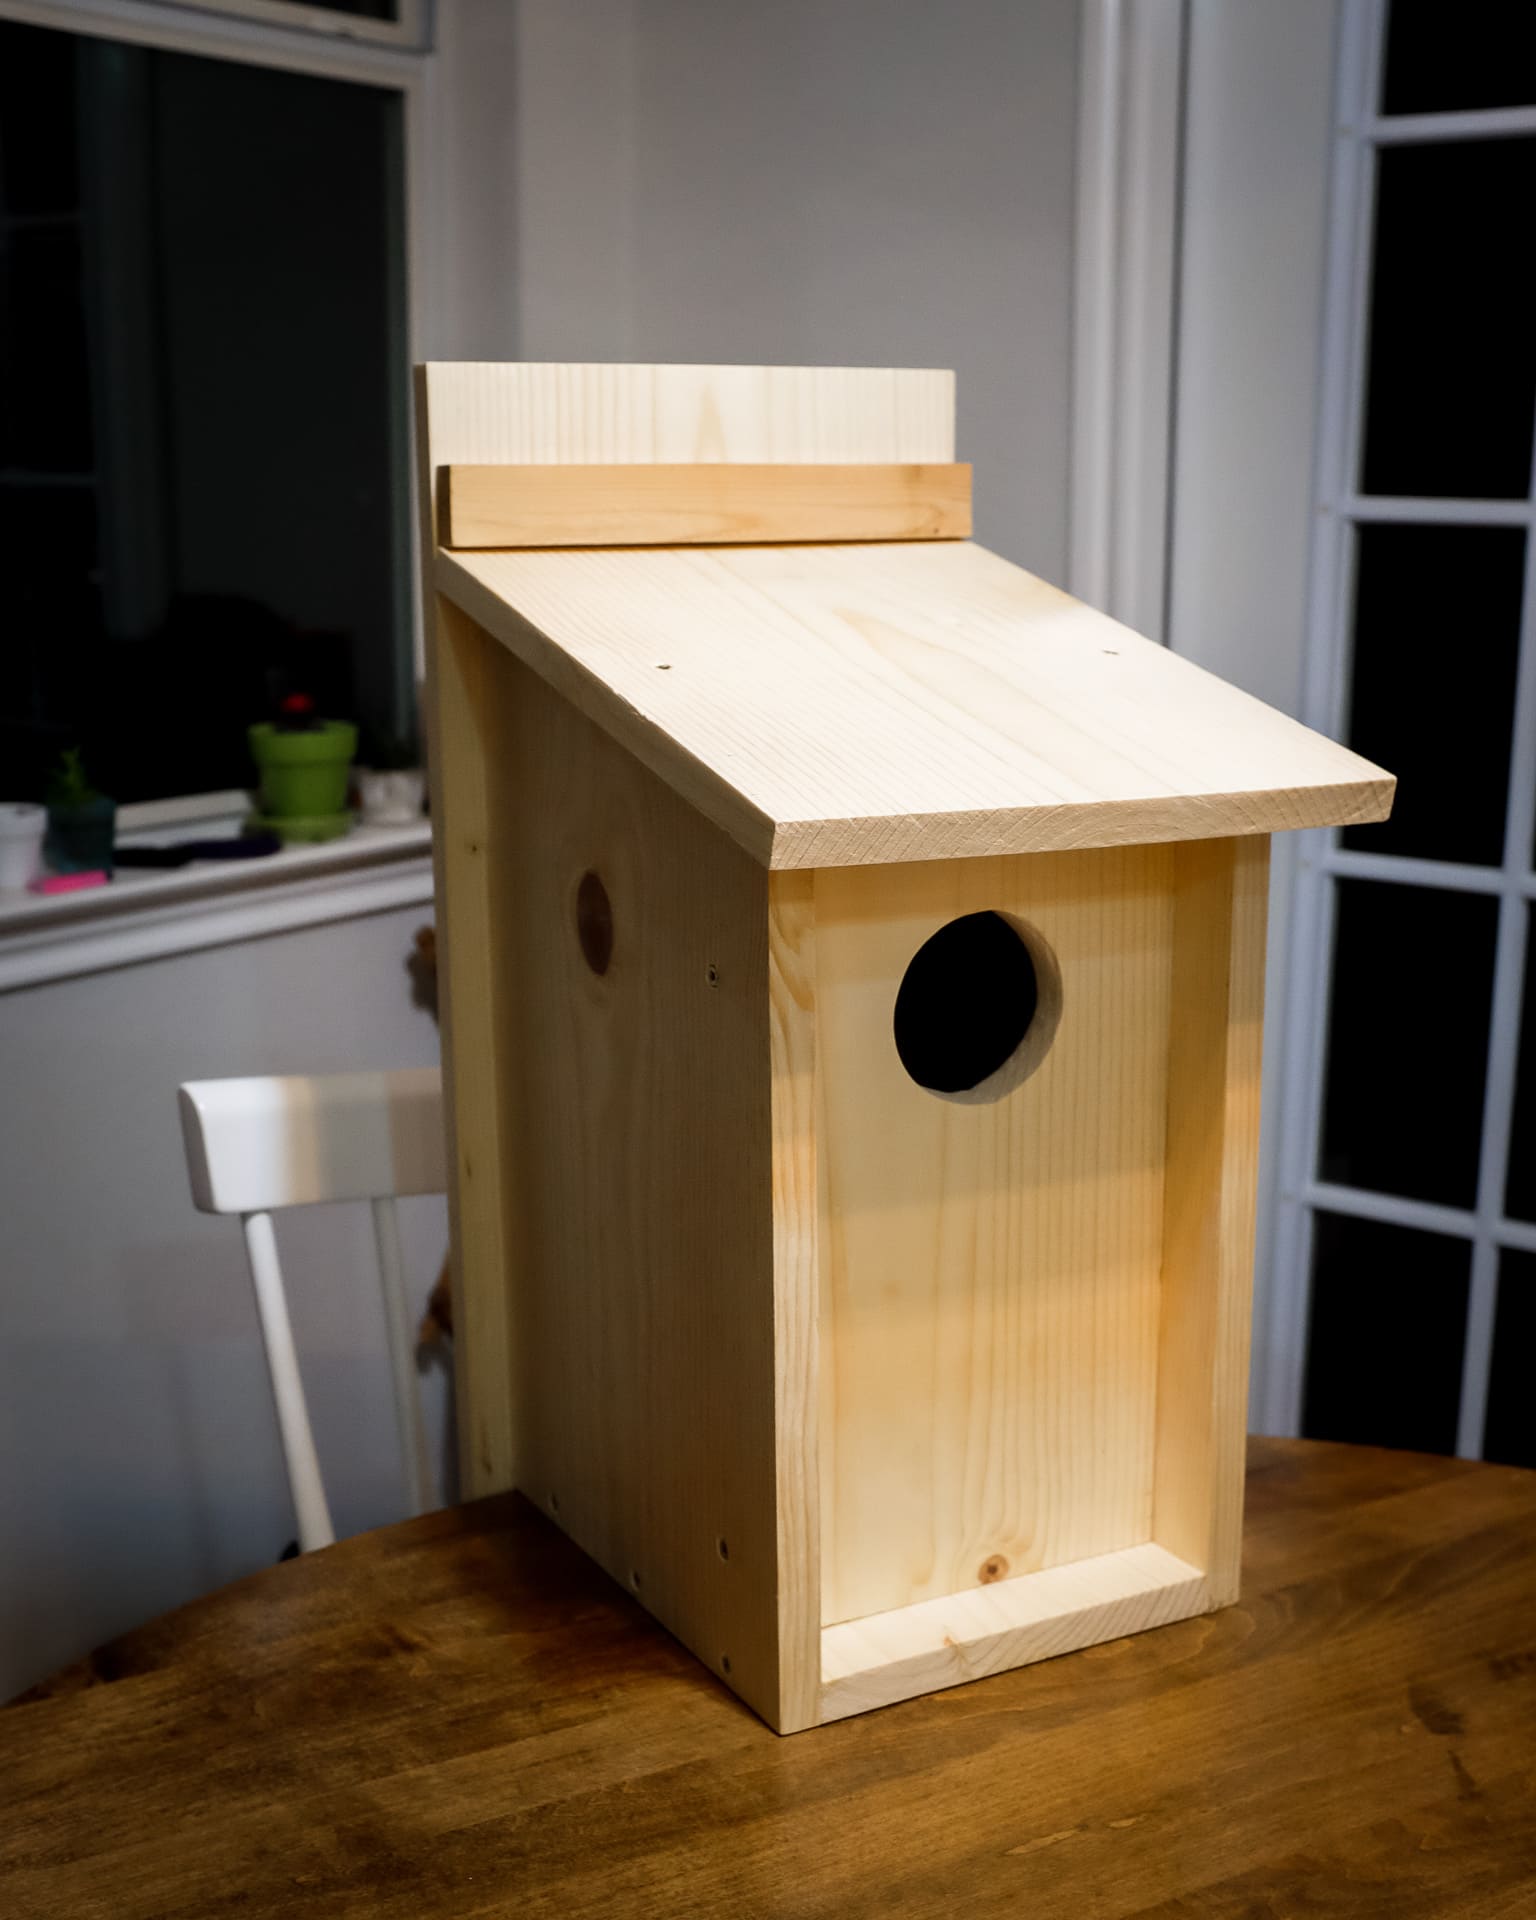
A few weeks ago, we saw in an local online forum that screech owls live in our neighborhood and thought that it would be fun to see them. With that goal in mind, I built a screech owl box by following these plans. It’s a fairly easy project, but the end result is a large and heavy owl box. From the photos at the website it doesn’t look so big, but using 1-inch thick wood gives it significant heft, and the longest edge is over two feet long. That may pose a challenge in finding a good place to mount it, which is what I have to decide now. 😊

“Owl Box” Cedar Park, 2020
I mentioned that the box is easy to make, but there is one thing to keep in mind, at least here in the US. While most lumber at the hardware stores has nice, round measurement numbers on their labels, these may be misleading. For instance, the 1″x12″x10′ piece of wood that is sold in my Home Depot actually measures .75″x11.25″x10′. Why is it like this? Well, there’s the concept of “Actual” and “Nominal” lumber sizes, which you can read about here.
This has the potential to cause significant frustration to unknowing DIYers (like myself) working on their projects, but for this owl box there’s only one piece that is problematic, which is the bottom panel. I cut it at 12″, but it didn’t line up flush with the sides, which were actually 11.25″ wide. It would have been nice if the nominal vs. actual dimensions were mentioned in the instructions. Oh well, live and learn! (the bottom panel was easy to cut down to correct size)
Anyway, I assembled the box, then put on a few coats of water sealant that I had leftover from sealing our deck, and now I just need to find a place to put it in our yard. It’s recommended to place it at least 15 feet from the ground, which is pretty high. We’ll see how it goes. And I hope we have some owls move in soon! 🦉


