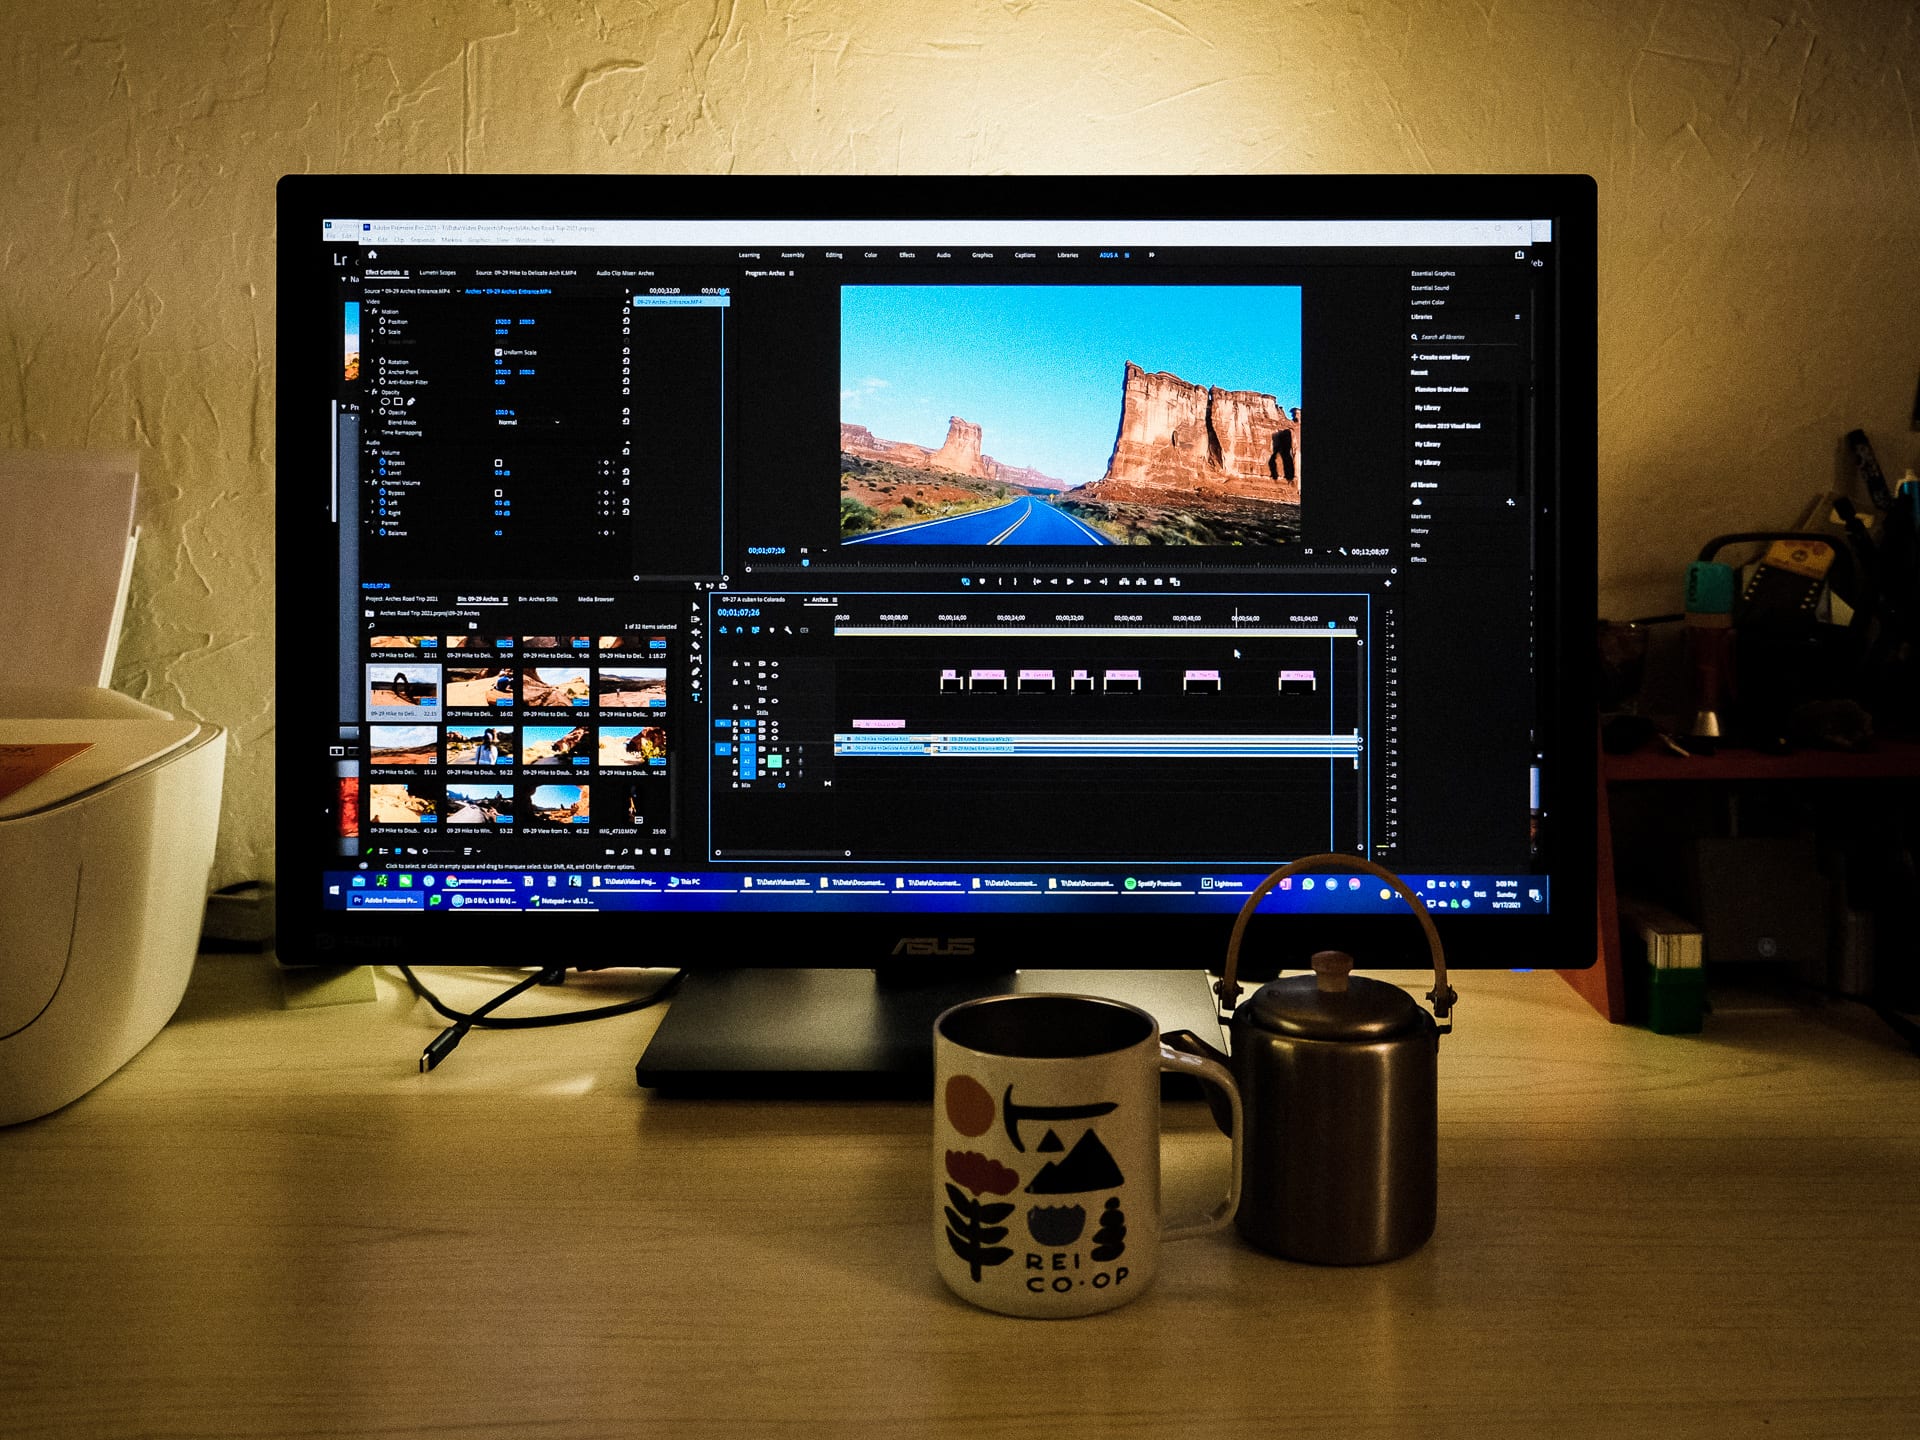
“Editing Video” Cedar Park, 2021
I finally got around to finishing our Arches National Park video. It’s fun to learn video editing!
I’d appreciate it if you gave it a watch if you have time:
I hope you had a great day! またね~
daily slice-of-life photo blog of a Gen-X dad
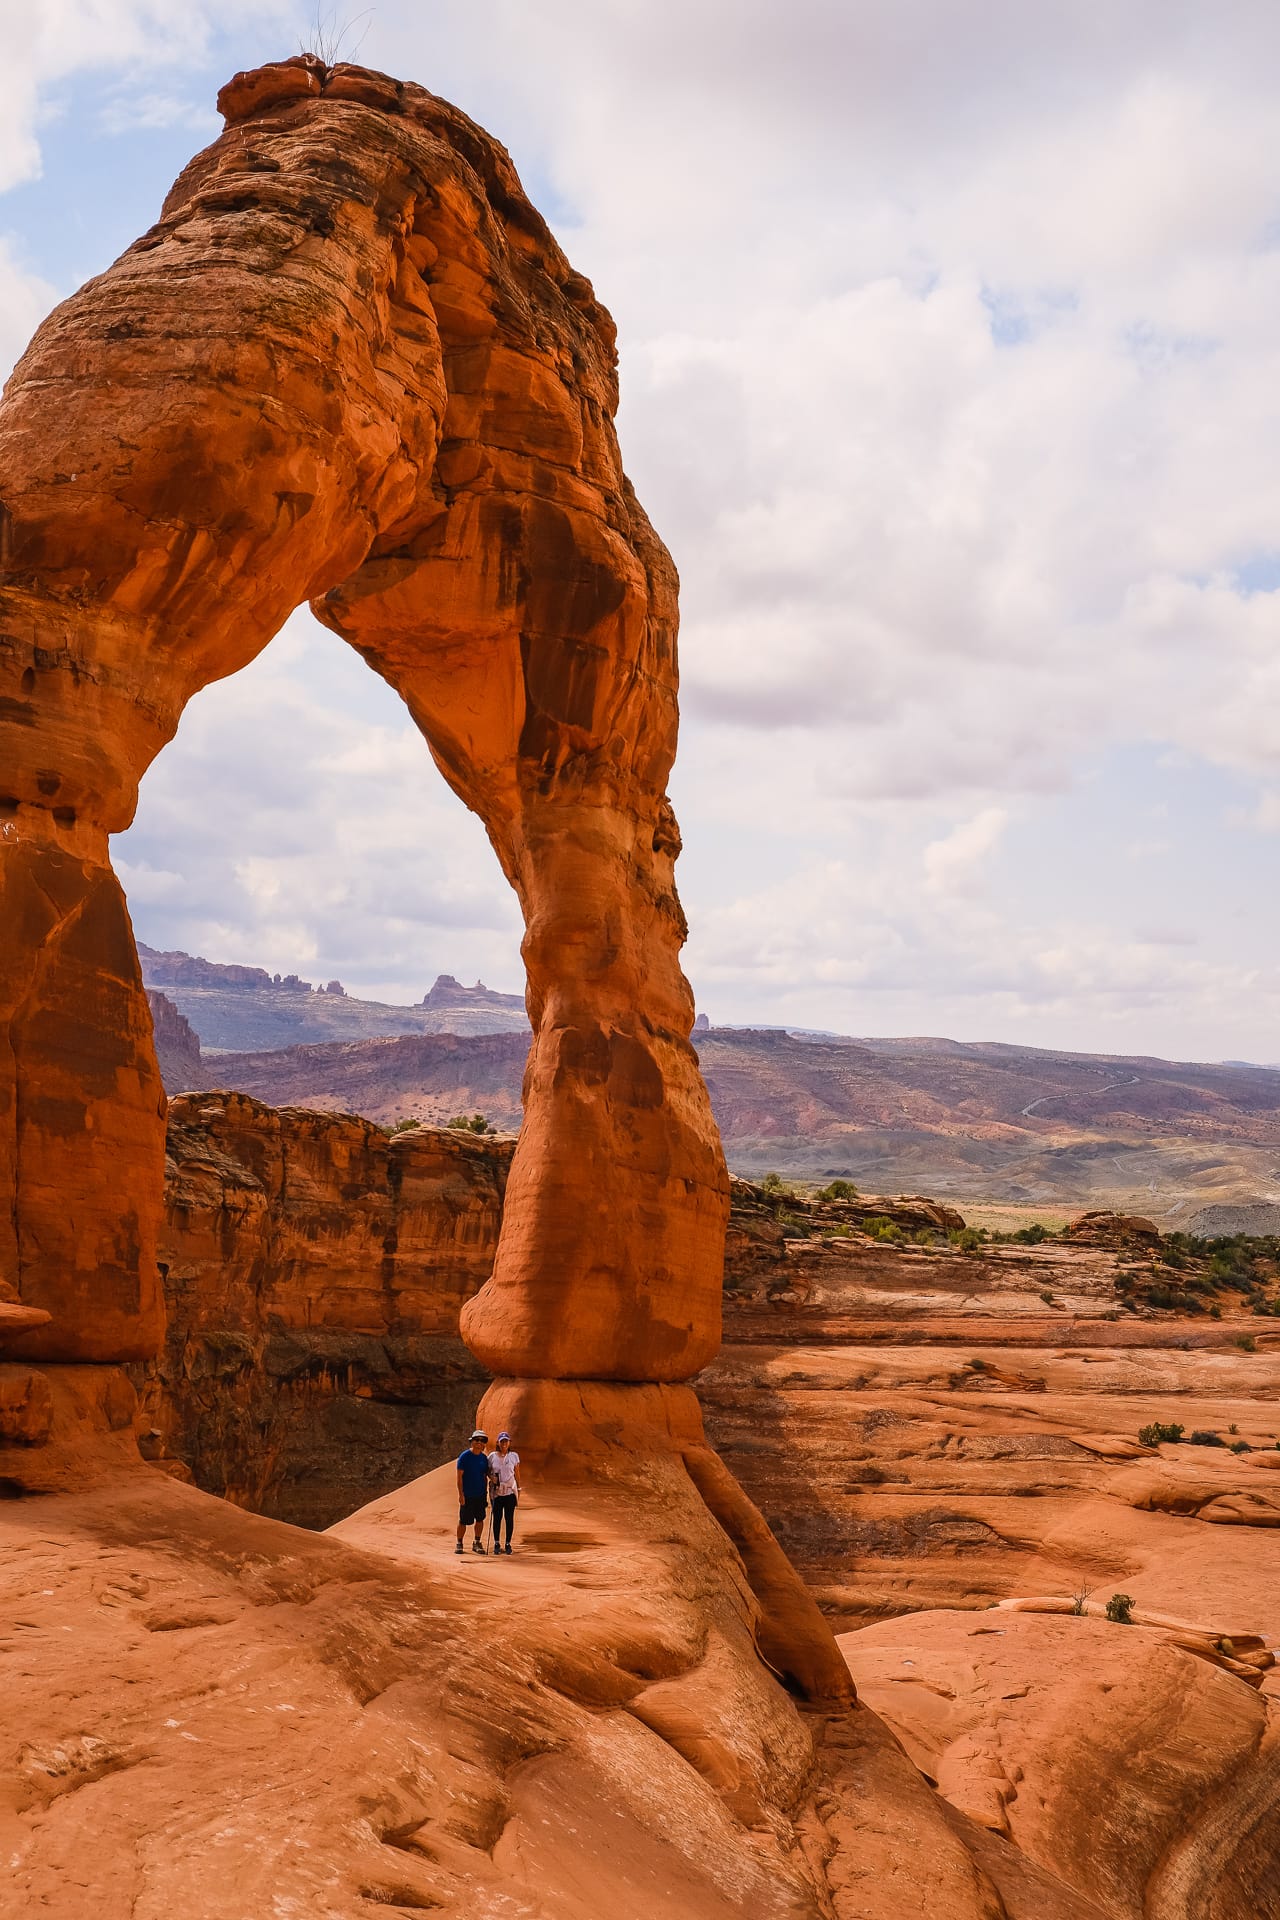
Today was (for me) the highlight of the road trip: a day at Arches National Park, Utah. I had fond memories from my first visit here 30 years ago, so I was looking forward to seeing how Mariko’s first visit would be.
We arrived at the park at 7:45 am and there was already a short line at the entrance. Not too bad! We bought our annual pass a few days ago at Mesa Verde National Park, so we showed that, grabbed our maps and were on our way to our first stop, which was The Windows section of the park.
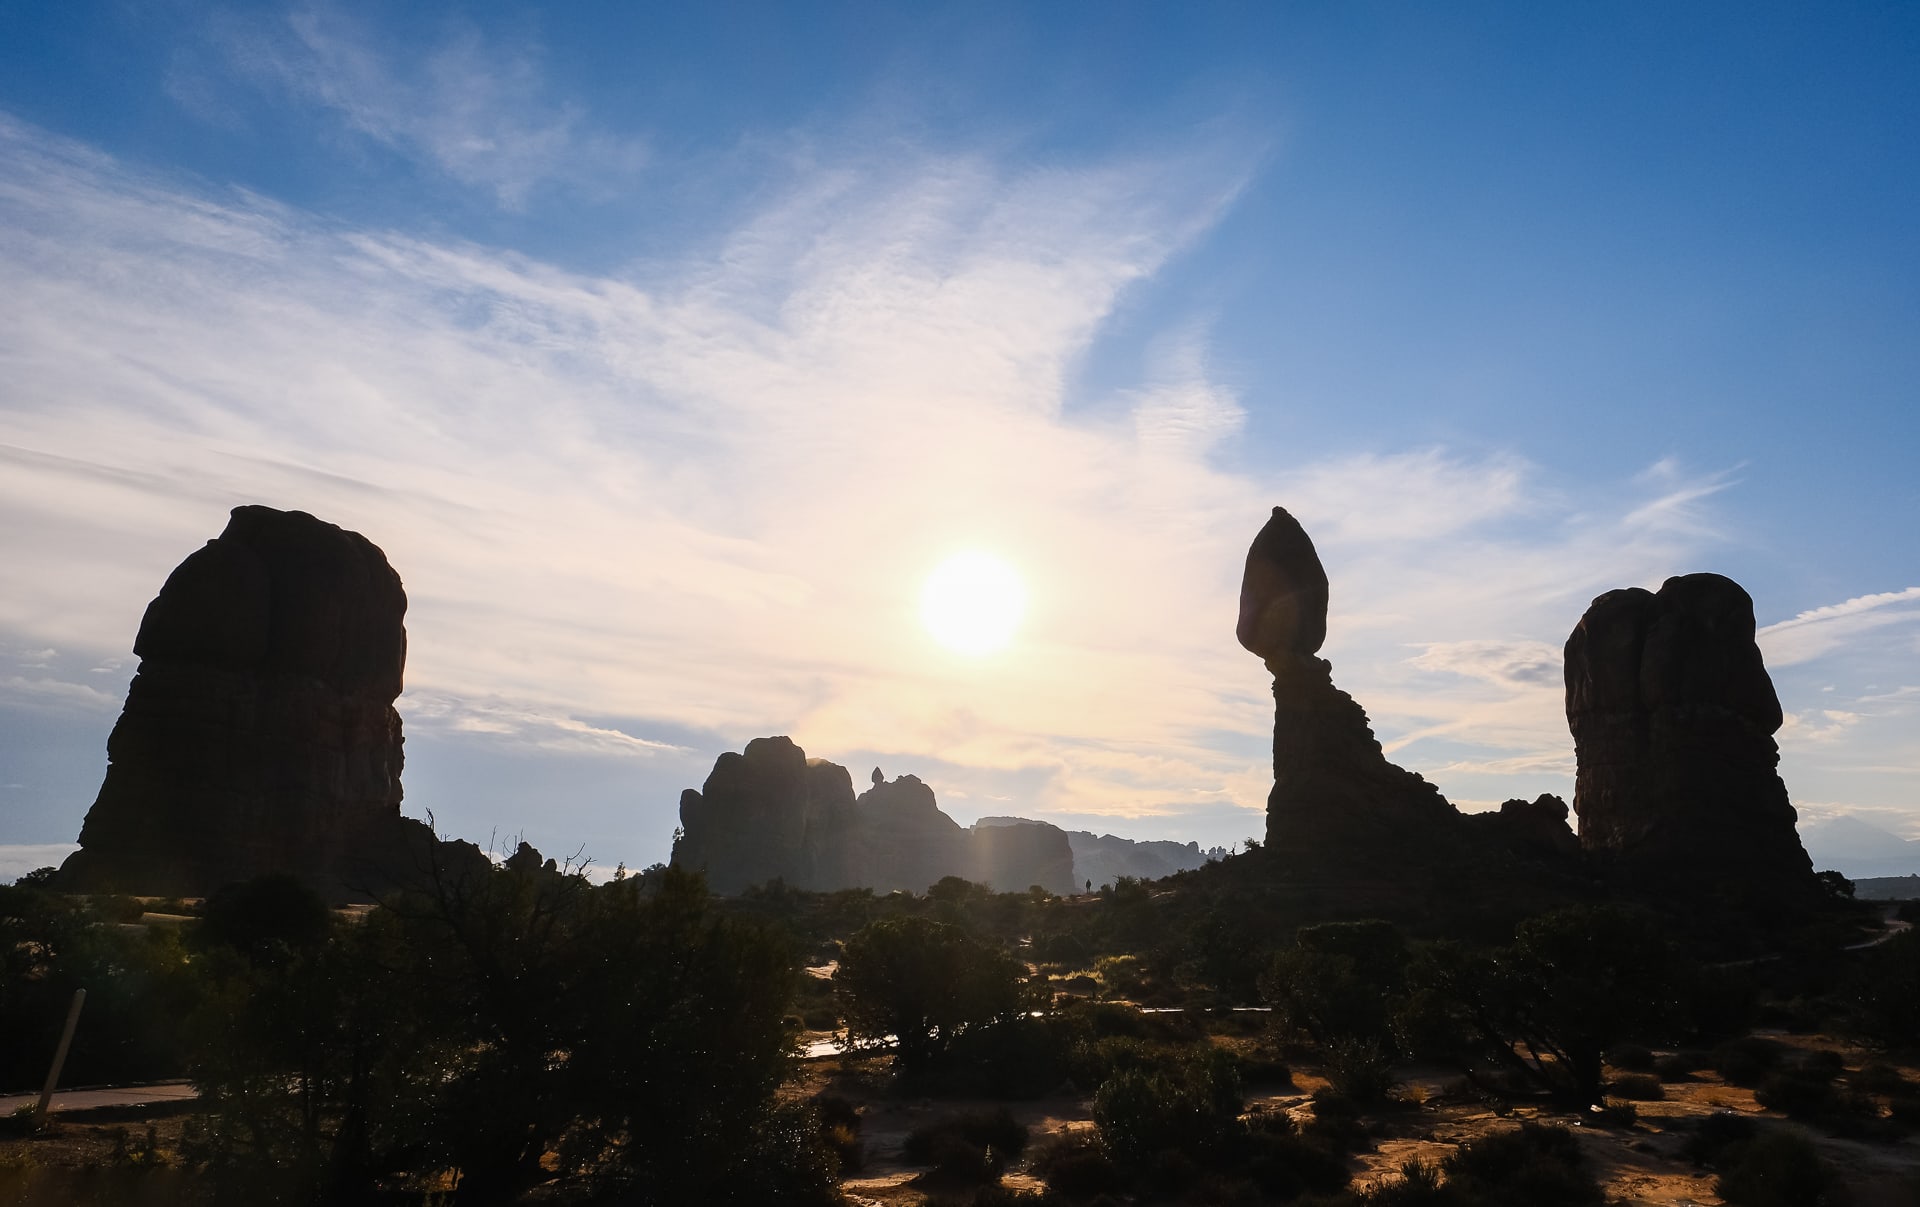
Along the way, we saw some incredible rock formations including The Courthouse Towers and Balanced Rock. Even before seeing any arches, Mariko said she was already blown away! 😀

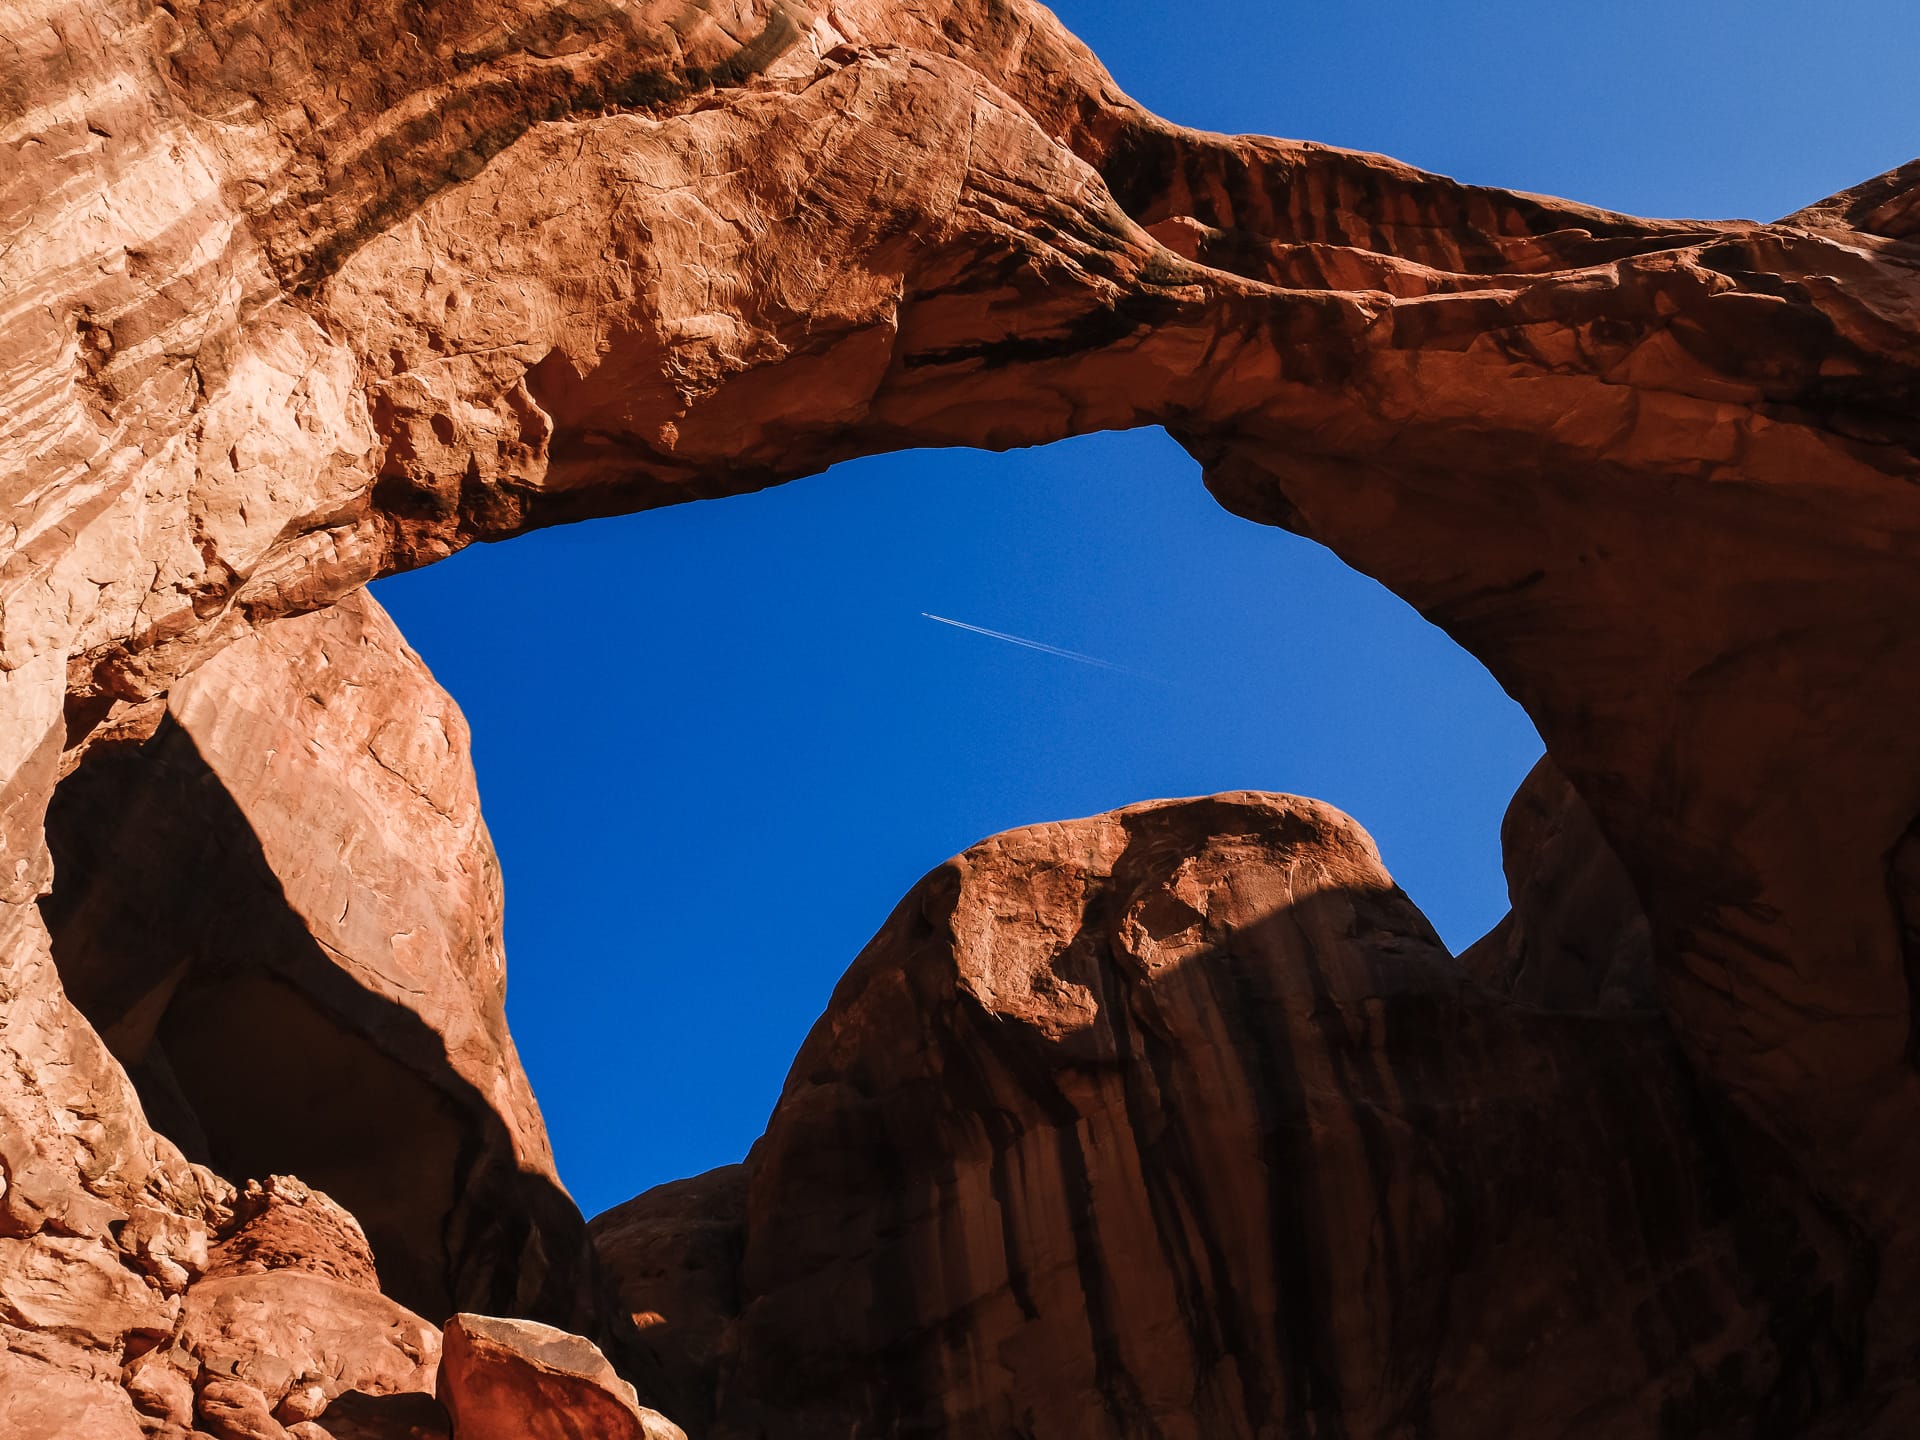
We arrived at The Windows parking lot to be greeting by plenty of cars and buses. Luckily, there was parking just below at the Double-Arch parking lot. I was actually a little worried about the crowds, but it turned out we had good timing.

Our first arch to visit was Double Arch. It’s huge and amazing! The hike there is really easy and only takes about 10 minutes or so. Perfect for the tour buses full of older folks. Or for a couple shooting their wedding photos, as we saw. (Photo above)
Next, we walked up to The Windows trailhead and hiked to Turret Arch. What’s kind of cool about this arch is that you can hike through it, then look back and see the South Window arch.
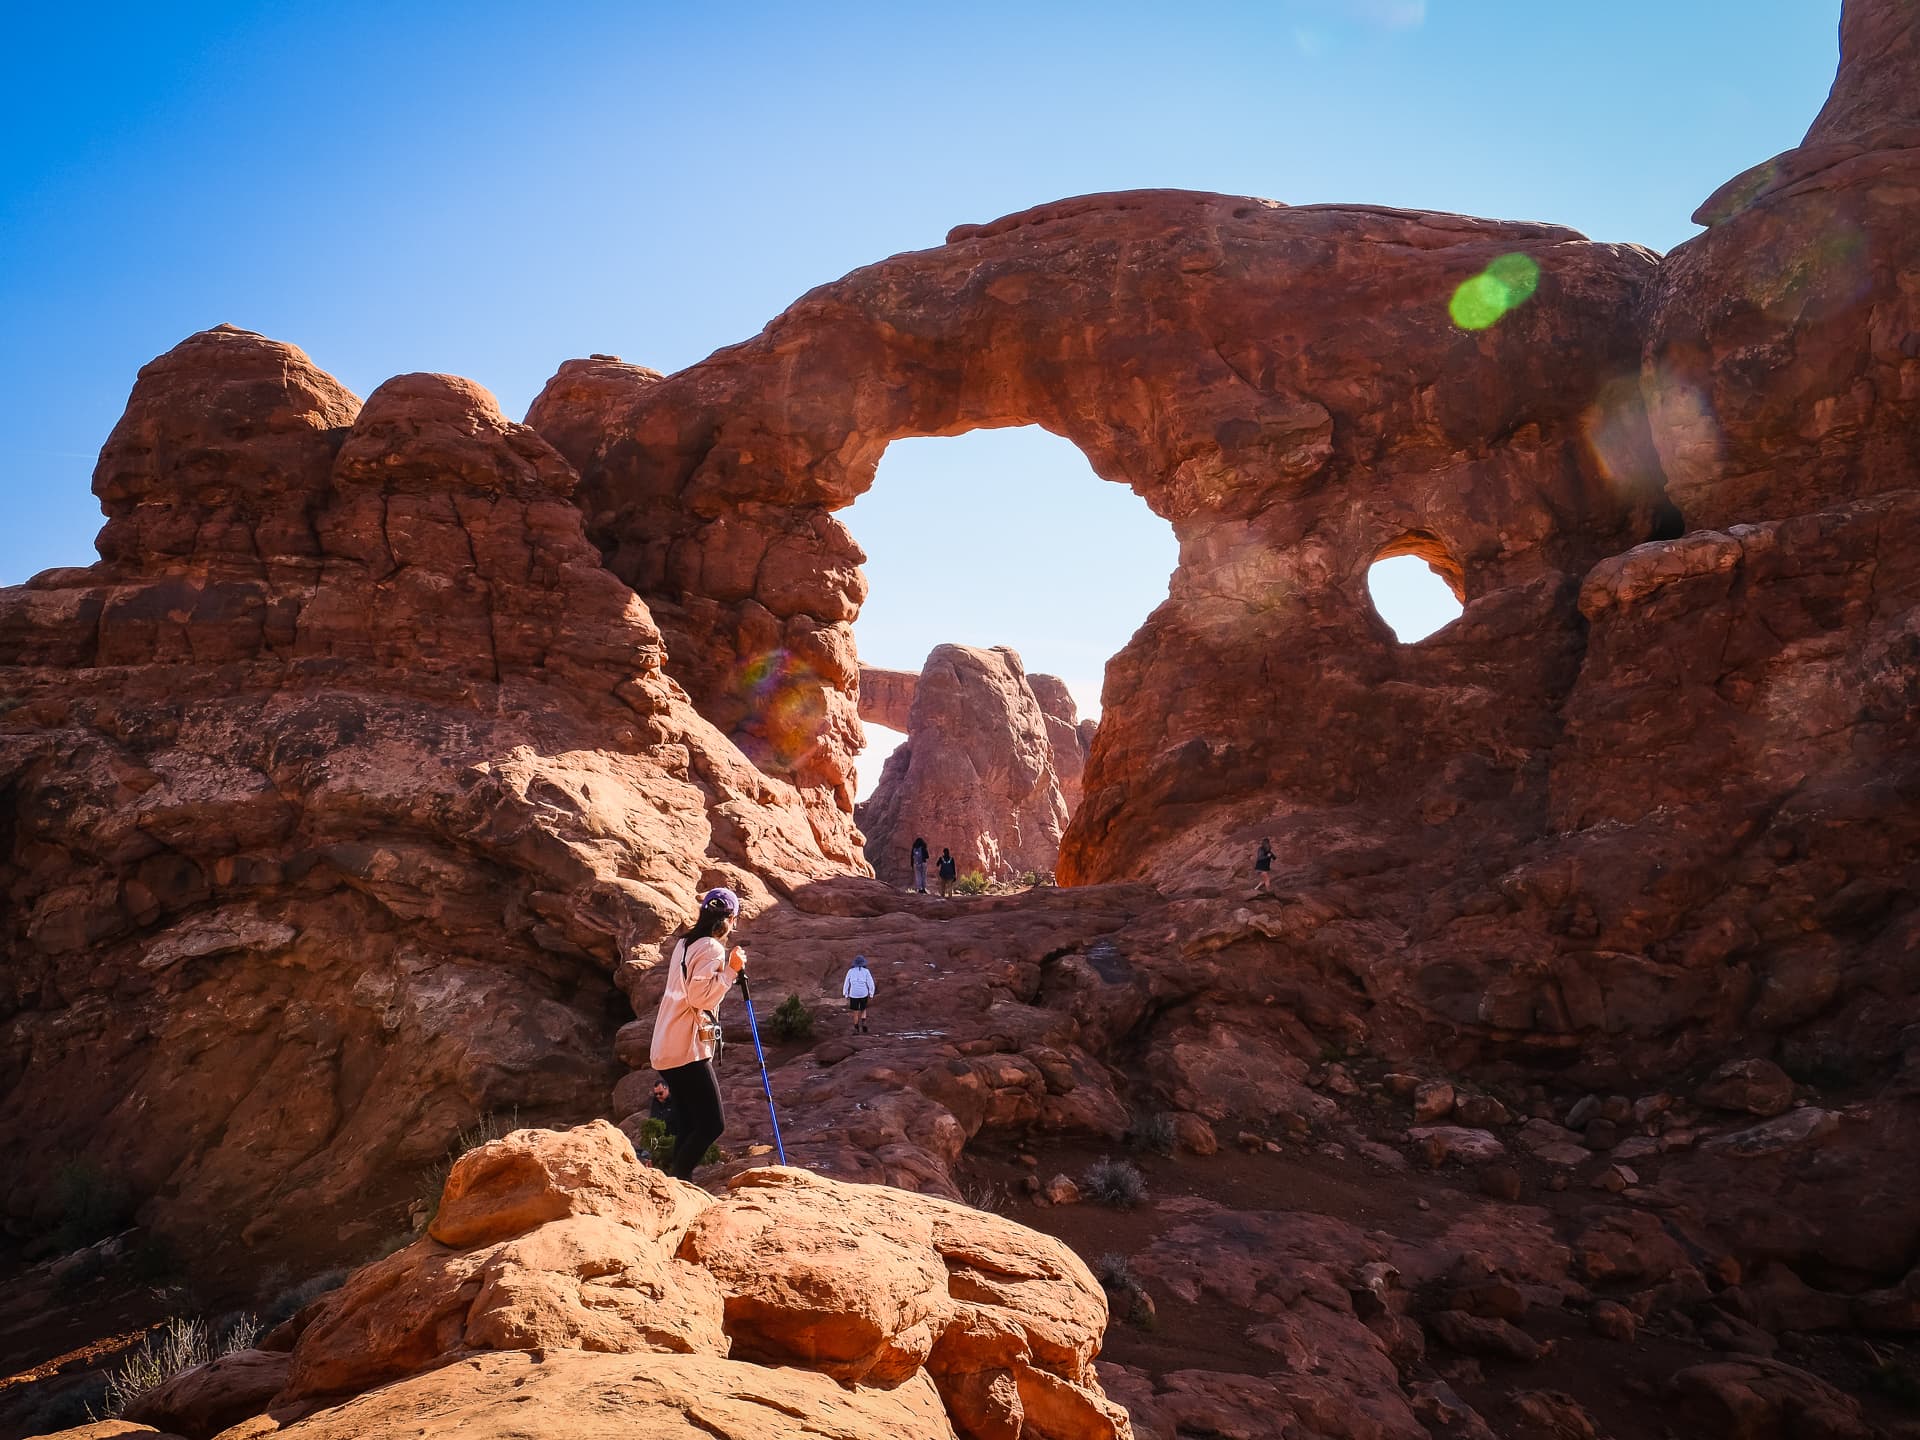
After that we hiked to the South and North Window Arches, then hiked the loop around them and back to the parking lot. There were plenty of cool view along the way.
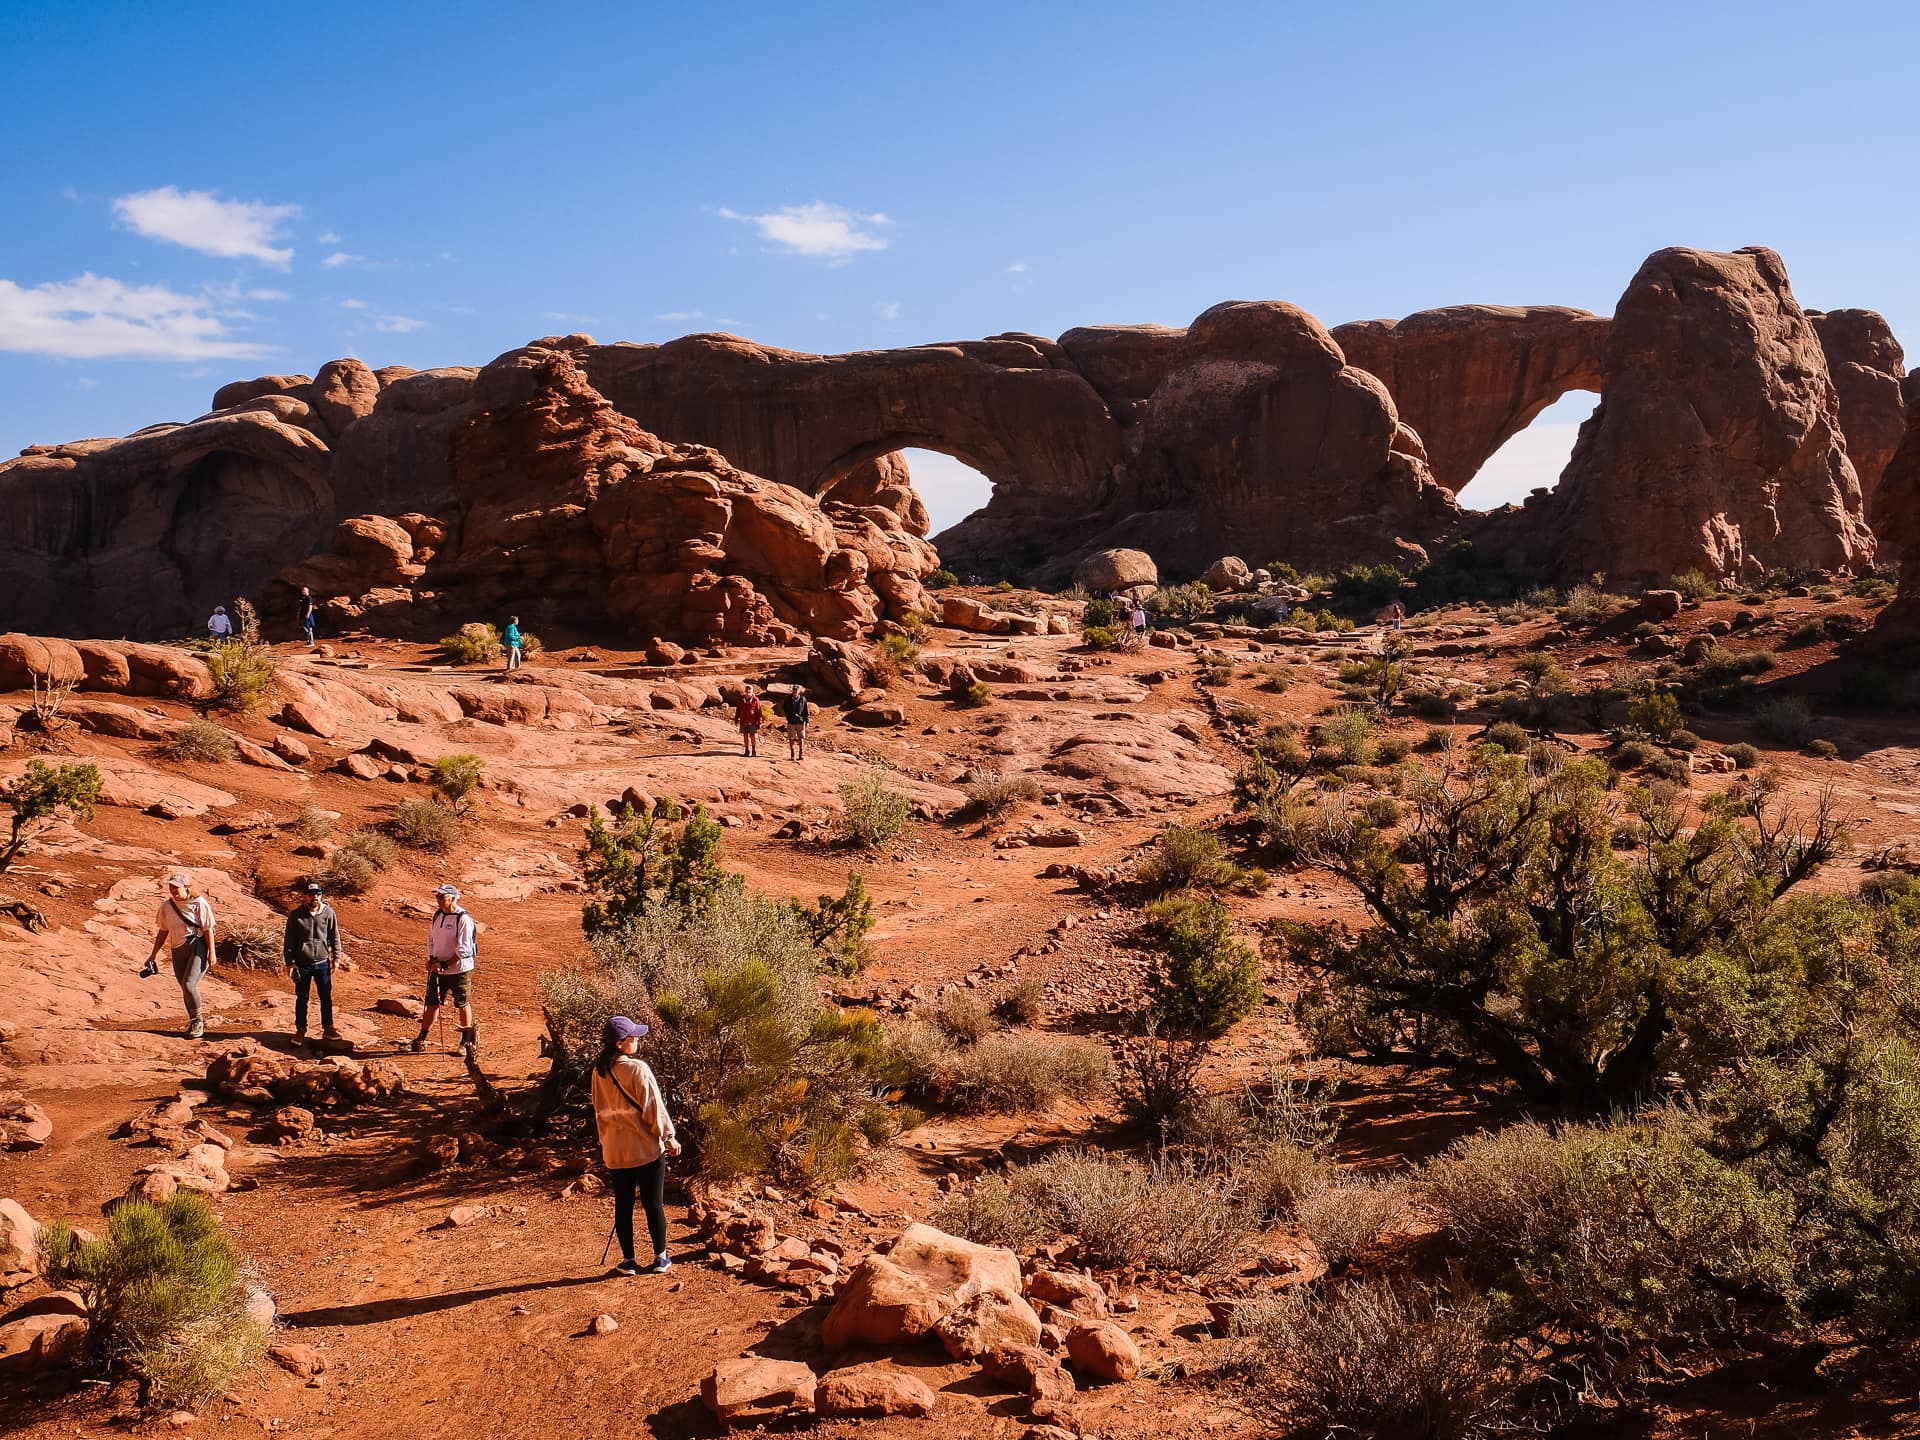
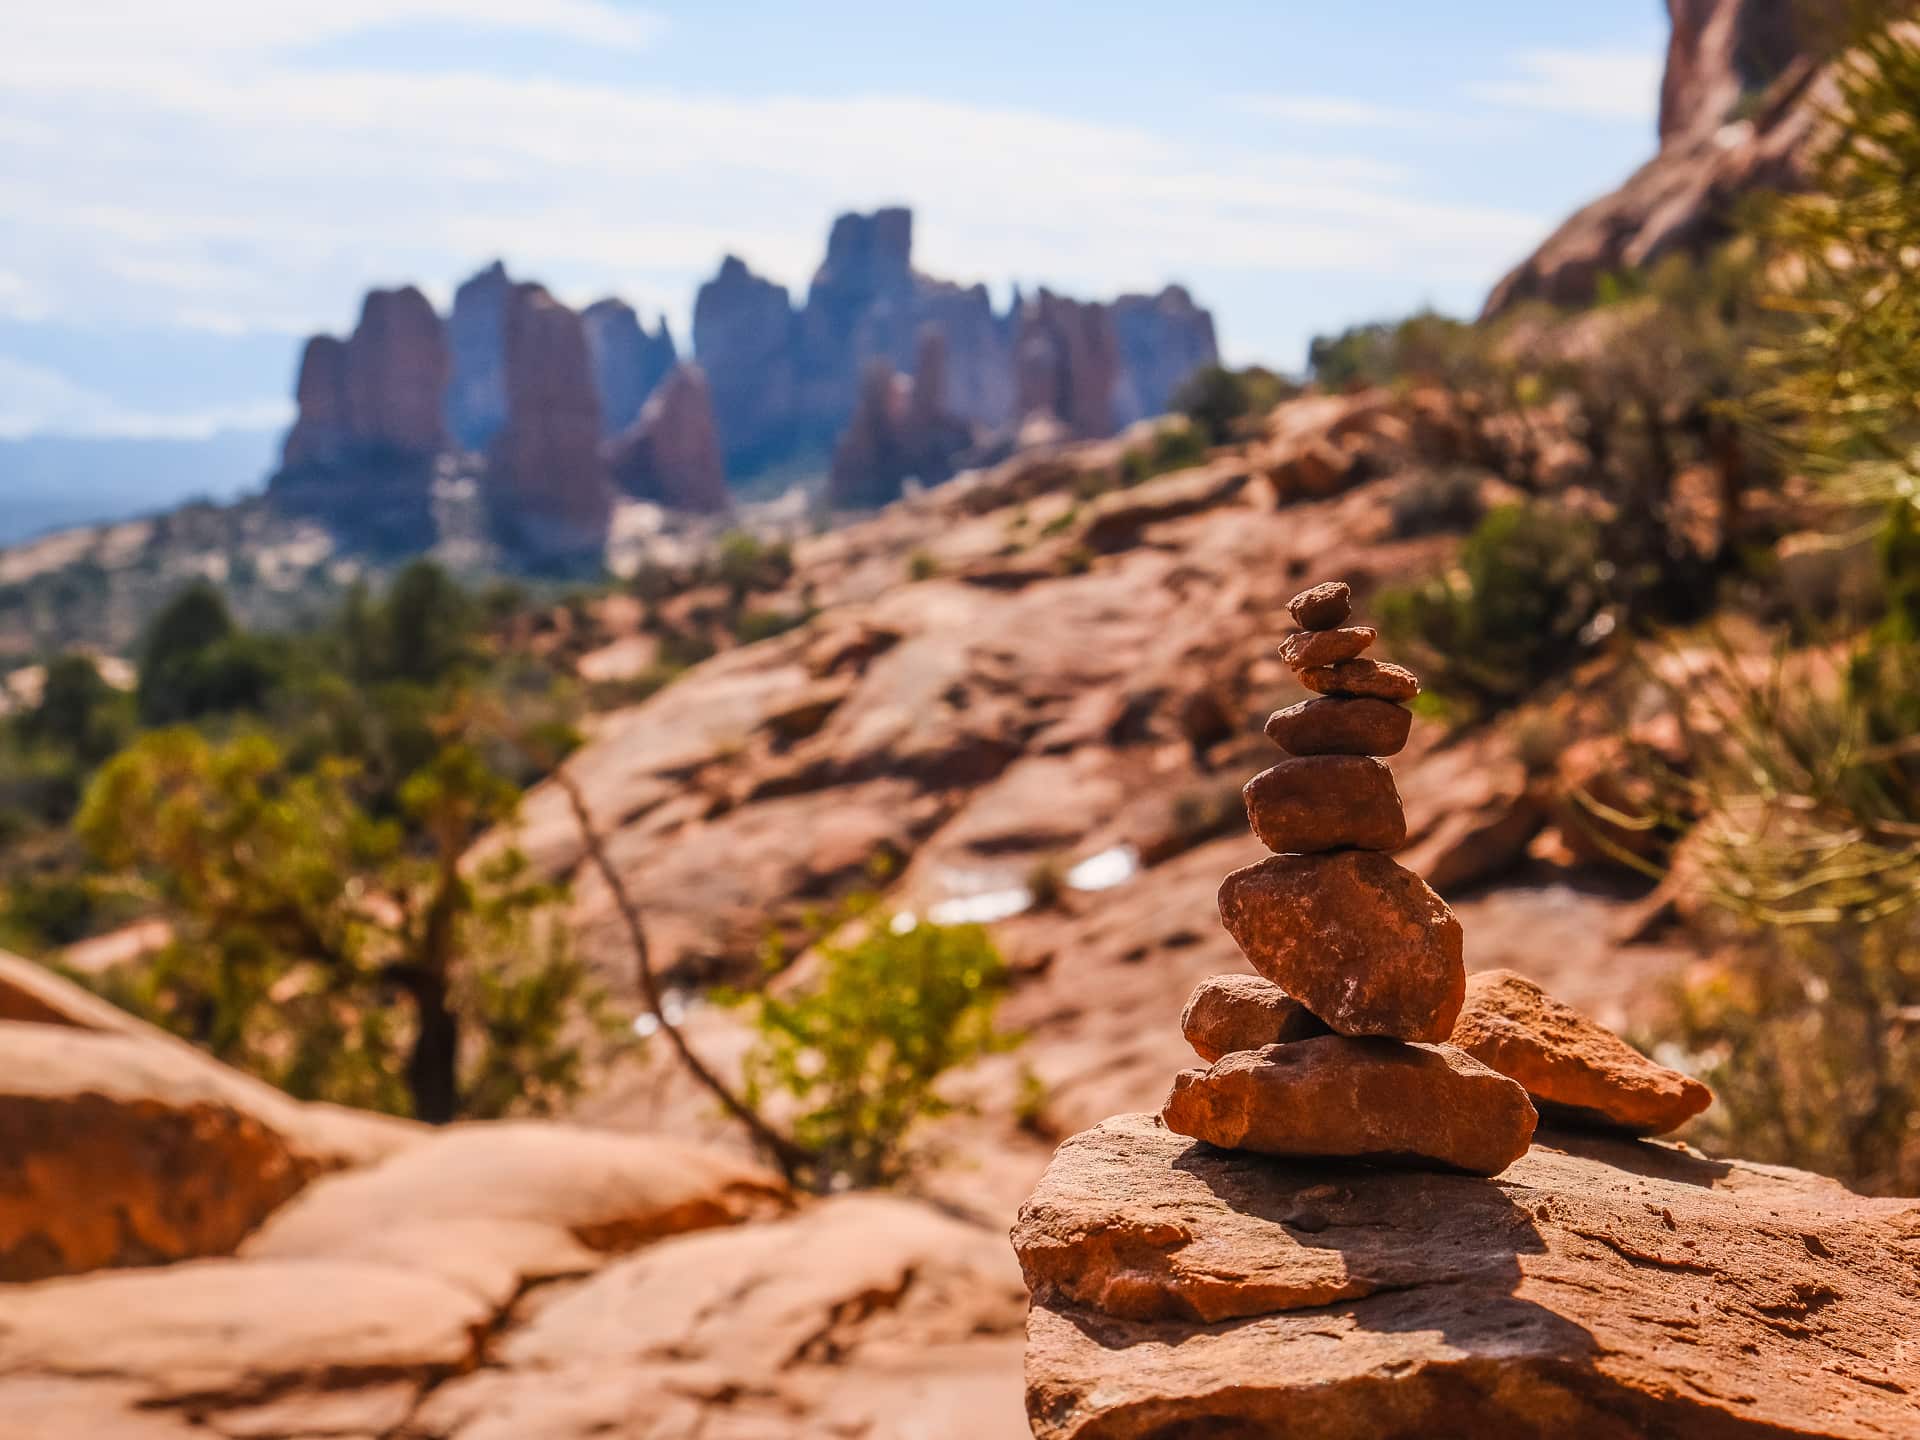
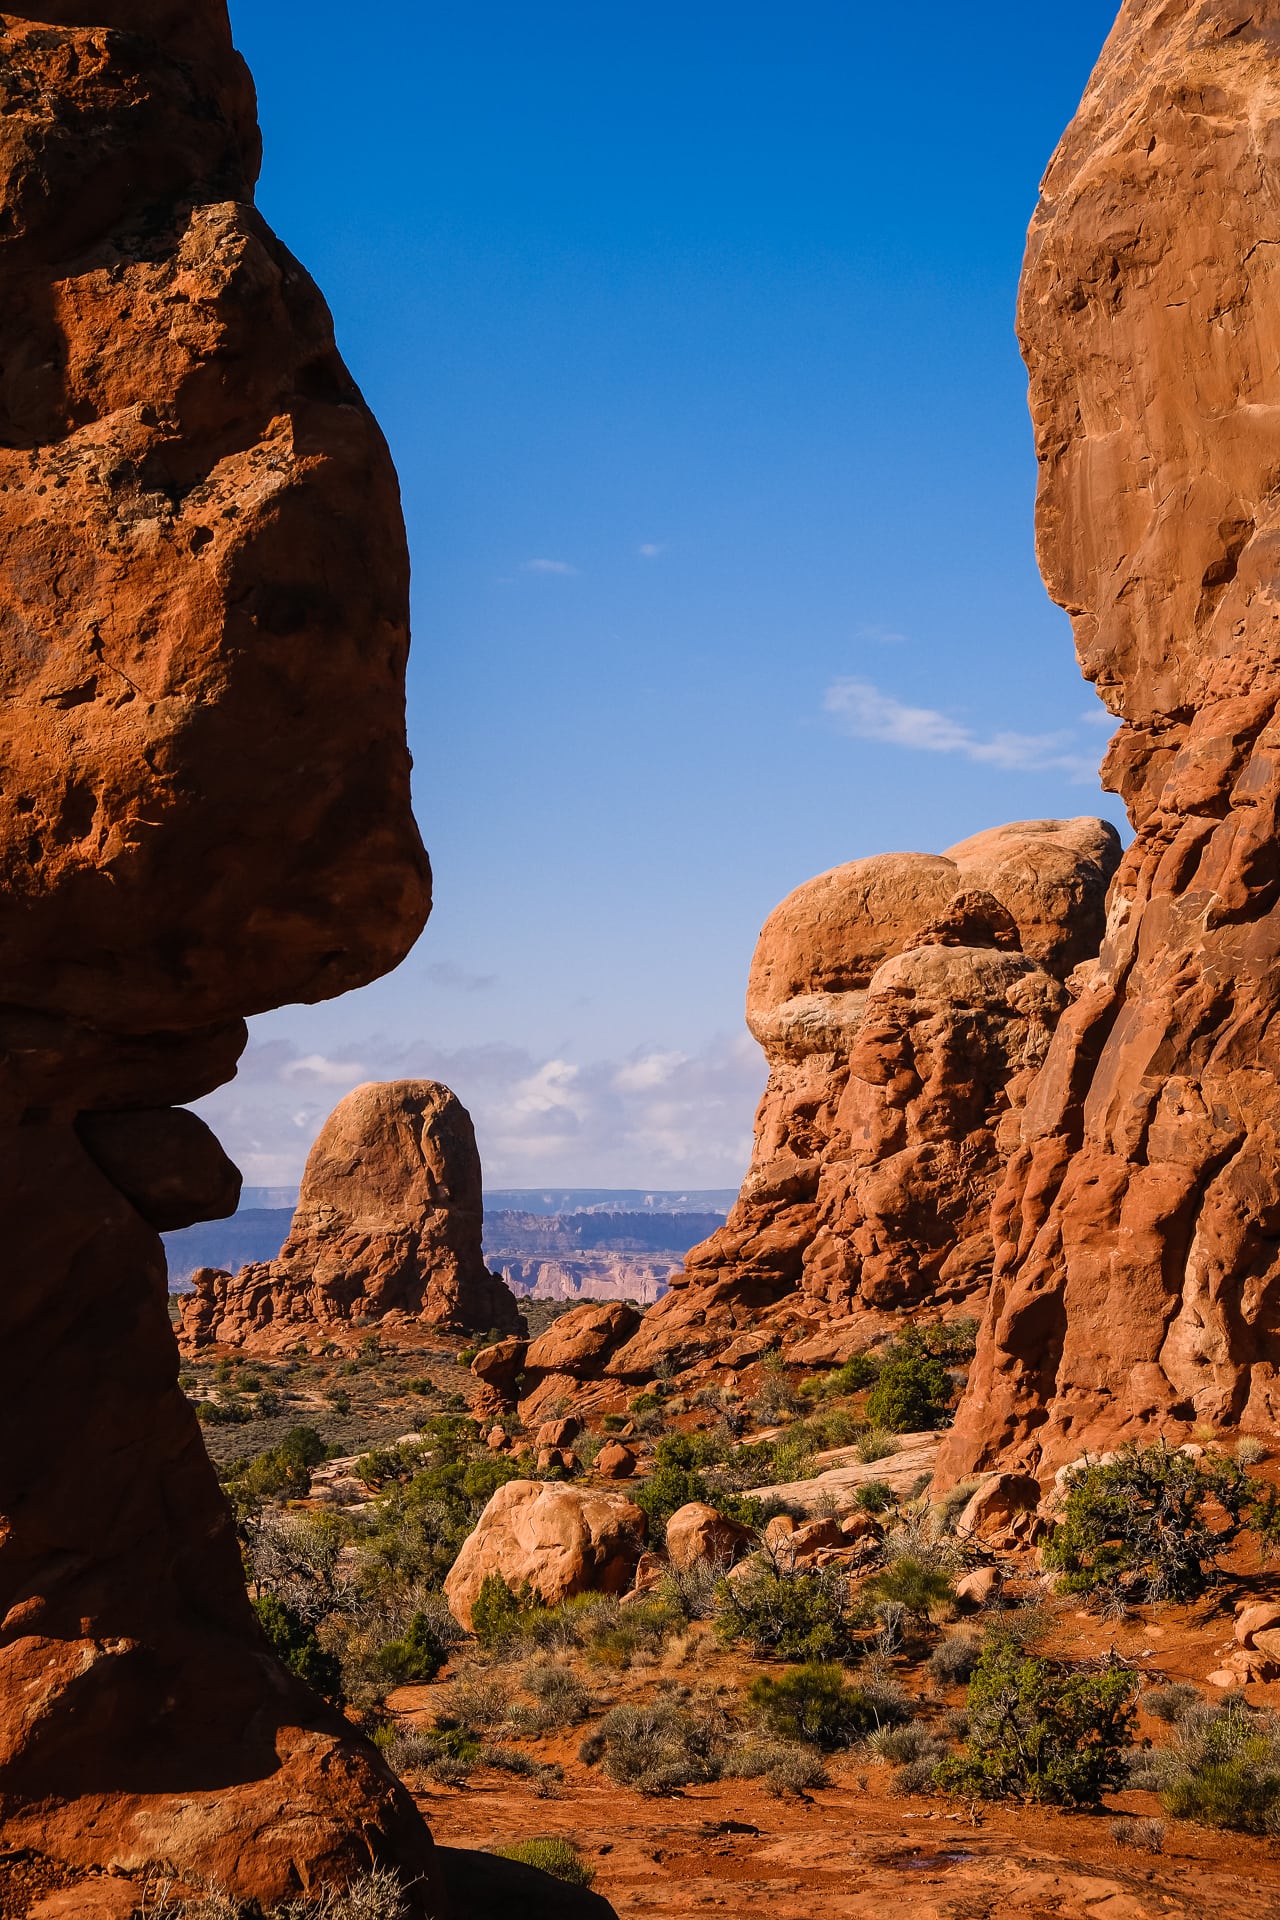
Next up was a short drive over to the trailhead for the Delicate Arch trail at Wolfe Ranch. This trail is rated “Difficult” on the map, but it wasn’t really too hard, especially in the cooler months. However it’s mostly uphill on the way to the arch so make sure to take your time and rest often (and keep hydrated!).
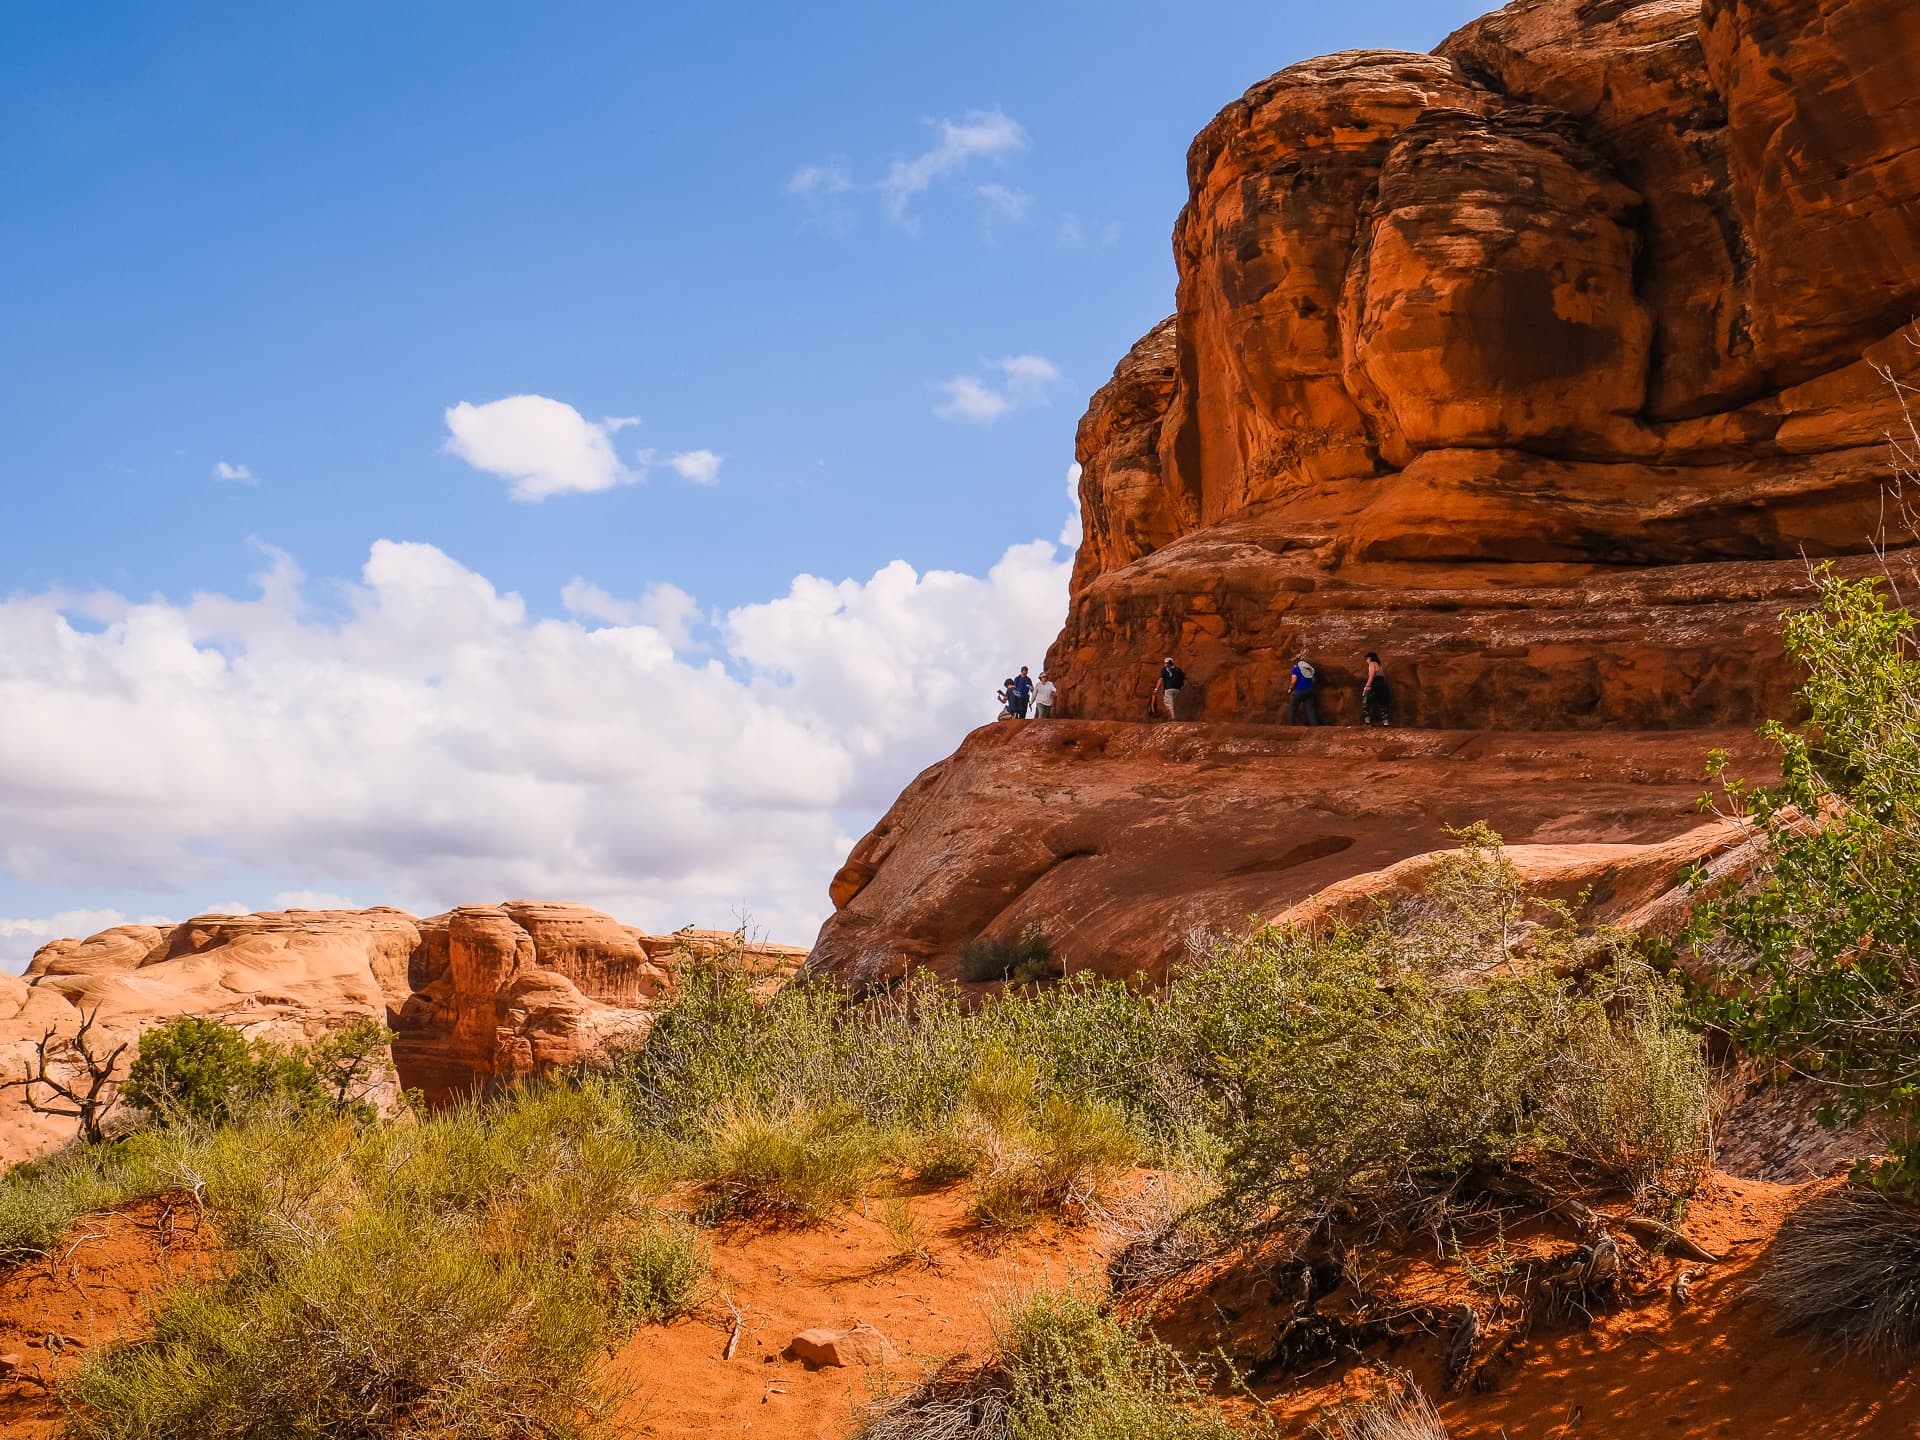
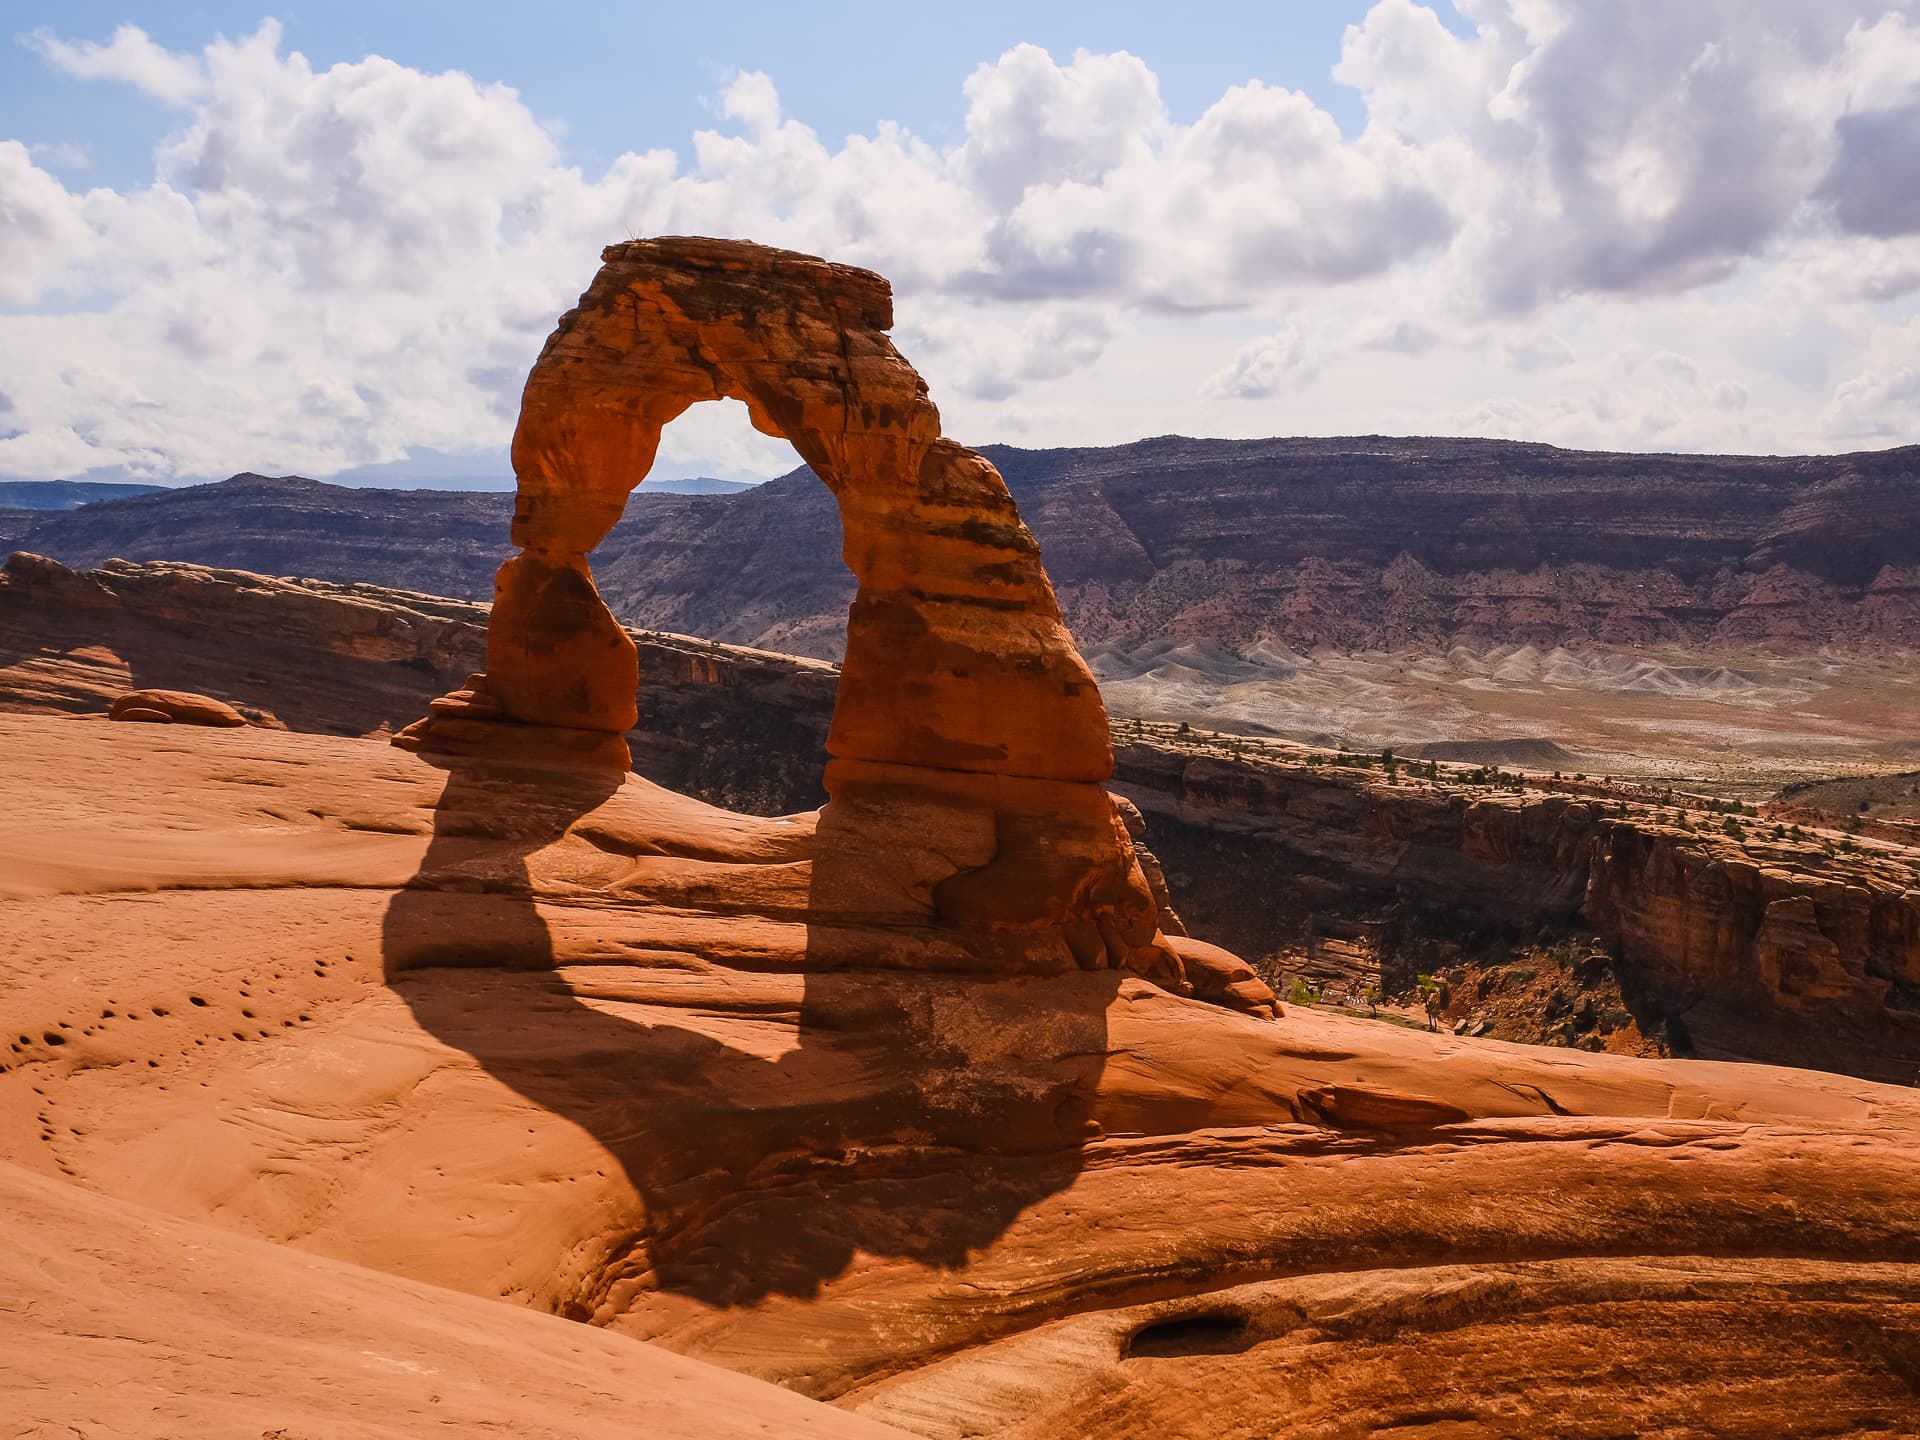
The effort will be worth it though as you suddenly come upon the iconic view of Delicate Arch. When we got there, there were not too many people, but enough to form a little line for taking photos under the arch. This was good because everyone handed off their cameras to the other people waiting and everyone traded taking each other’s photos.
When we arrived back at the car, Mariko was pretty worn out from the hike so we just drove around the rest of the park and caught the views from the car, with a quick hike around Balanced Rock. By then it was about 4 pm so we headed back to Moab for a dinner at, you guessed it, the local brewery. Tacos, onion rings, and cold beer at The Moab Brewery were perfect after a long day at Arches!
