Two-Wheeled Therapy

Photo info: FUJIFILM X100T, 19mm, f/4, 1/1400 sec, ISO200
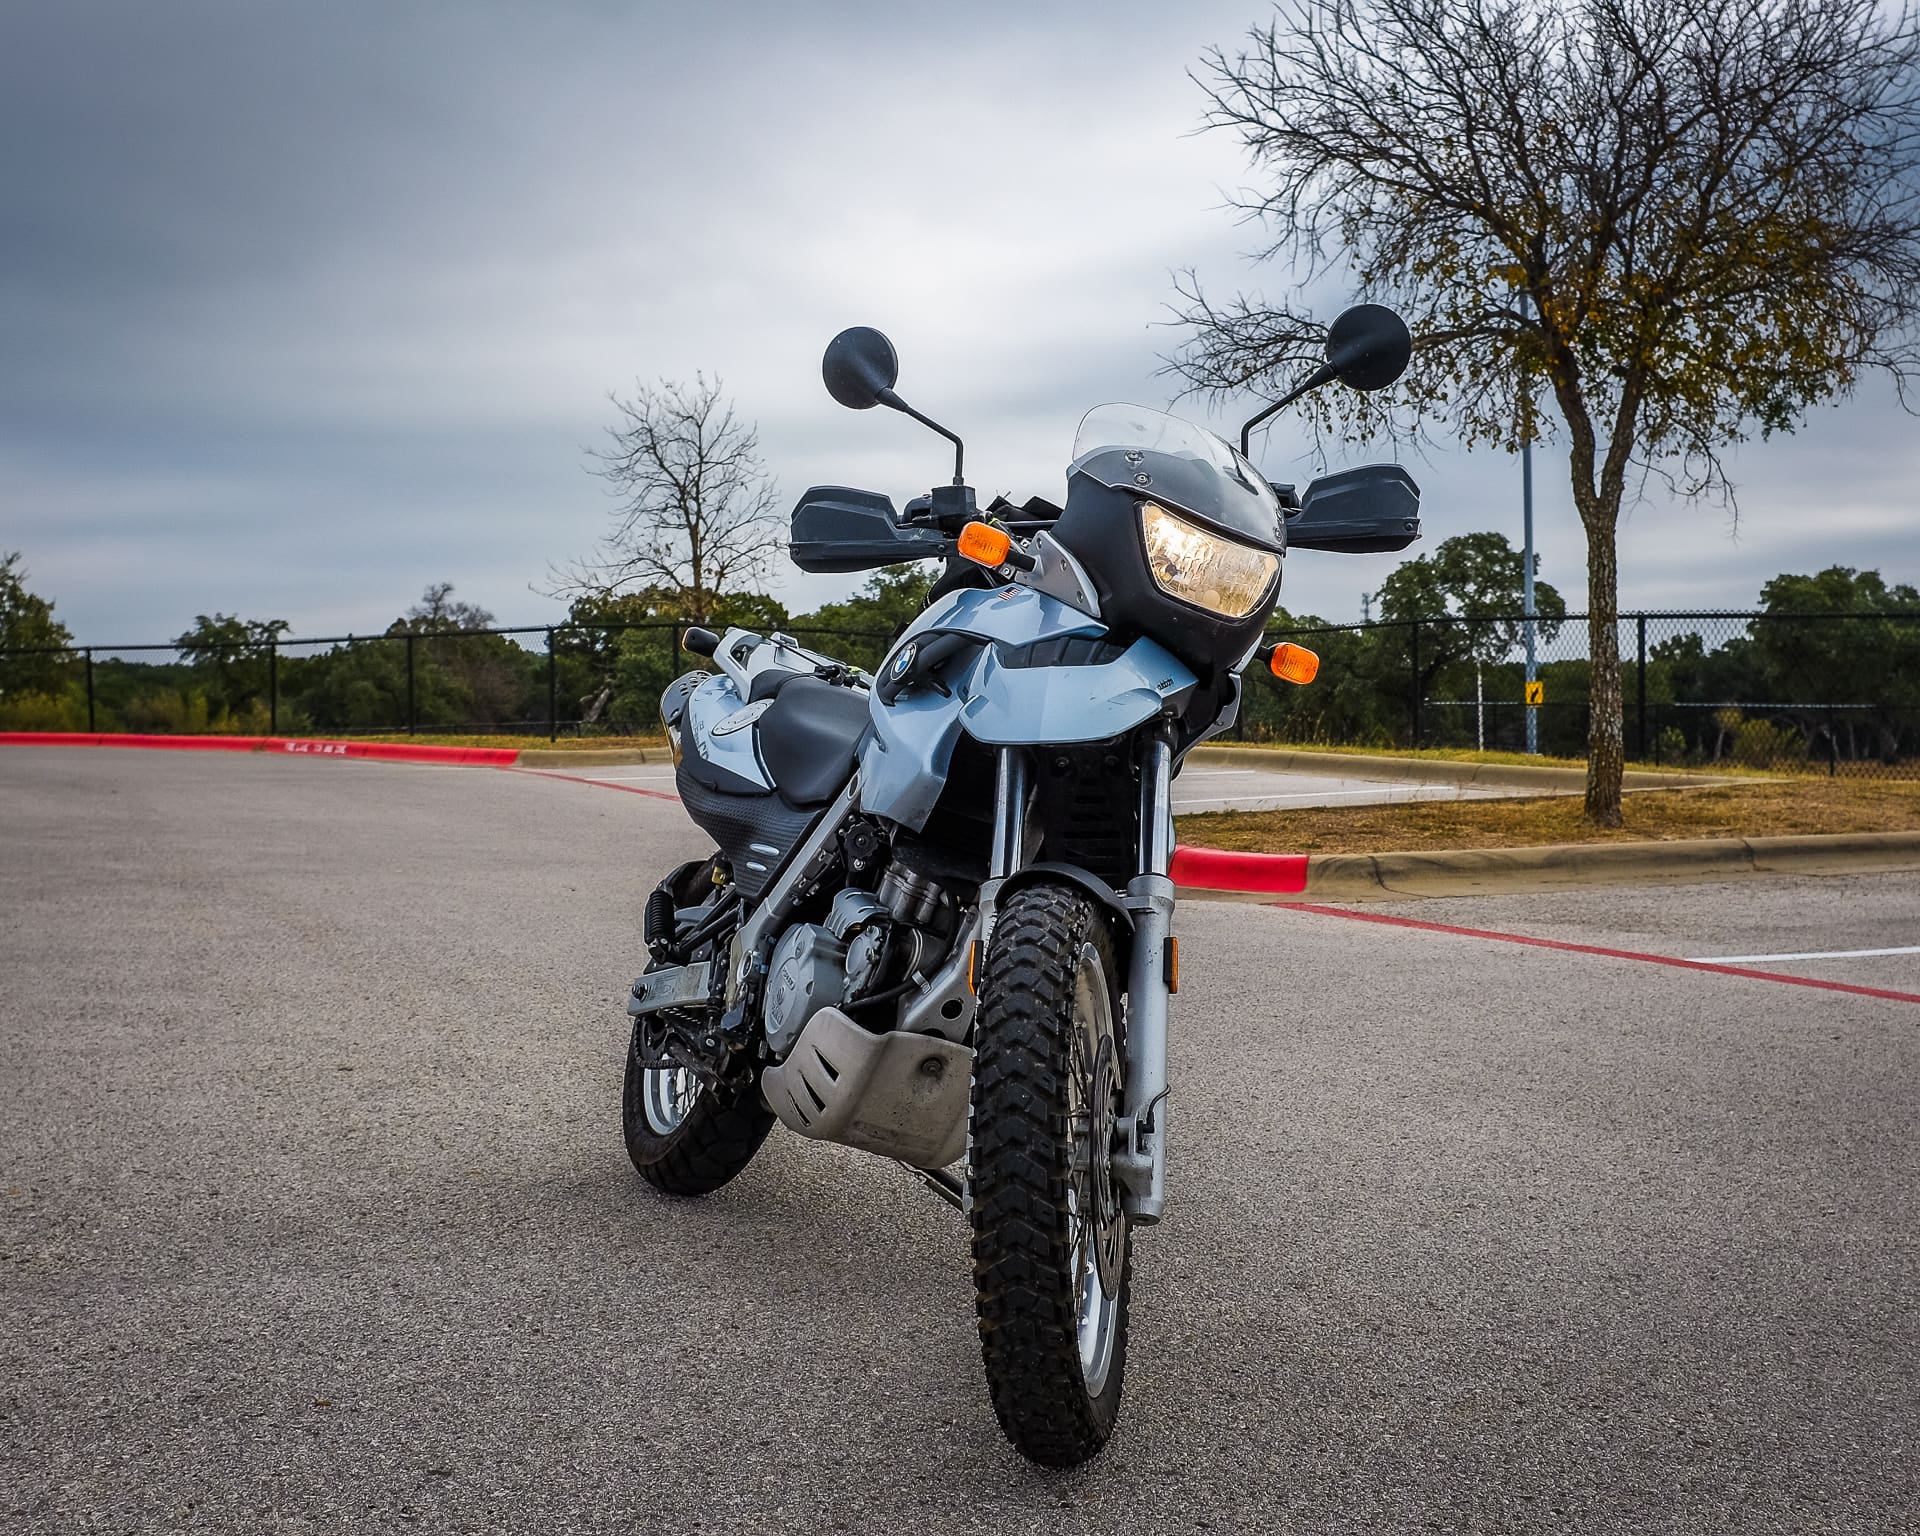
“Kiki” Cedar Park, 2020

Today I have the day off from work (actually the whole week!) so I decided to have a bit of fun riding my motorcycle around. Motorcycling is an intense experience, where all five senses are on overload. But I also spent some time practicing skills that need some work: u-turns at full lock. For these exercises, I went to the elementary school’s parking lot, which is perfect because I can use the parking space markers to gauge my progress.

My goal is to comfortably make u-turns in either direction, with the handlebars at their maximum position (full lock). The correct way to do this is to look at where you want to go (way over your shoulder), then turn the handlebars and initiate the turn. The trick is to keep the proper speed where you are slow enough that you can keep the handlebars at full lock, but with enough speed that you can lean over without dropping the bike. The secret is to use clutch control while revving the engine a bit to avoid stalling. If you are sensing that you are falling over, then you need to let out the clutch and let the engine power bring you up again. But not too much that you come out of the tight turn.

It’s a real skill to do this well, and only practice will allow you build up the muscle memory to feather the clutch to adjust the power without consciously thinking about it. It’s my one big apprehension when riding, so it’s worthwhile to take the time to make some progress! And even if I feel like I didn’t do such a good job with my skill training, I know that it is progress towards getting better!

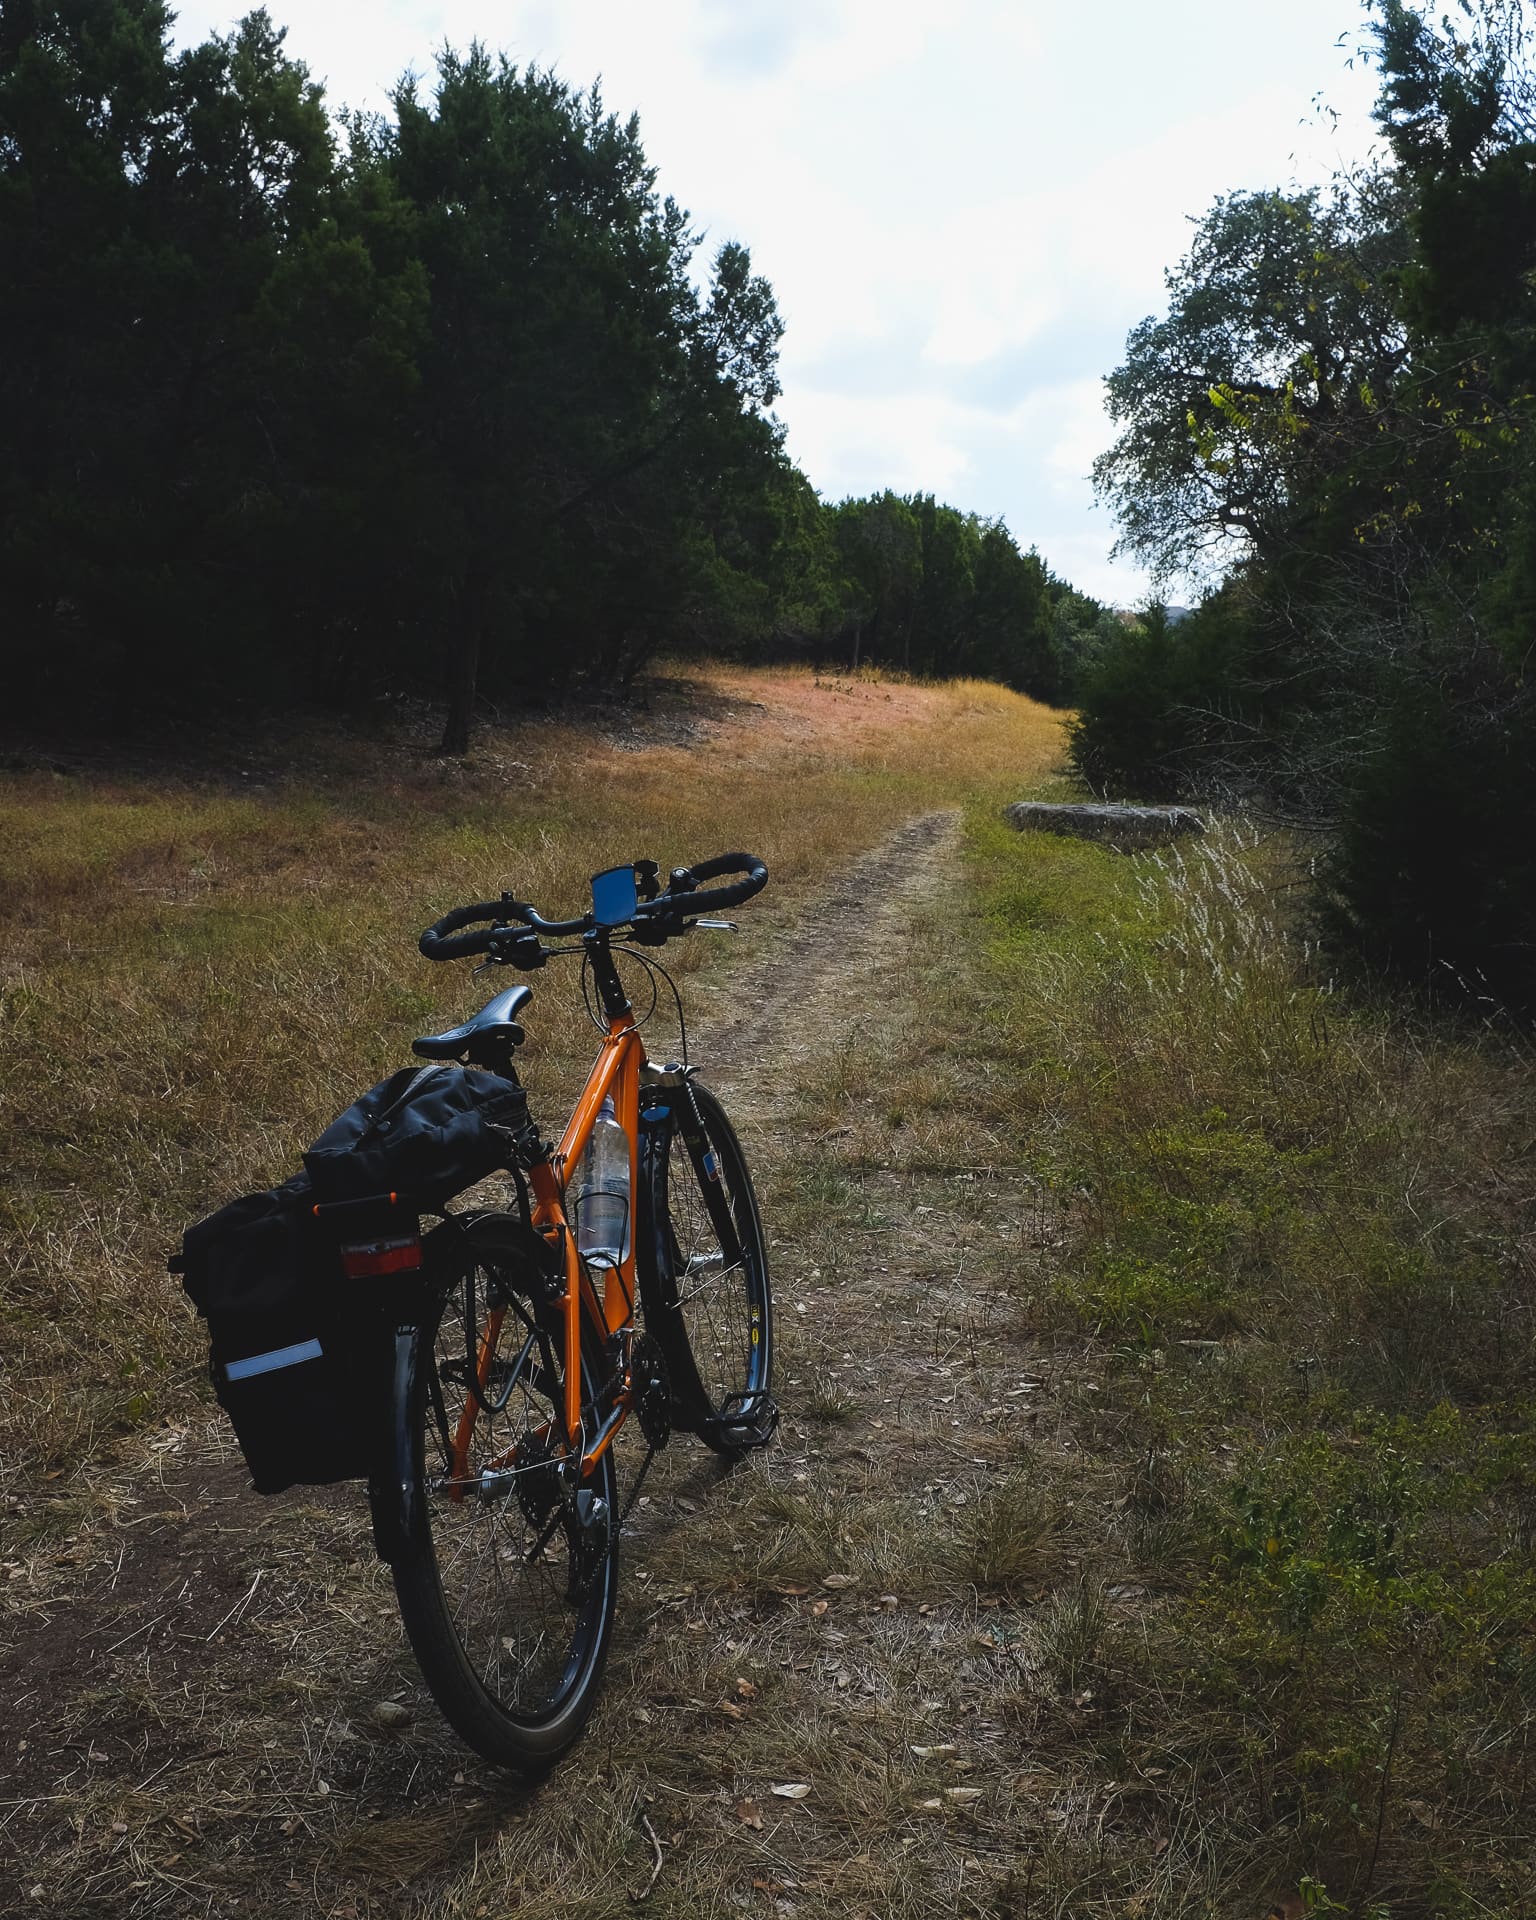
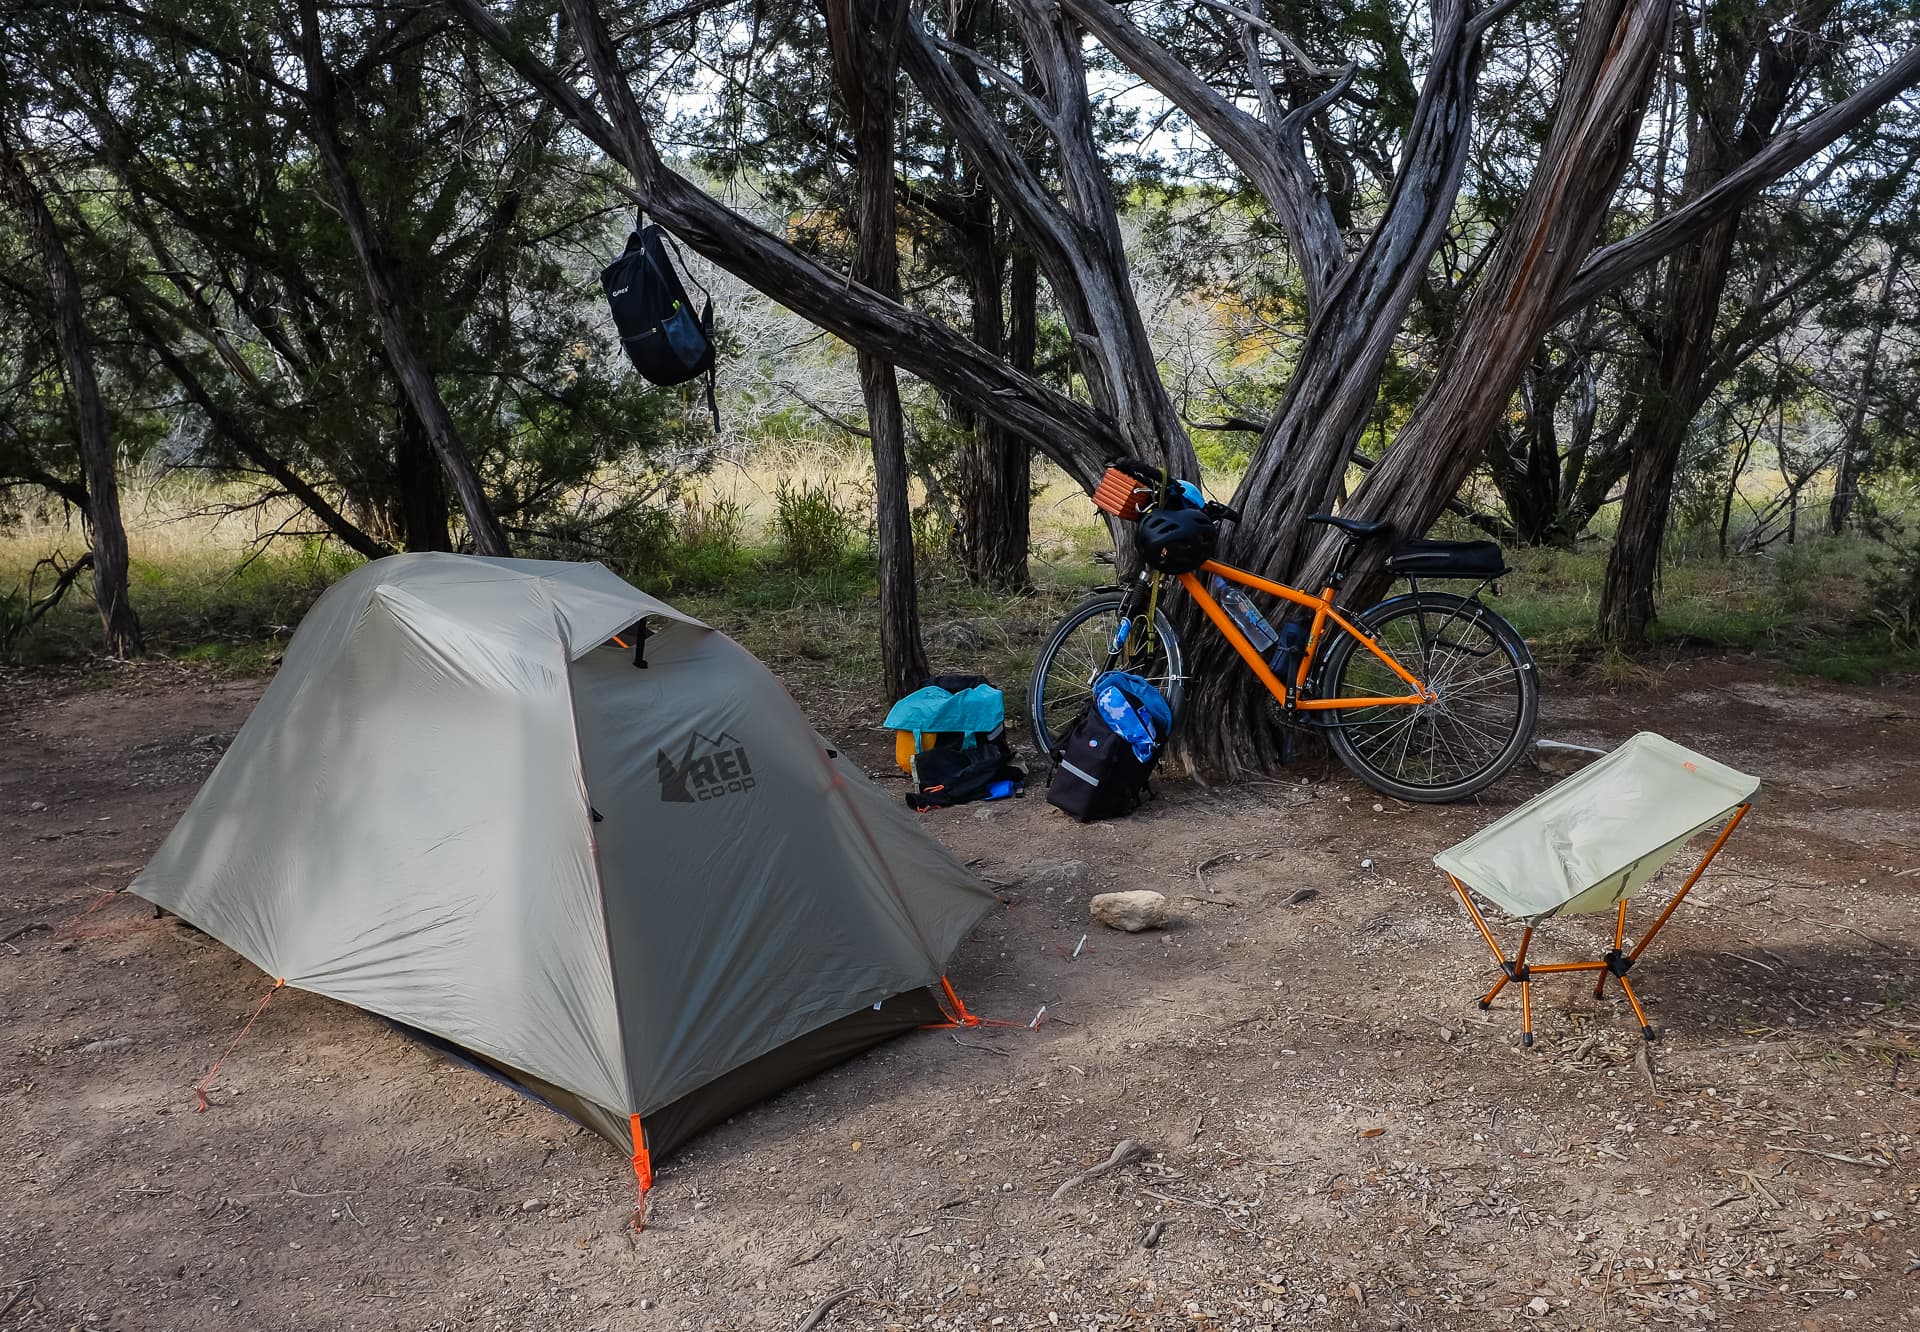
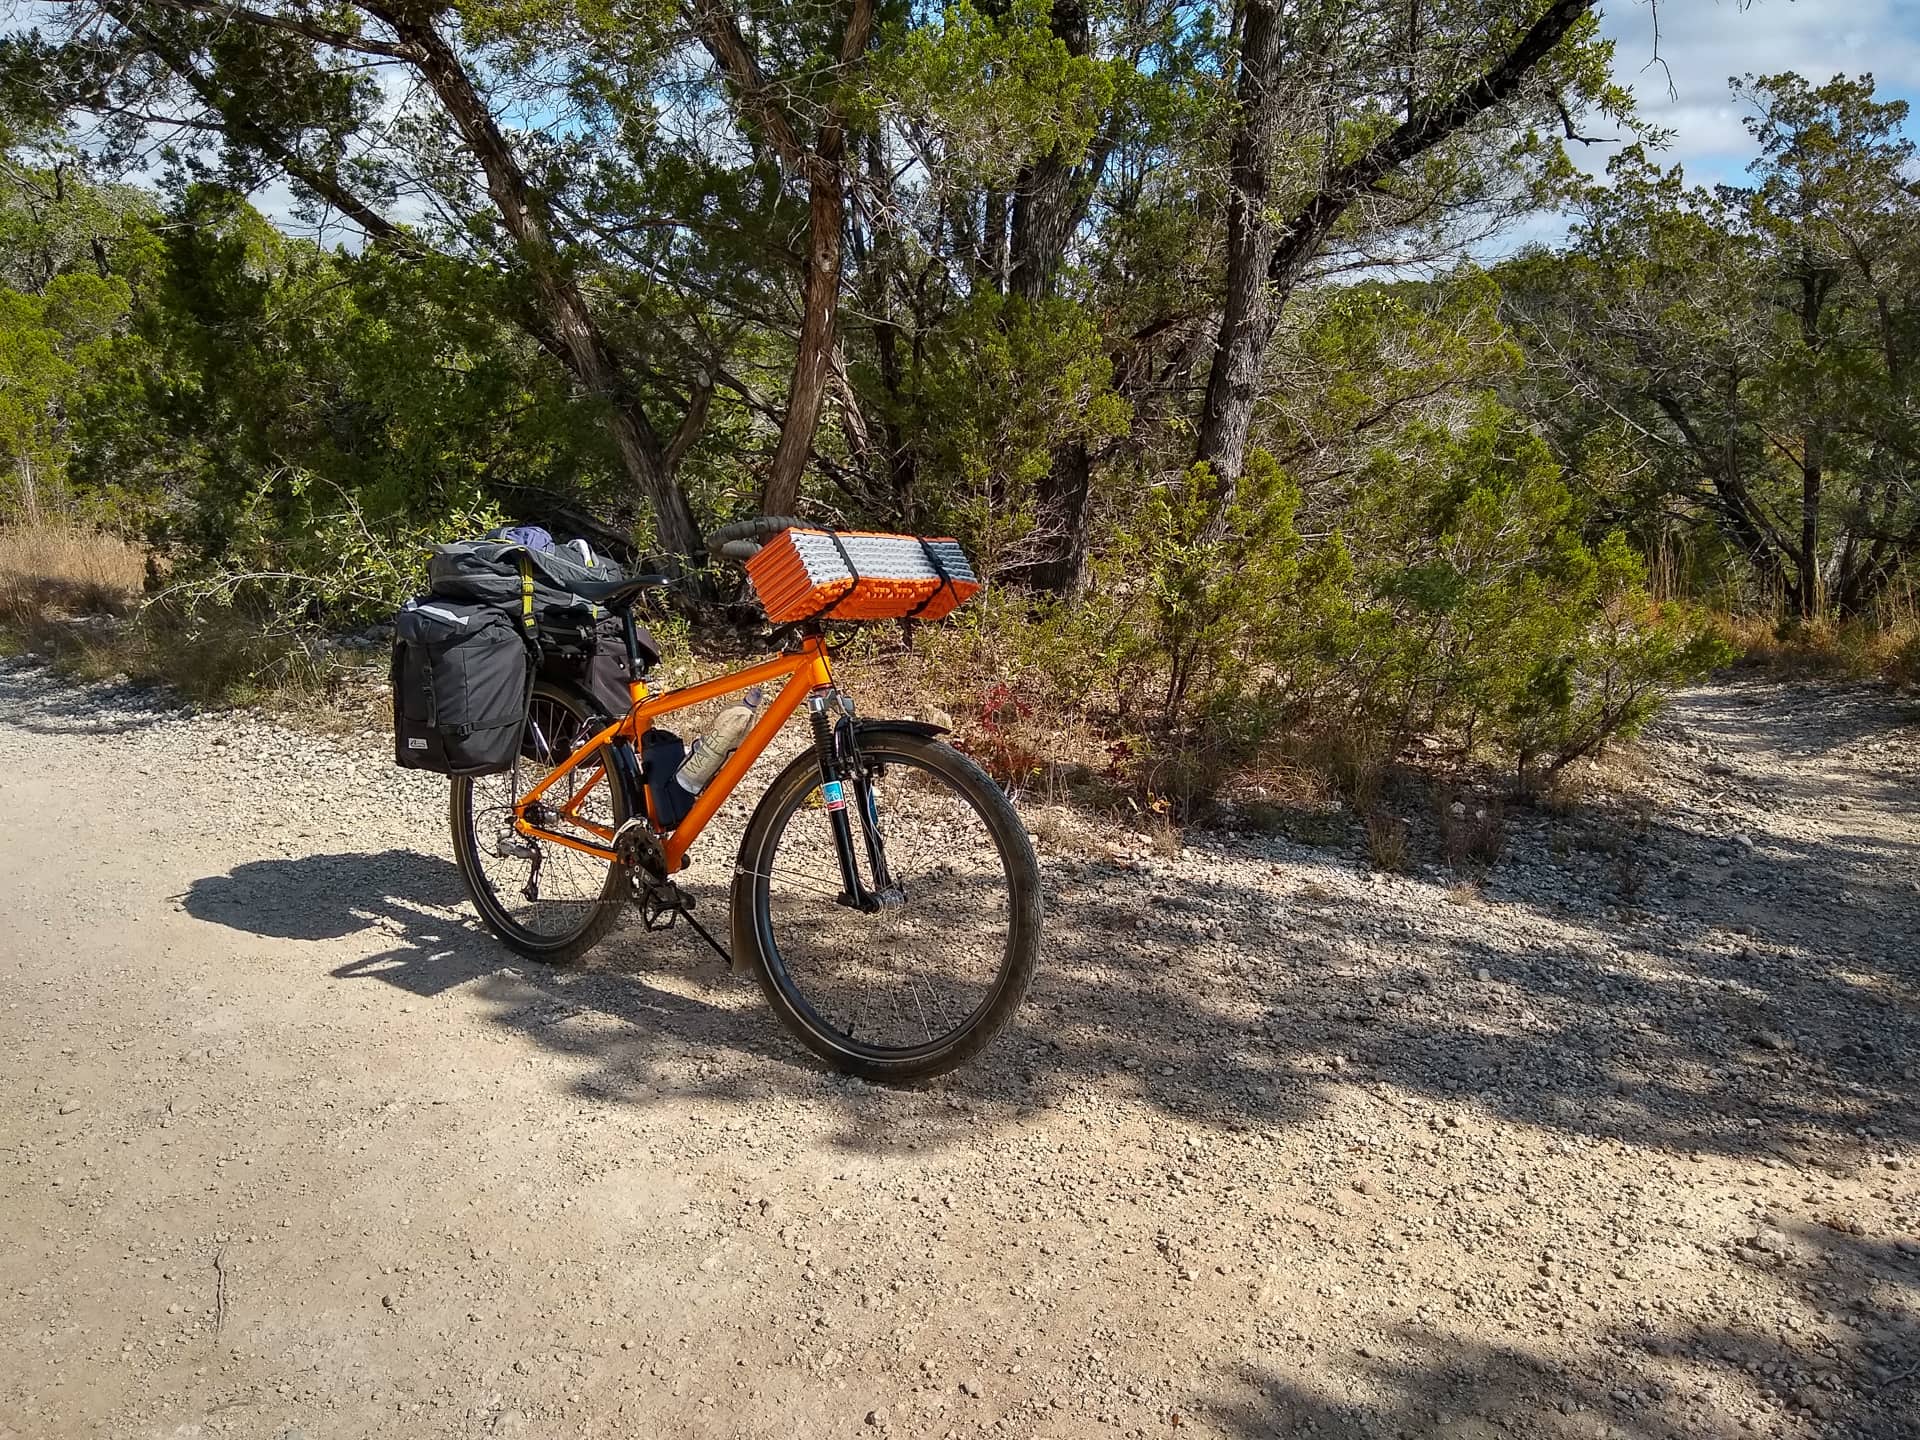
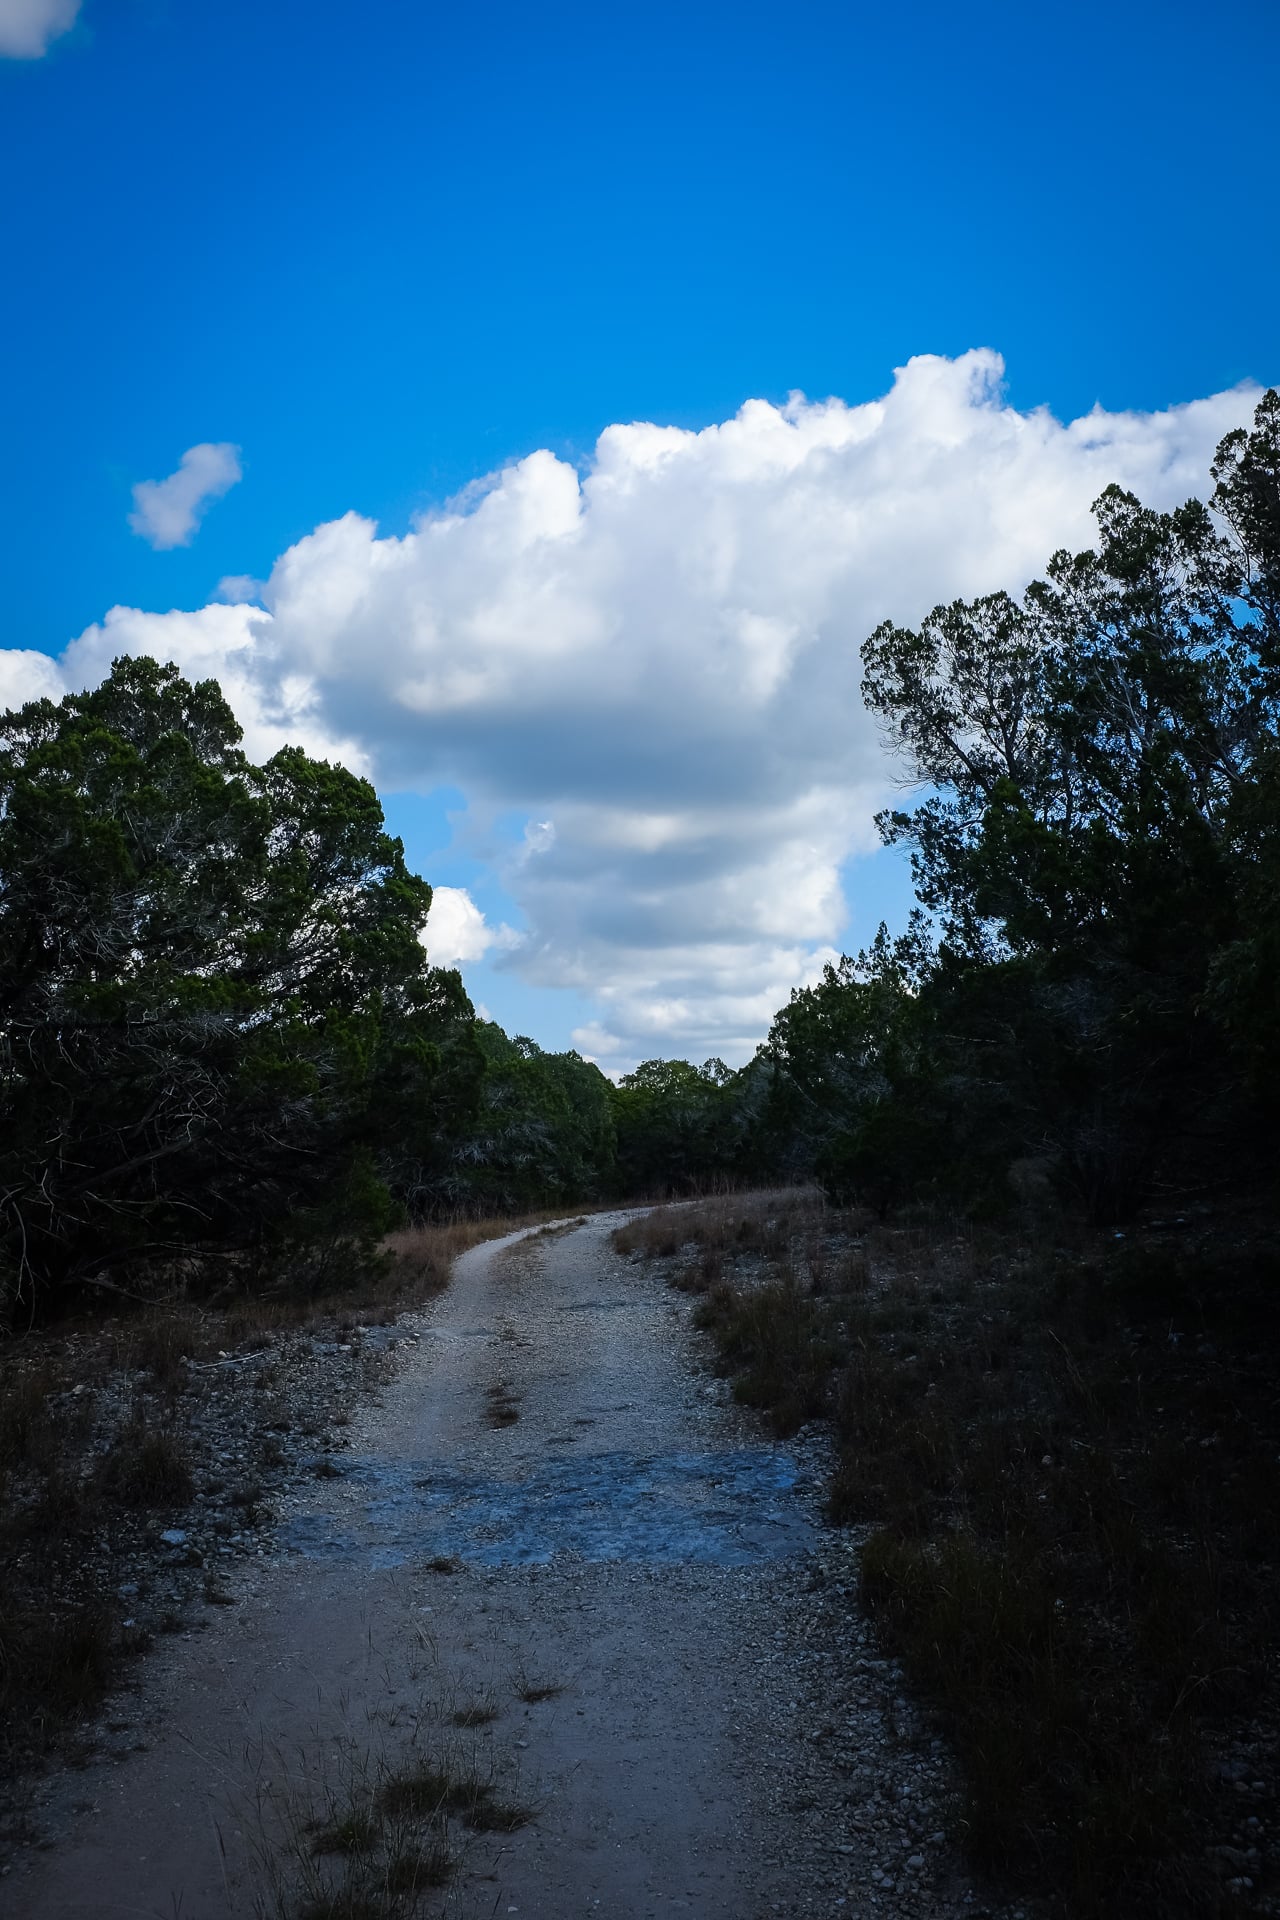
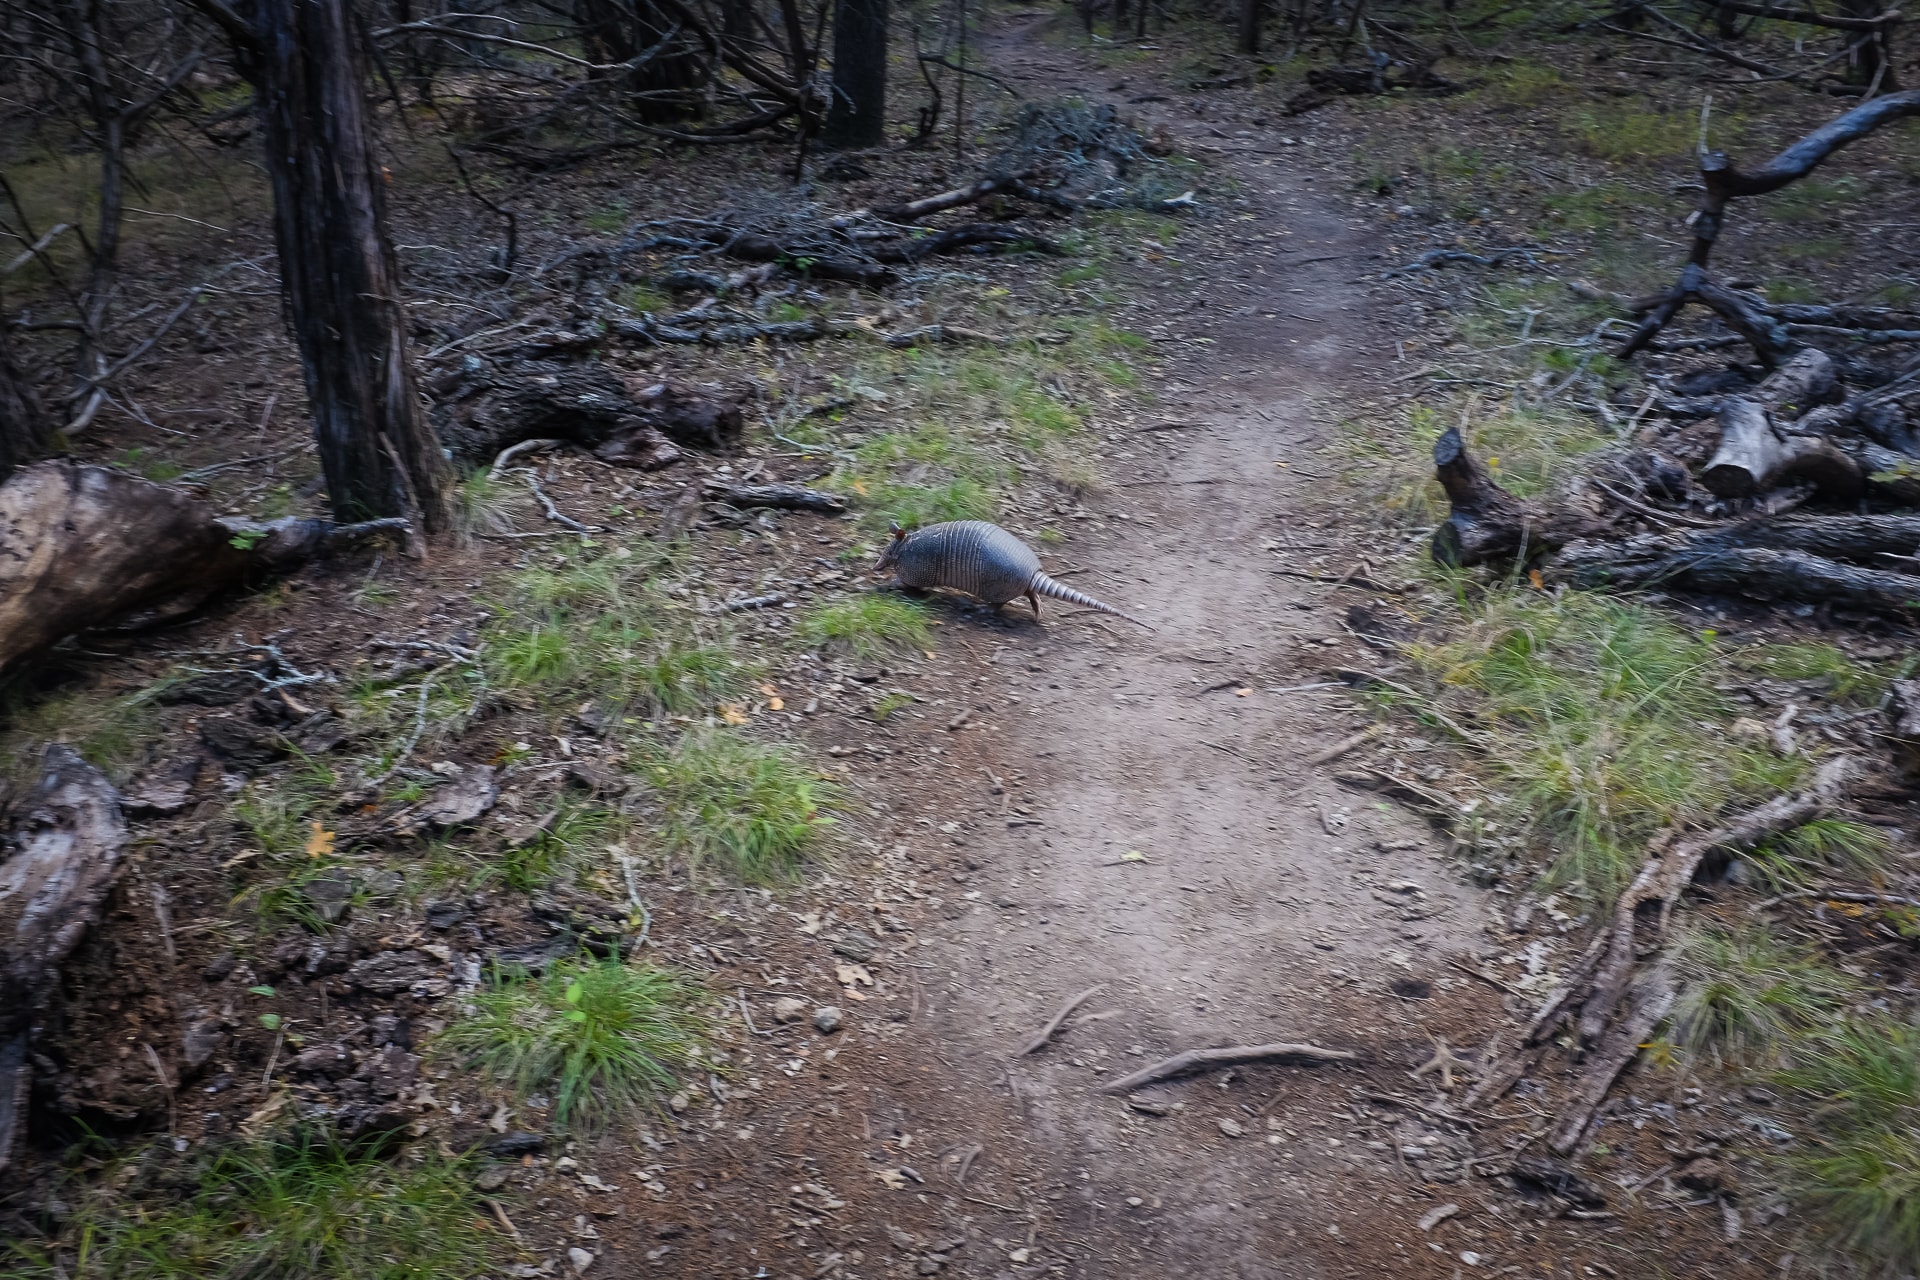
In the afternoon, I went for a nice bicycle ride to relax a bit. Bicycling is a wonderful activity. Super fun and good exercise! Plus you can clear your mind and see some great sights. I always feel great after a ride, even if it is just around the block to pick up the mail, but it’s a real treat when the route takes me to see sights like this:

Photo info: FUJIFILM X100T, 19mm, f/7.1, 1/600 sec, ISO200
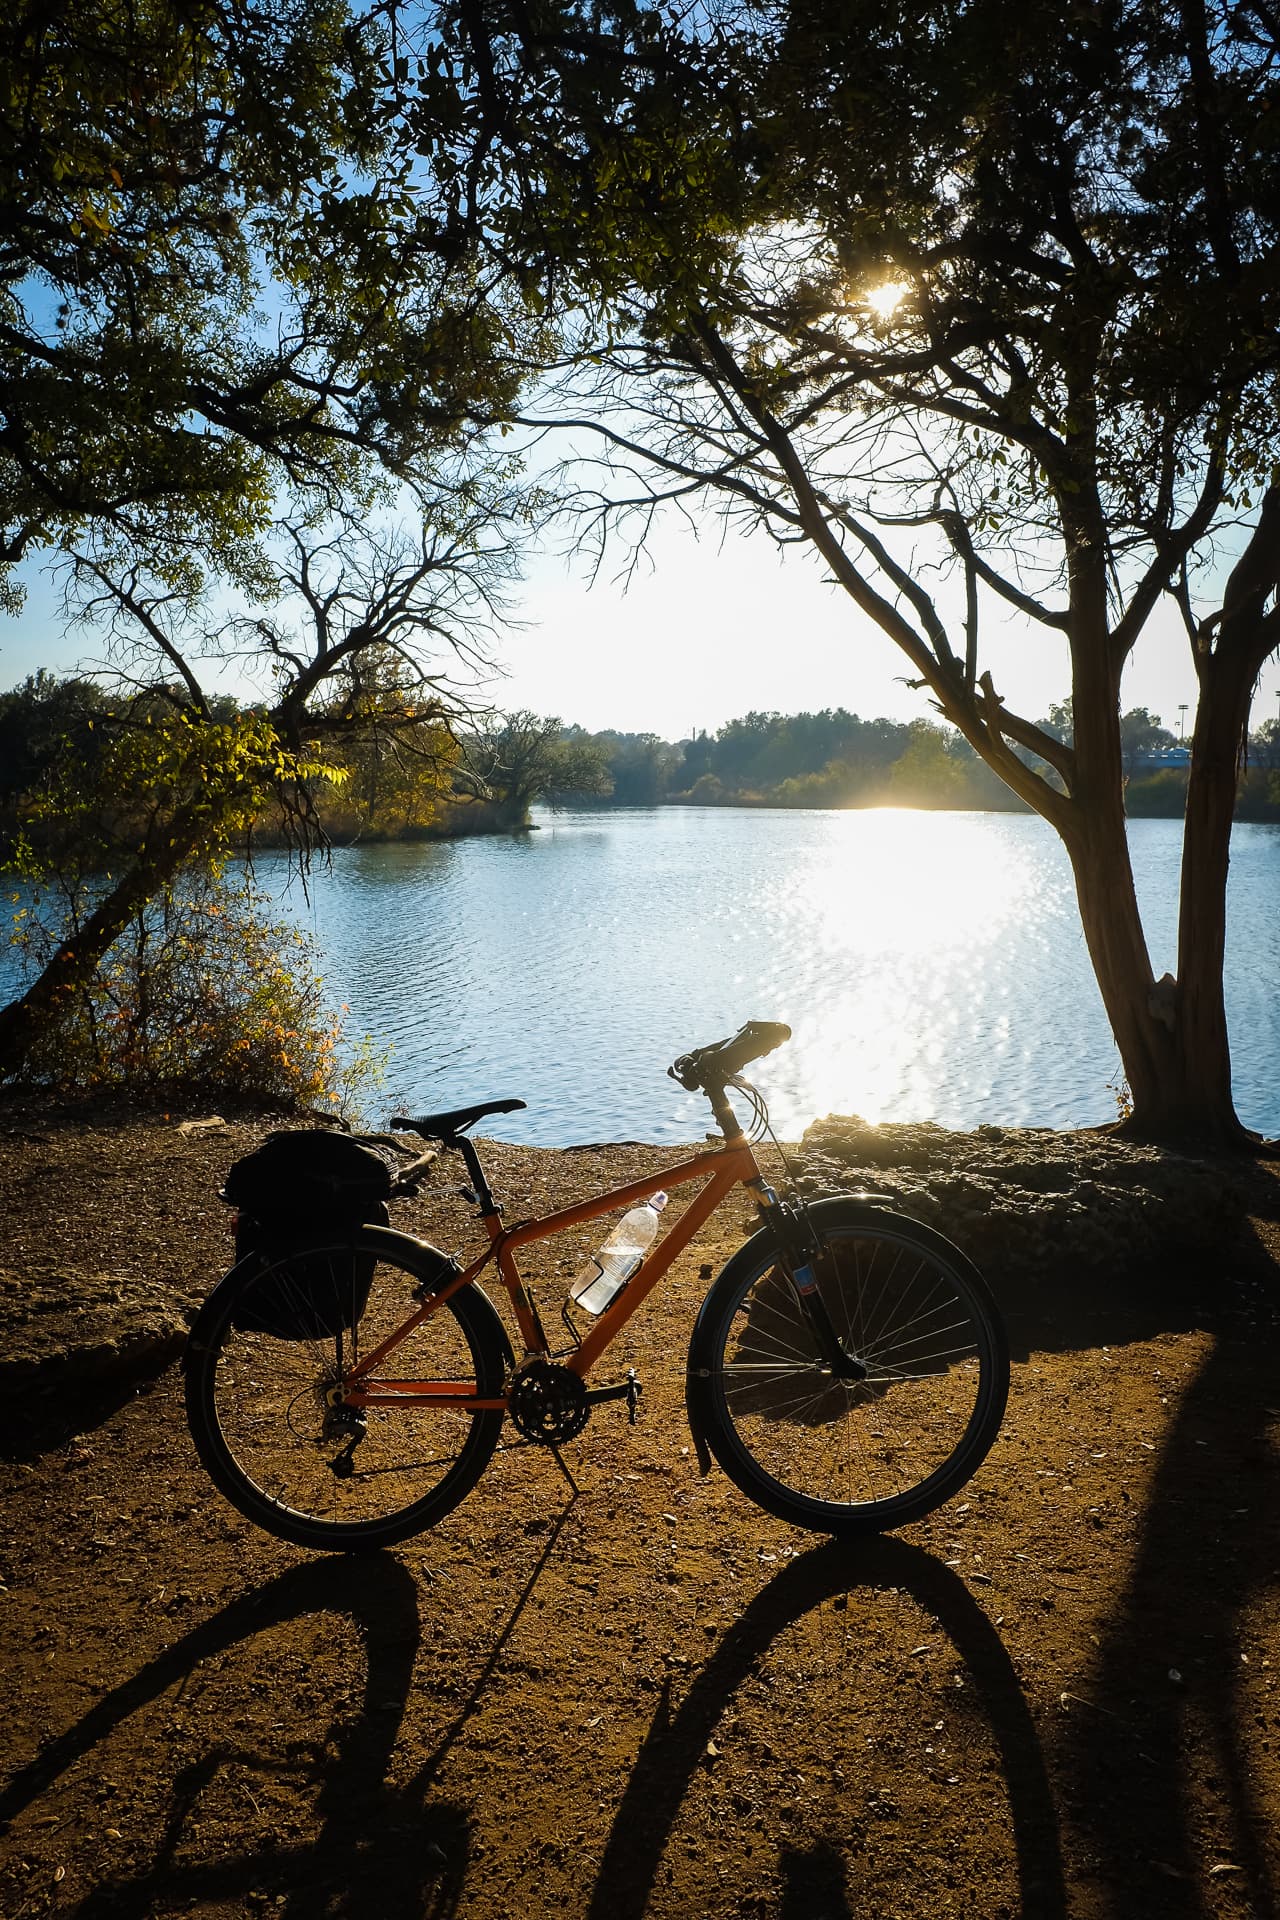
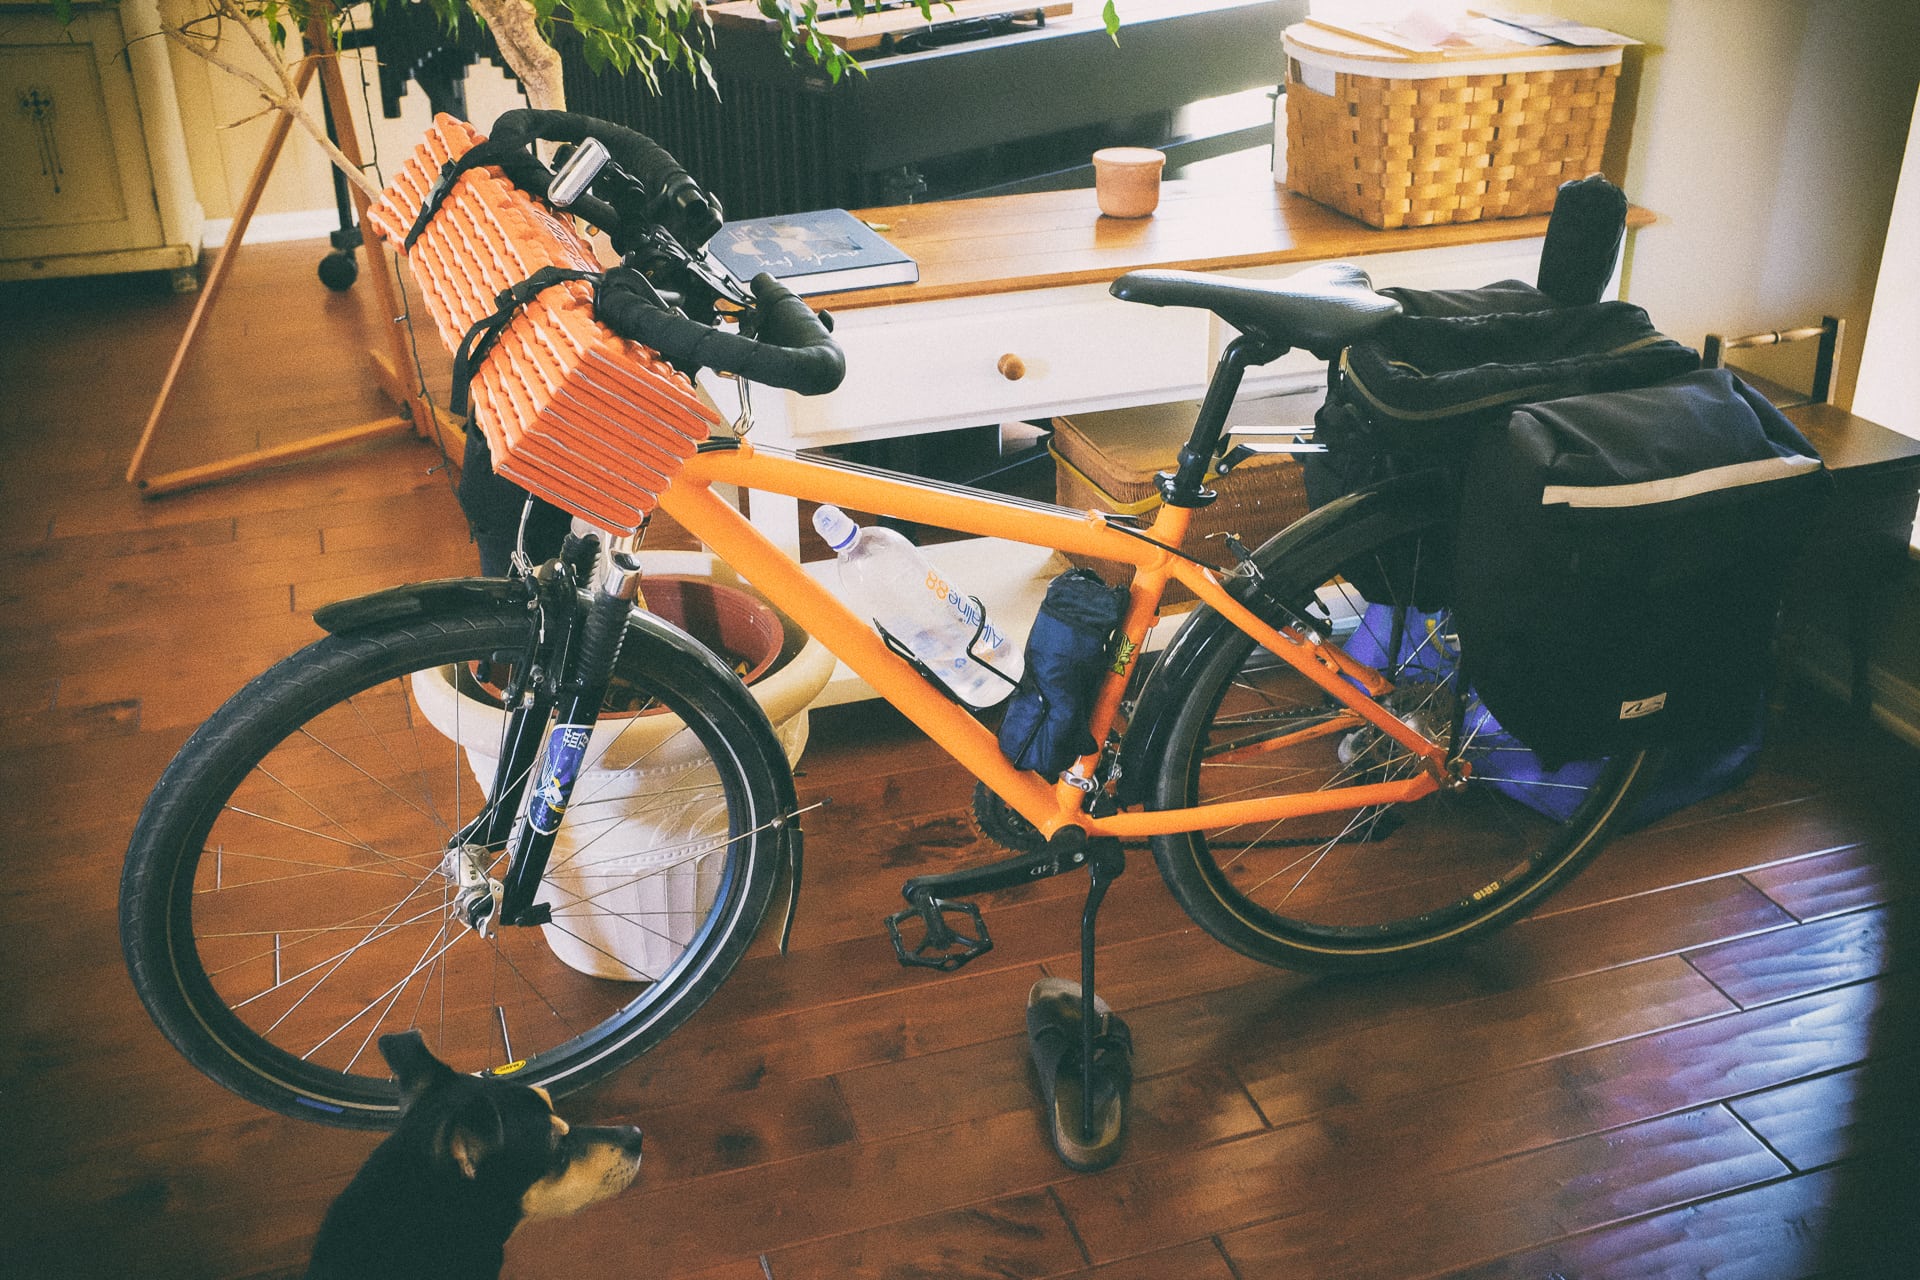
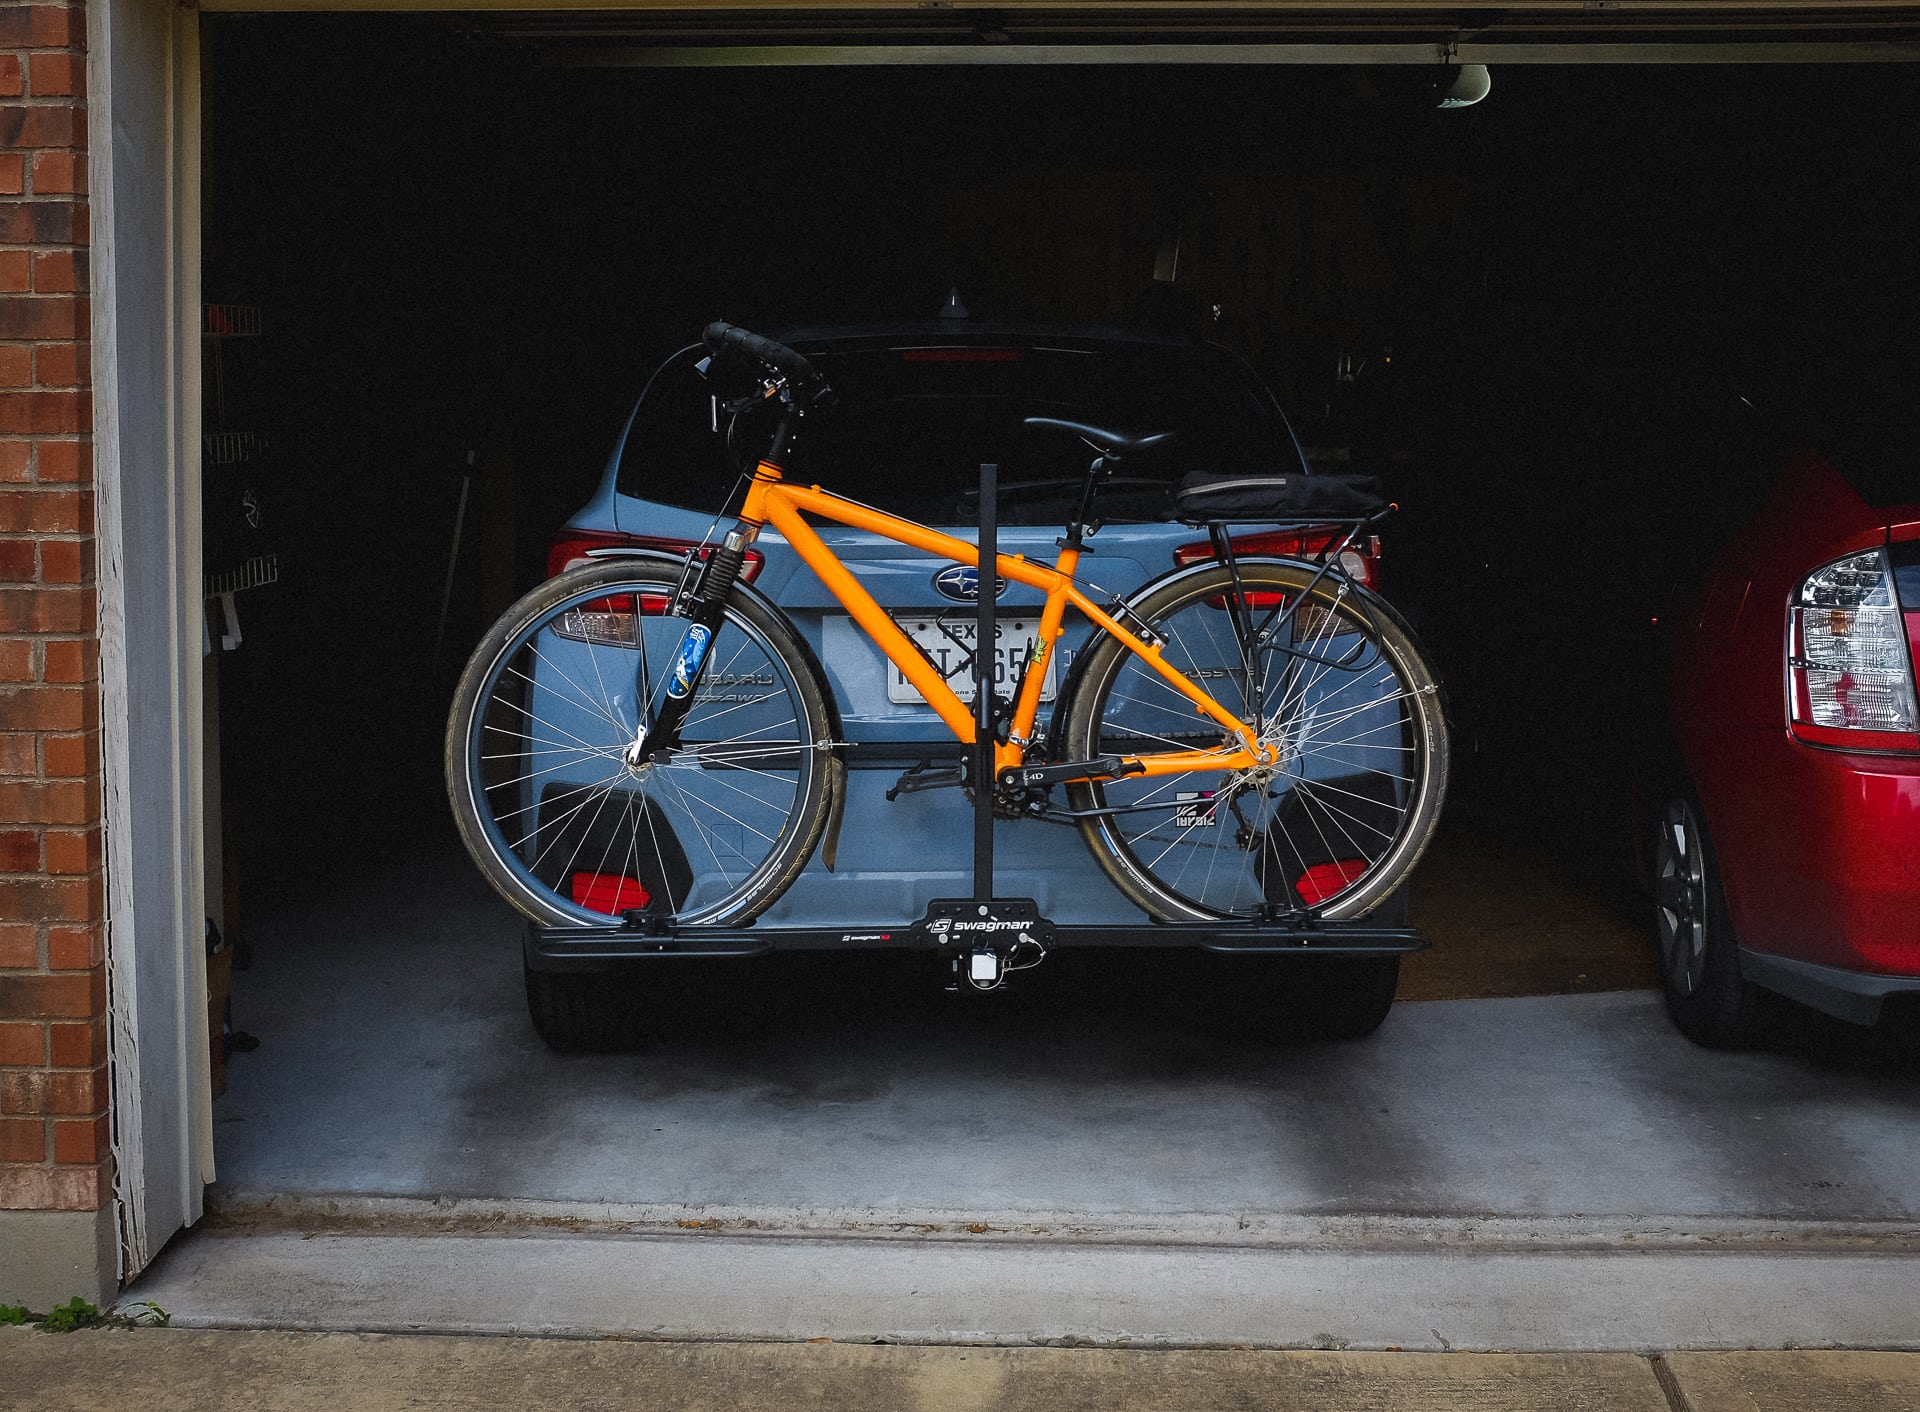
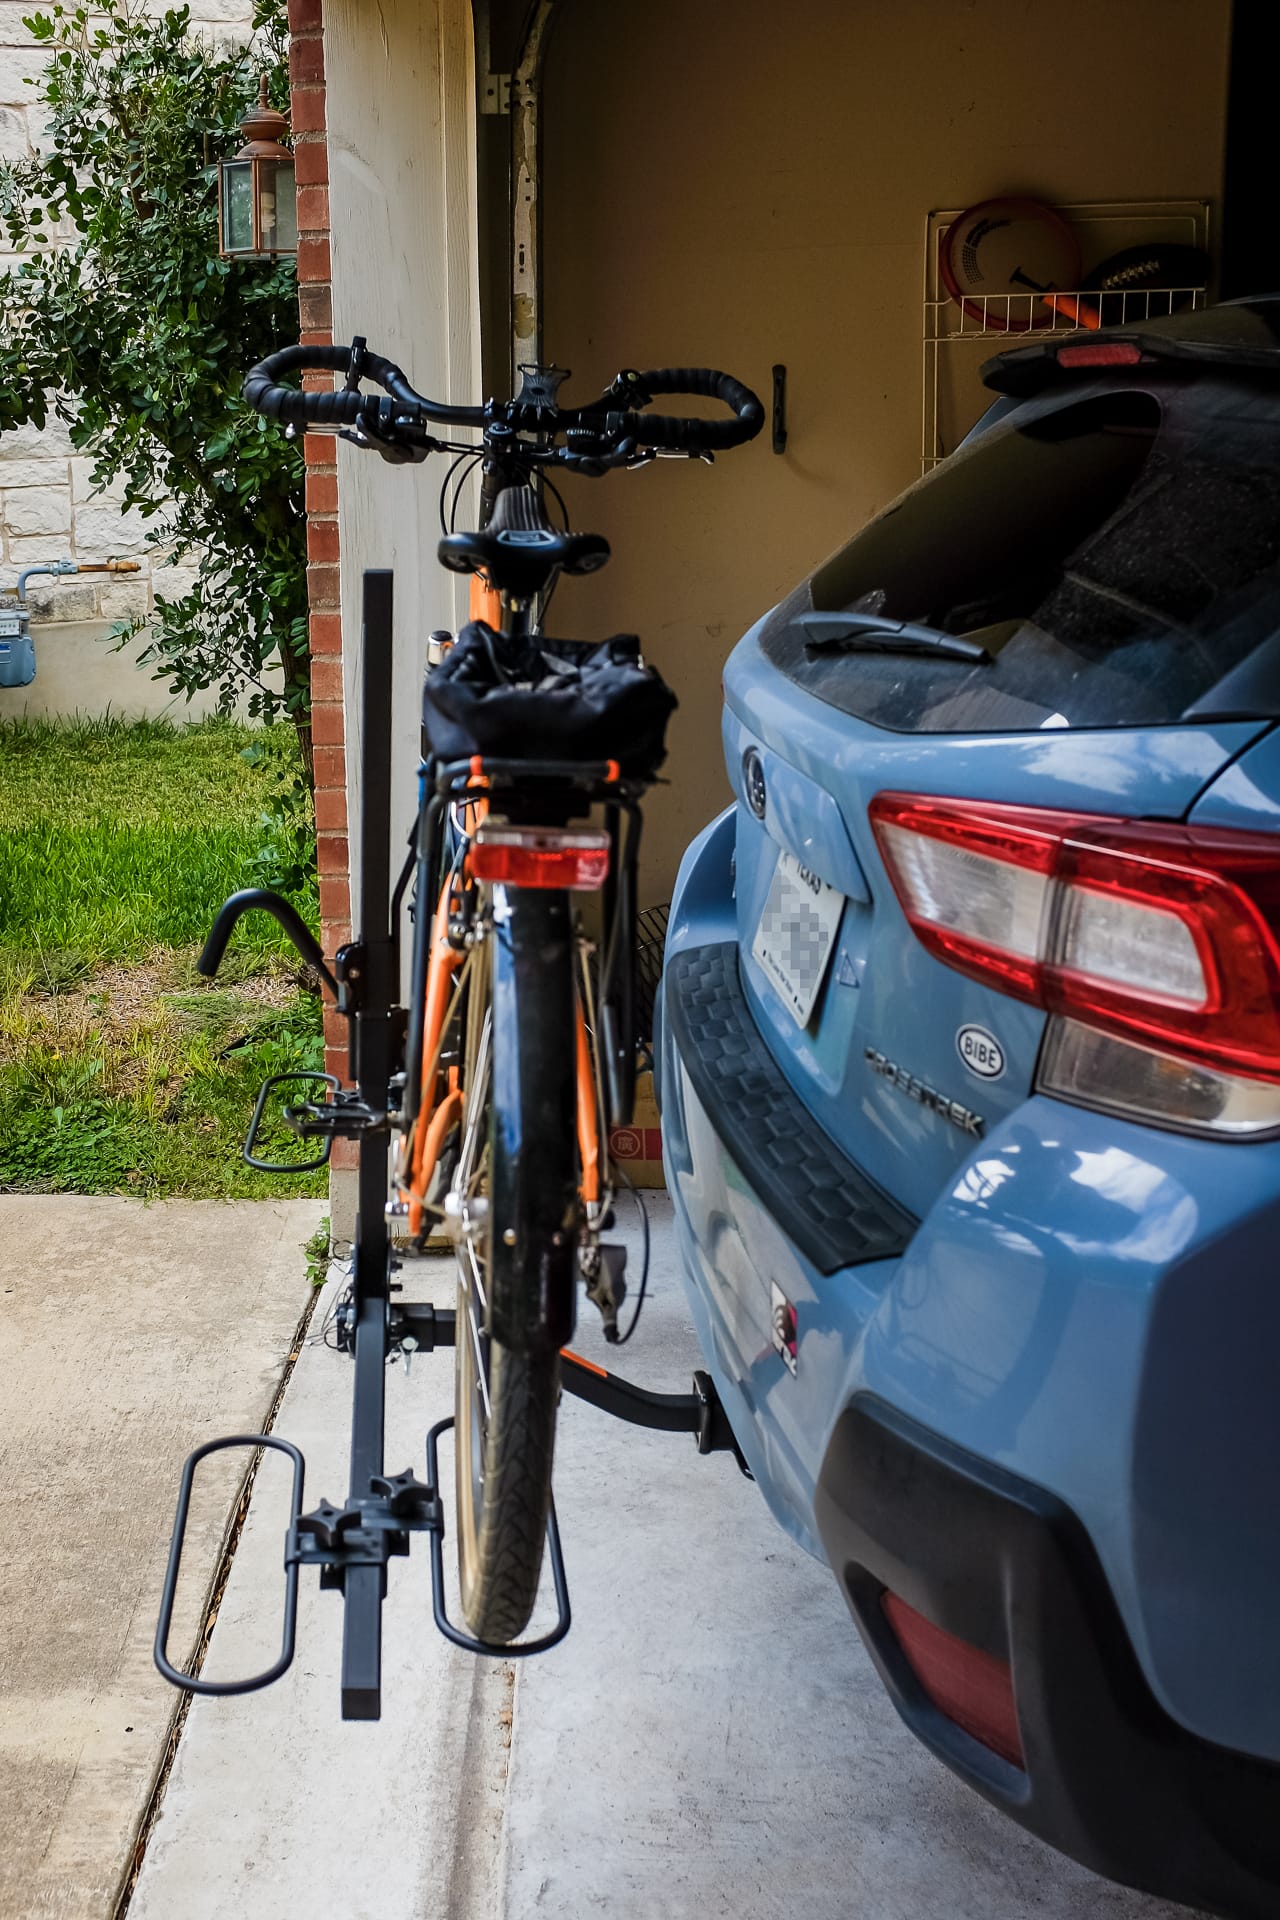
“Mango” Cedar Park, 2020

I hope you had a nice day!

Nearby Trail

Photo info: FUJIFILM X100T, 19mm, f/8, 1/320 sec, ISO200
“Short Trail” Cedar Park, 2020

I had fun today at lunch exploring a little trail that runs behind our house. We have what’s known as a “green belt” in our neighborhood, which is a bit of wooded area, and when the kids were little, we explored it a bit looking for a geocache. At that time, the trail didn’t extend very far back, but now it actually connects to the street on the other side of the neighborhood, although you have to kind of know where the entry/exit point is because it’s not marked or anything. It’s kind of a neat, hidden little part of the neighborhood.

I hope you had a nice day!

Solo Camping at Pedernales Falls State Park

Photo info: FUJIFILM X100T, 19mm, f/7.1, 1/125 sec, ISO250
“Campsite” Johnson City, 2020

I’ve been wanting to go for a solo camping trip ever since I watched the shows Yurukyan and Hitori Kyanpu de Kutte Neru, which both feature a lot of solo camping. Since I had Friday off, I checked the campsite availability at Pedernales Falls State Park and saw that they had one site open for Friday evening, so I quickly grabbed it and decided to go for my first solo overnight trip!

I actually have a few new items of camping gear I wanted to try out before I head out to Big Bend National Park next month so this would be the perfect opportunity. My original plan was to hike to the campsite, set up camp, then hike some more trails before calling it a day. The following morning, I would break camp, return to the car and then bike around the park.

While I was checking out the cycling opportunities at Pedernales Falls State Park, I found a few videos on YouTube that showed people cycling on the trail that leads up to the primitive campsites where I’d be staying. So then I thought, hey, why don’t I try bikepacking, and load all of the gear onto the bike and ride to the campsite? Most of my camping gear is compact and light which make it easy to pack onto the bike. Even my relatively bulky Nemo Switchback sleeping pad was easily strapped to the handlebars.

Photo info: motorola moto g(6), 3.95mm, f/1.8, 1/1400 sec, ISO100
“On the Trail” Johnson City, 2020

The campsite is actually only 2 miles or so from the parking lot which isn’t far at all, but I thought this was perfect, because if for some reason my bicycle broke or I got a flat, I could easily just push the bicycle to the campsite or back to the car. I haven’t ever fully loaded the panniers before, after all.

However, my worries were unfounded, because the bike performed great, even with road-oriented touring tires. I did have to push the bike once when I got off my line while going up a steep hill and lost forward momentum, but other than that, it was 30 minutes of non-stop fun, and so much easier than lugging a heavy backpack on my back.

Now that I know how my gear fits on the bike and how the bike performs, it opens up new possibilities for longer trips on the bicycle. Time to check the map!

Some of the new items of gear this trip are:

  • REI Quarter Dome SL1 Tent – Perfect size for me (I’m 5′ 6″). I can keep a good amount of gear inside the tent with me. At about 2.5 lbs including poles, stakes, and footprint, it’s half the weight of my 2-person Marmot Catalyst tent.
  • Soto Amicus Stove and Cookset – Boils water fast and it’s very compact. Even has a built-in igniter! The Soto pot and cup have a good width to match the flame size of the stove.
  • Aegismax Down Sleeping Bag – The temperature dropped to the low 50s (F), which I would say is the lower limit of this sleeping bag. Very small and light, so it would be great for warmer evenings.
  • REI Flexlite Air Camp Chair – At one pound, this is a really easy “luxury” item to bring along. After a long hike, a chair is so much better than sitting on the ground or a log.

All-in-all, everything worked out nicely, and I had a great time solo camping. It was a relaxing getaway, completely unplugged (no cell signal). Highly recommended!

Here are a few more photos from my solo camp excursion, including some from the hiking trail, an armadillo that I came across, and a few from the Bird Blind on the other side of the park. Enjoy!

Photo info: FUJIFILM X100T, 19mm, f/7.1, 1/400 sec, ISO200
“Wolf Mountain Trail” Johnson City, 2020
Photo info: FUJIFILM X100T, 19mm, f/7.1, 1/60 sec, ISO800
“Armadillo” Johnson City, 2020

This slideshow requires JavaScript.

Packed Up

Photo info: FUJIFILM X100T, 23mm, f/5.6, 1/18 sec, ISO6400
“Packed Up” Cedar Park, 2020

I’m planning on camping (solo) overnight soon at Pedernales Falls State Park, so I was putting all my gear into my backpack in preparation to hike into the primitive campsites. I also wanted to bring my bicycle along and explore the park by bike if time allows, and when researching the bike activities in the park, I learned that most of the trails are open to bicycles, and that the trail to the primitive campsite that I will be staying at is very bike-friendly, therefore I will try my hand at a bit of bikepacking.

One of the nice things about having some ultra-light camping gear for backpacking is that it is also great for bikepacking. If you aren’t familiar with that term, bikepacking is similar to bicycle touring, but more off-the-beaten-path.

With my current pannier setup, I can fit all my camping gear, food/water, camera, and clothes. As much as I dislike having anything on my back while riding, I will probably wear a small daypack which will come in handy if I want to hike at all, and also, I can pack it with my kindle, camera, and camp clothes which will be very light (just a beanie, sleep clothes, and extra socks & underwear), and not stuff the panniers too much.

I think this setup will be good, but I’ll let you know how it goes!

Easy Way to Carry a Bike – Swagman STANDARD Fork Mount Rooftop Bike Carrier

Photo info: FUJIFILM X100T, 23mm, f/4, 1/500 sec, ISO200
“Bike Carrier” Cedar Park, 2020

Today, with the help of my two teenage sons, I installed a trailer hitch on the Subaru. And along with the hitch, I bought a hitch-mounted bicycle carrier. I love it!

The hitch is a CURT 13382 Class 3 Trailer Hitch, and it’s beefy, heavy, and tough. I was so happy to have my sons at home because, although it’s a relatively straightforward installation process, the weight of the hitch makes it awkward to lift both sides and thread the four nuts onto the bolts (all while lying on your back). I followed this helpful video and it made the process easy to understand. I love YouTube!

After the hitch was secure, I put the bicycle rack on, and adjusted the wheel supports so that Mango the Bike fits perfectly. The Swagman XC2 Hitch Mount Bike Rack is super-easy to use. It carries two bicycles securely, and you can even lock the bicycles if you have a padlock. Highly recommended rack!

Photo info: FUJIFILM X100T, 23mm, f/4, 1/750 sec, ISO200
“Bike Carrier” Cedar Park, 2020

Before I bought the hitch and bicycle carrier, I bought and tried out the Swagman STANDARD Fork Mount Rooftop Bike Carrier. It’s a lot more affordable, but lifting the bicycle to the roof was kind of a pain, and more importantly, I felt a lot of anxiety driving around with the bicycle up top, especially when I was driving around corners. And not being able to see if the bike was ok up there was not comforting.

With the hitch-mounted bicycle rack, I can see it in my rear-view mirror for that peace-of-mind, and the mechanism that secures the bicycle is very sturdy. I have no worries at all with that hitch-mounted bicycle rack. Definitely a good solution. (Thanks to my brother for recommending it!)