Photo info: FUJIFILM X100T, 19mm, f/5.6, 1/500 sec, ISO200 “Casa Grande” Big Bend National Park, 2020
We arrived at Big Bend National Park at around noon and were able to secure a couple of great campsites for Friday and Saturday nights. Reservations for the back-country campsites have to be made in-person (online reservations are coming Feb 8, 2020) so there was a bit of uncertainty in which sites were already taken. Our preferred hiking plan required staying at the Toll Mountain campsite (TM1) the first night, since it is situated right at the Emory Peak trail-head, which we wanted to hike first thing in the morning. We were stoked that the Toll Mountain campsite was available!
Our second preferred campsite on the South Rim was already taken by someone else, but a few good backup choices were available so we picked NE2/ER2 which looked great. With campsites reserved, we headed to the trail to start our backpacking adventure.
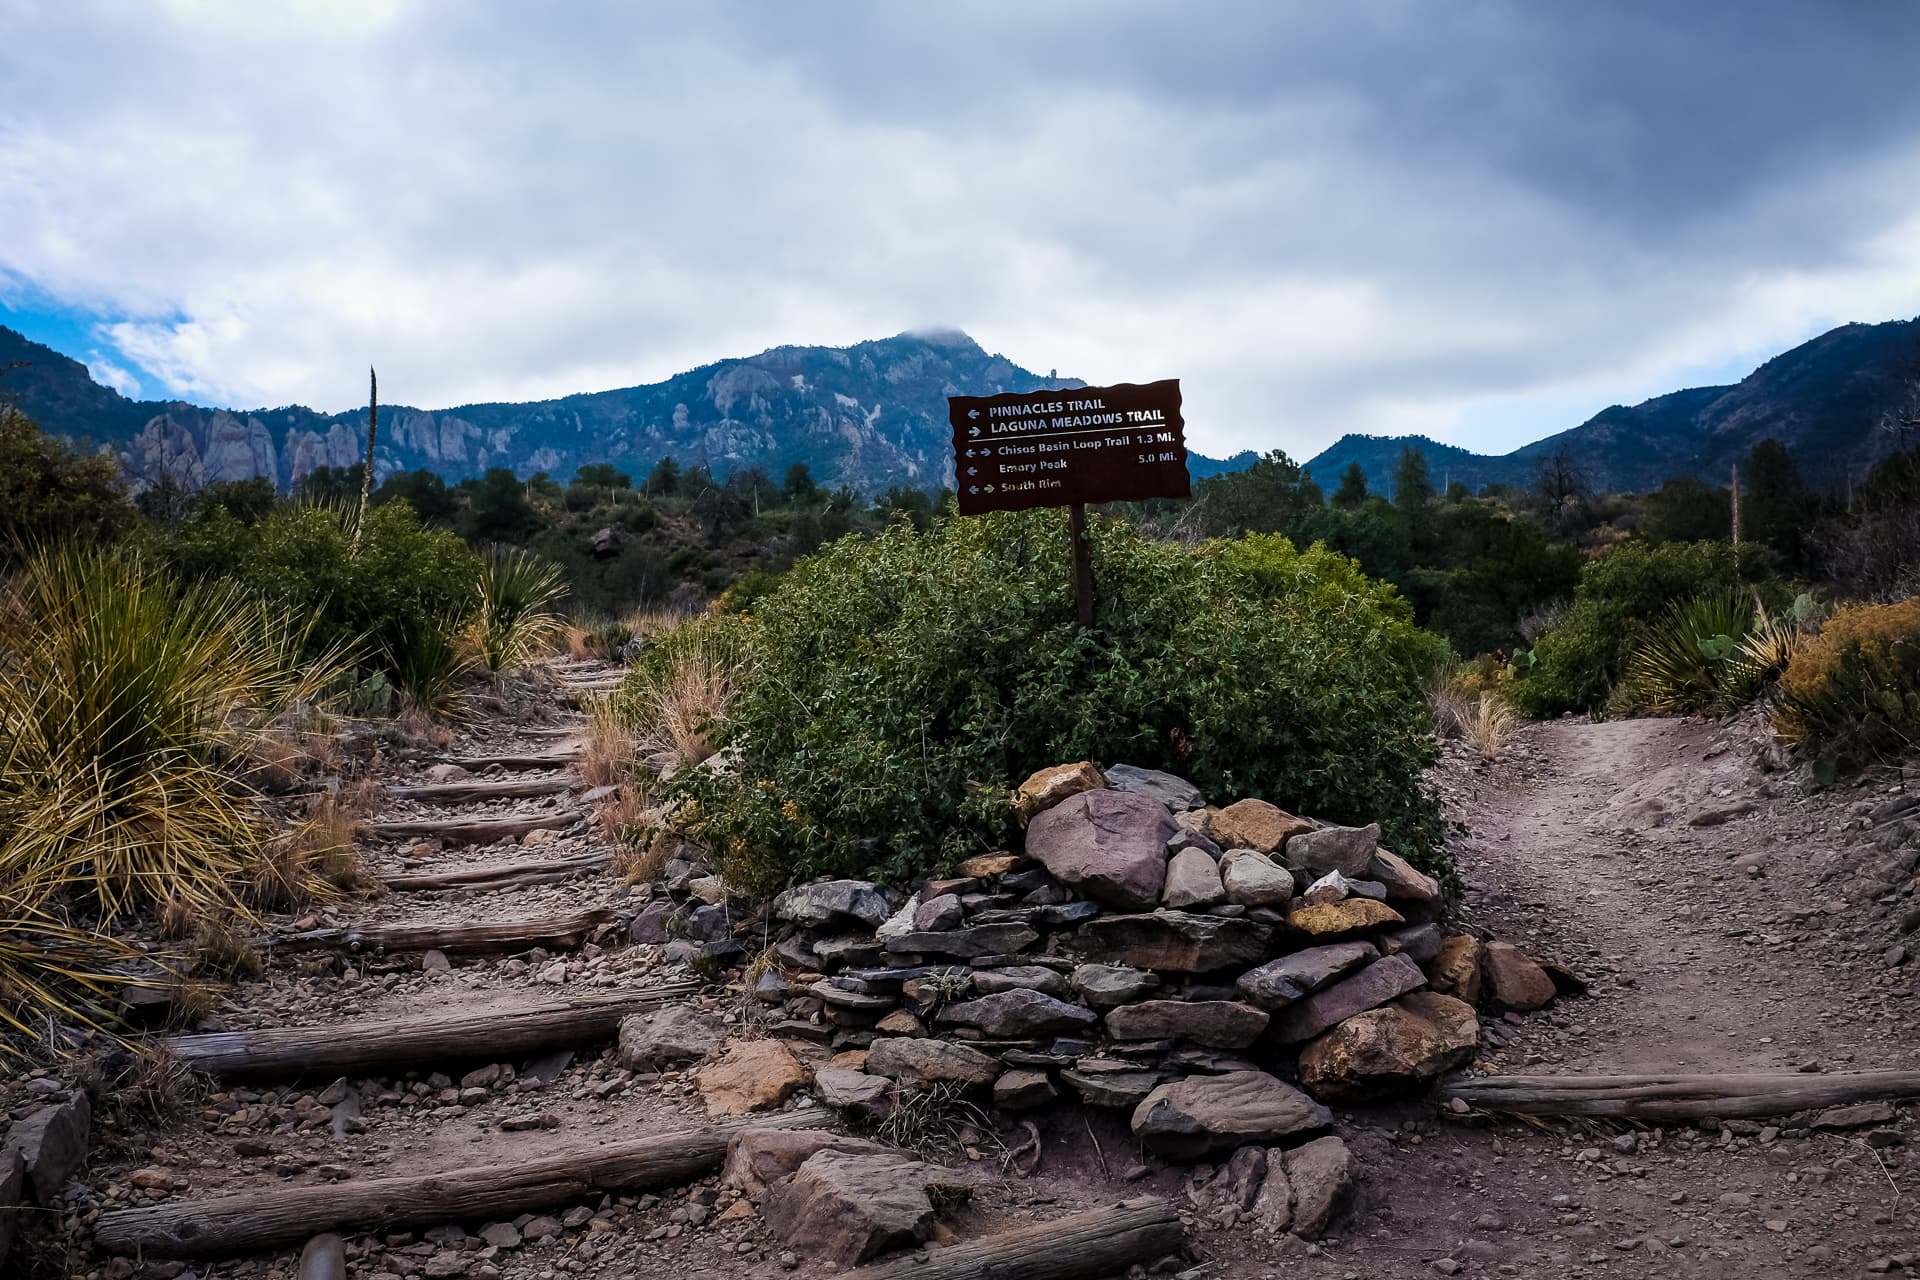
Photo info: FUJIFILM X100T, 19mm, f/5.6, 1/640 sec, ISO200 “Trail-head” Big Bend National Park, 2020
The hike today was simple: take Pinnacles Trail up to the Toll Mountain campsite. Simple but oh so strenuous with 40 lbs on my back! According to Strava, we traveled 3.62 miles with an elevation gain of 1,717 feet. The switchbacks at the end of the trail were intense and when we reached the campsite, we were exhausted but stoked. We figured that this would be the most difficult hike of the weekend, so to survive it in good shape was encouraging and a huge relief!
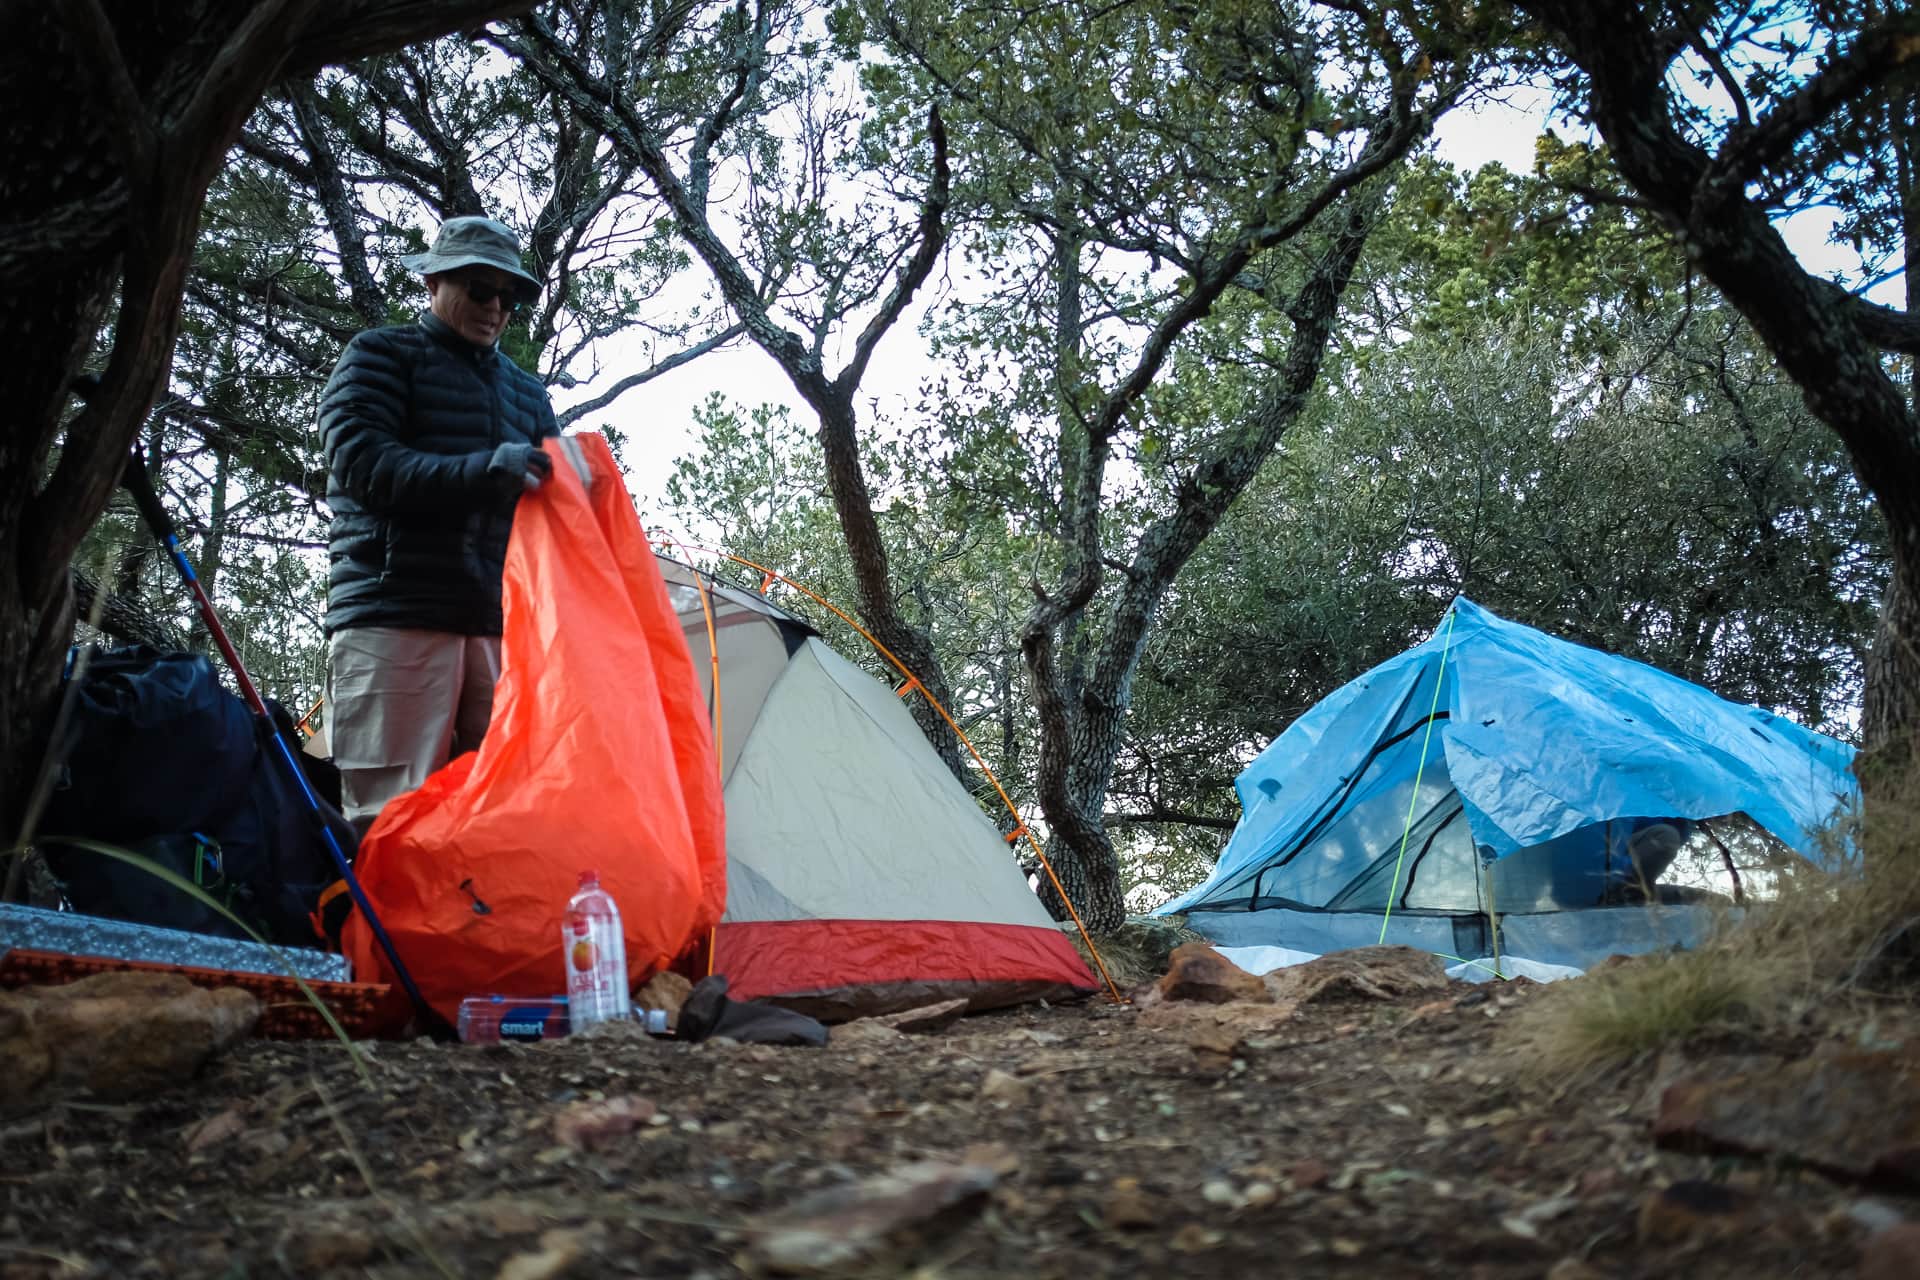
Dinner tonight was my first try of a Mountain House camp meal, so I was excited to give it a try. I boiled two cups of water in my Stanley Adventure Cooking Pot, then poured it into the bag of dehydrated Beef Stroganoff, sealed it up, and waited 8 minutes for it to re-hydrate. The meal was pretty tasty, and I’d definitely recommend it. Eating a hot dinner with my new Snow Peak titanium spork on a chilly evening in the Big Bend back-country was a great experience!
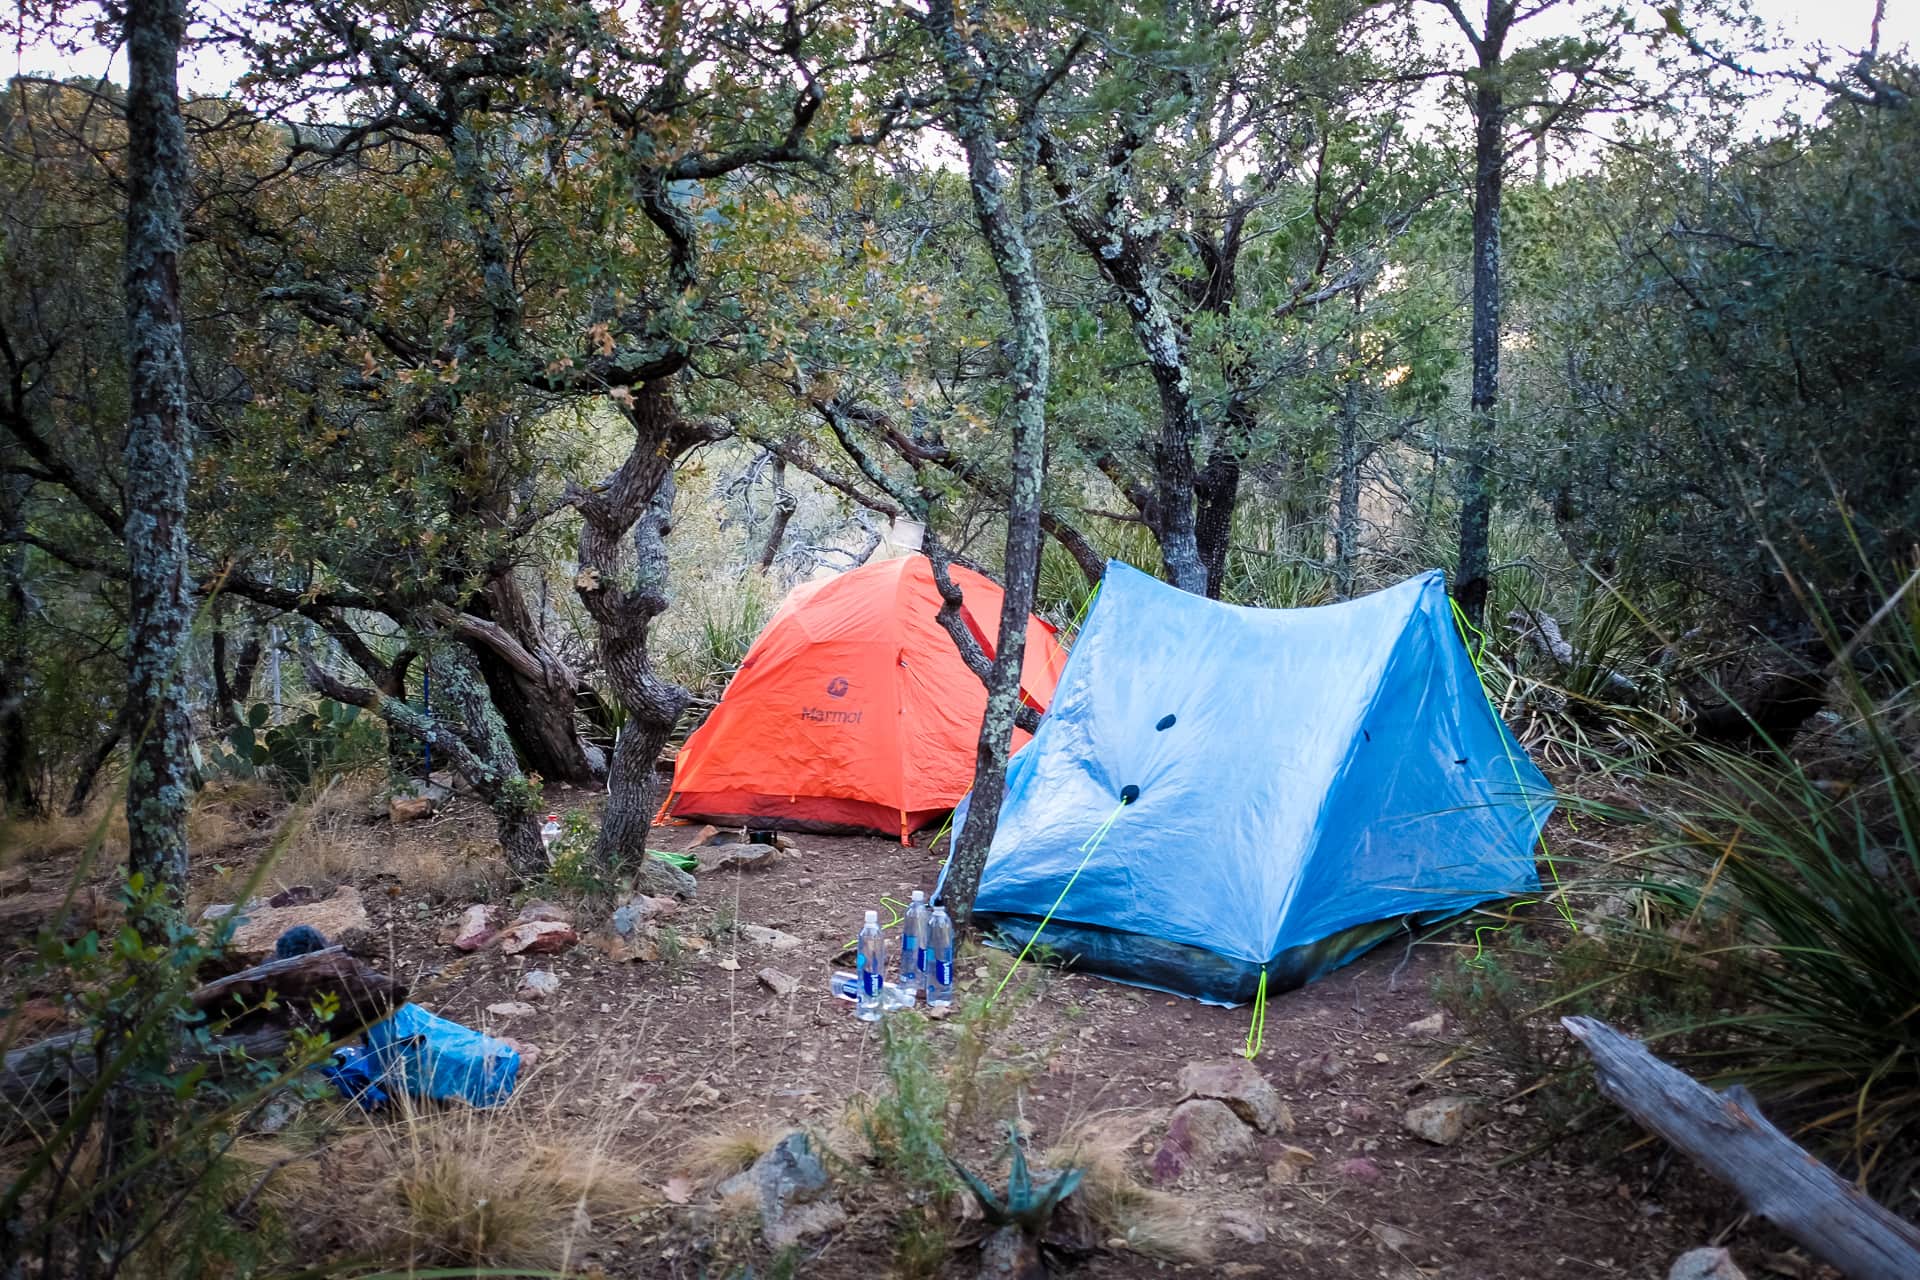
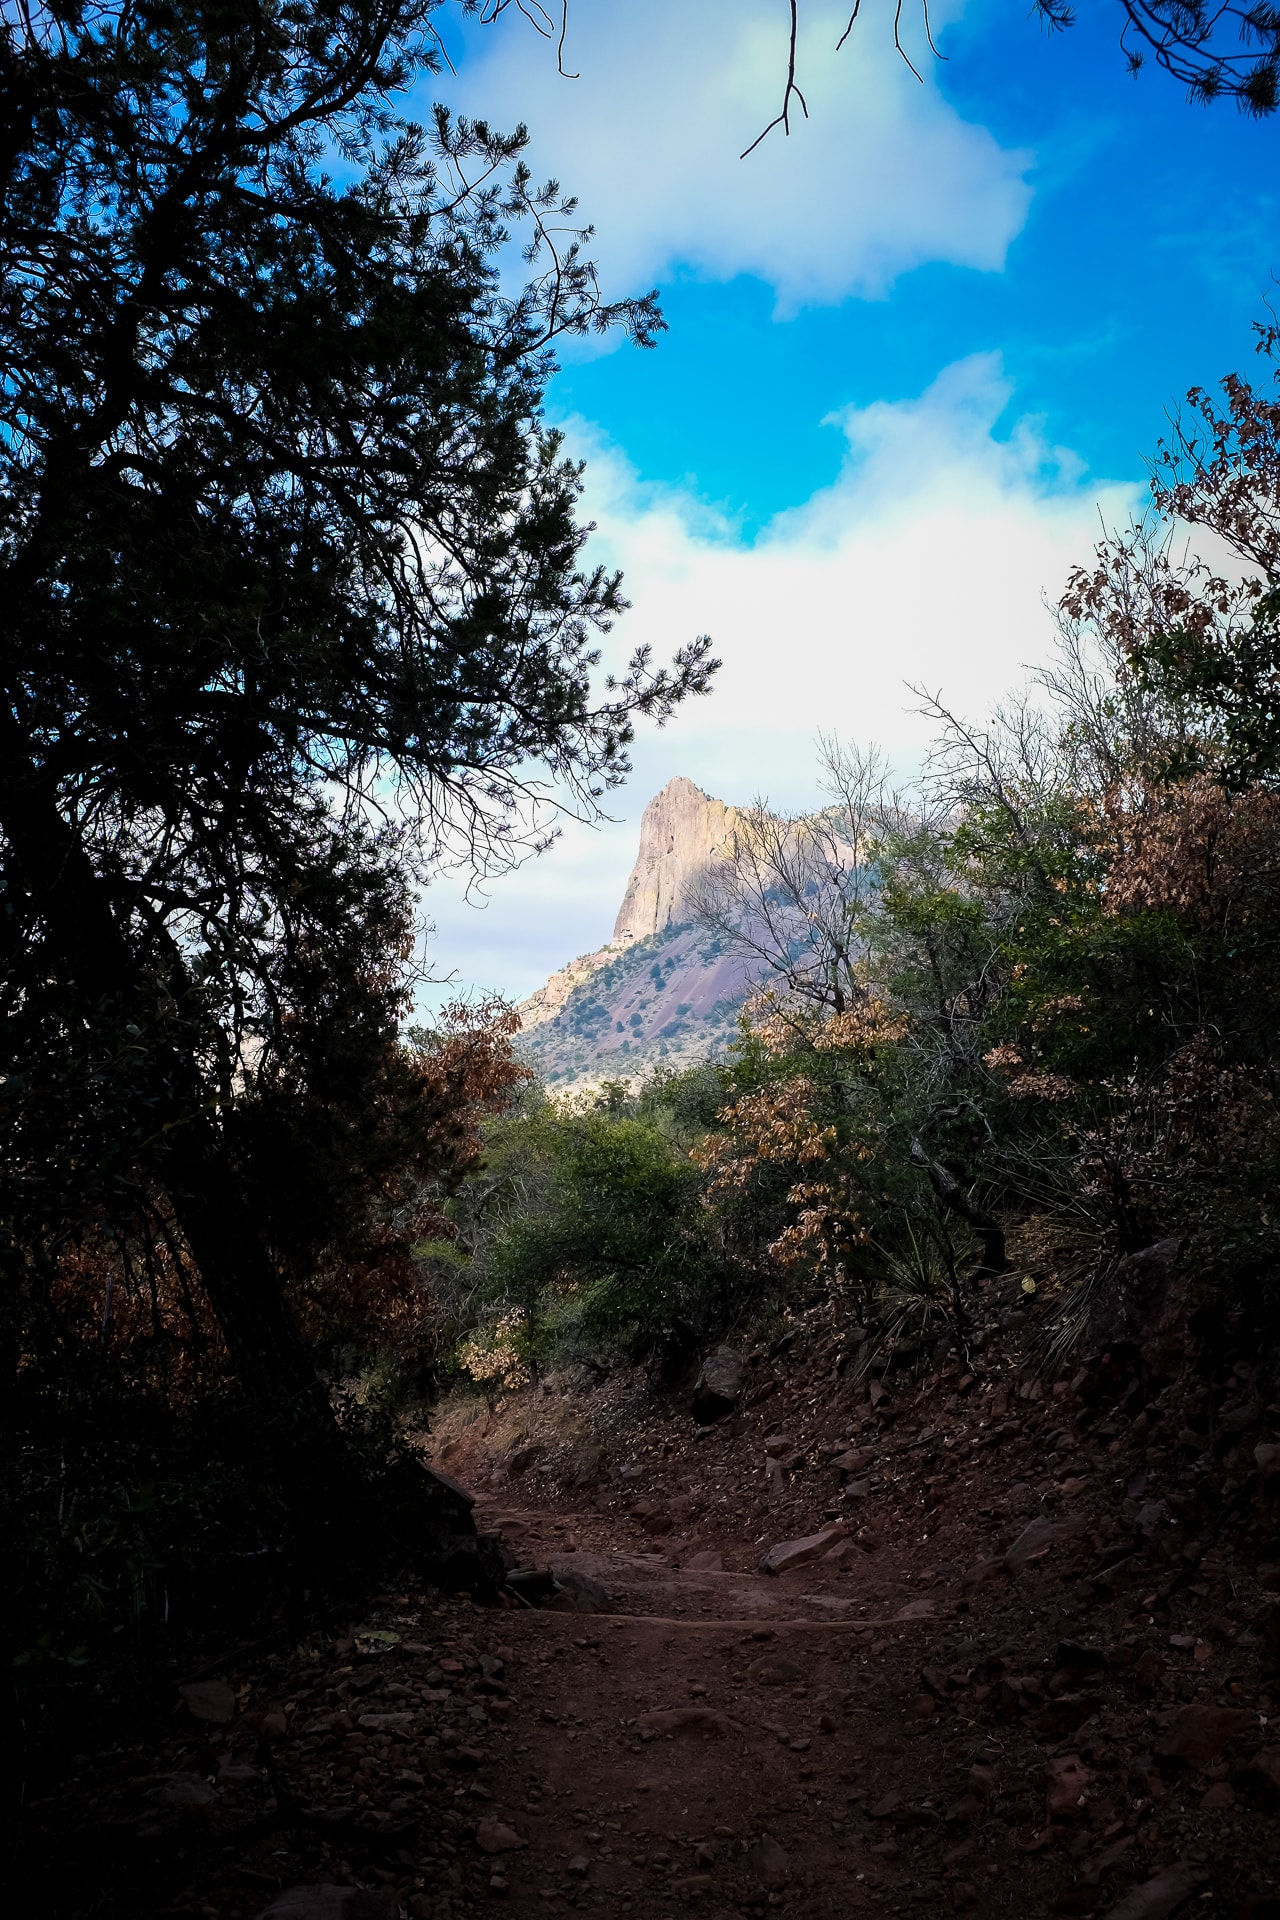
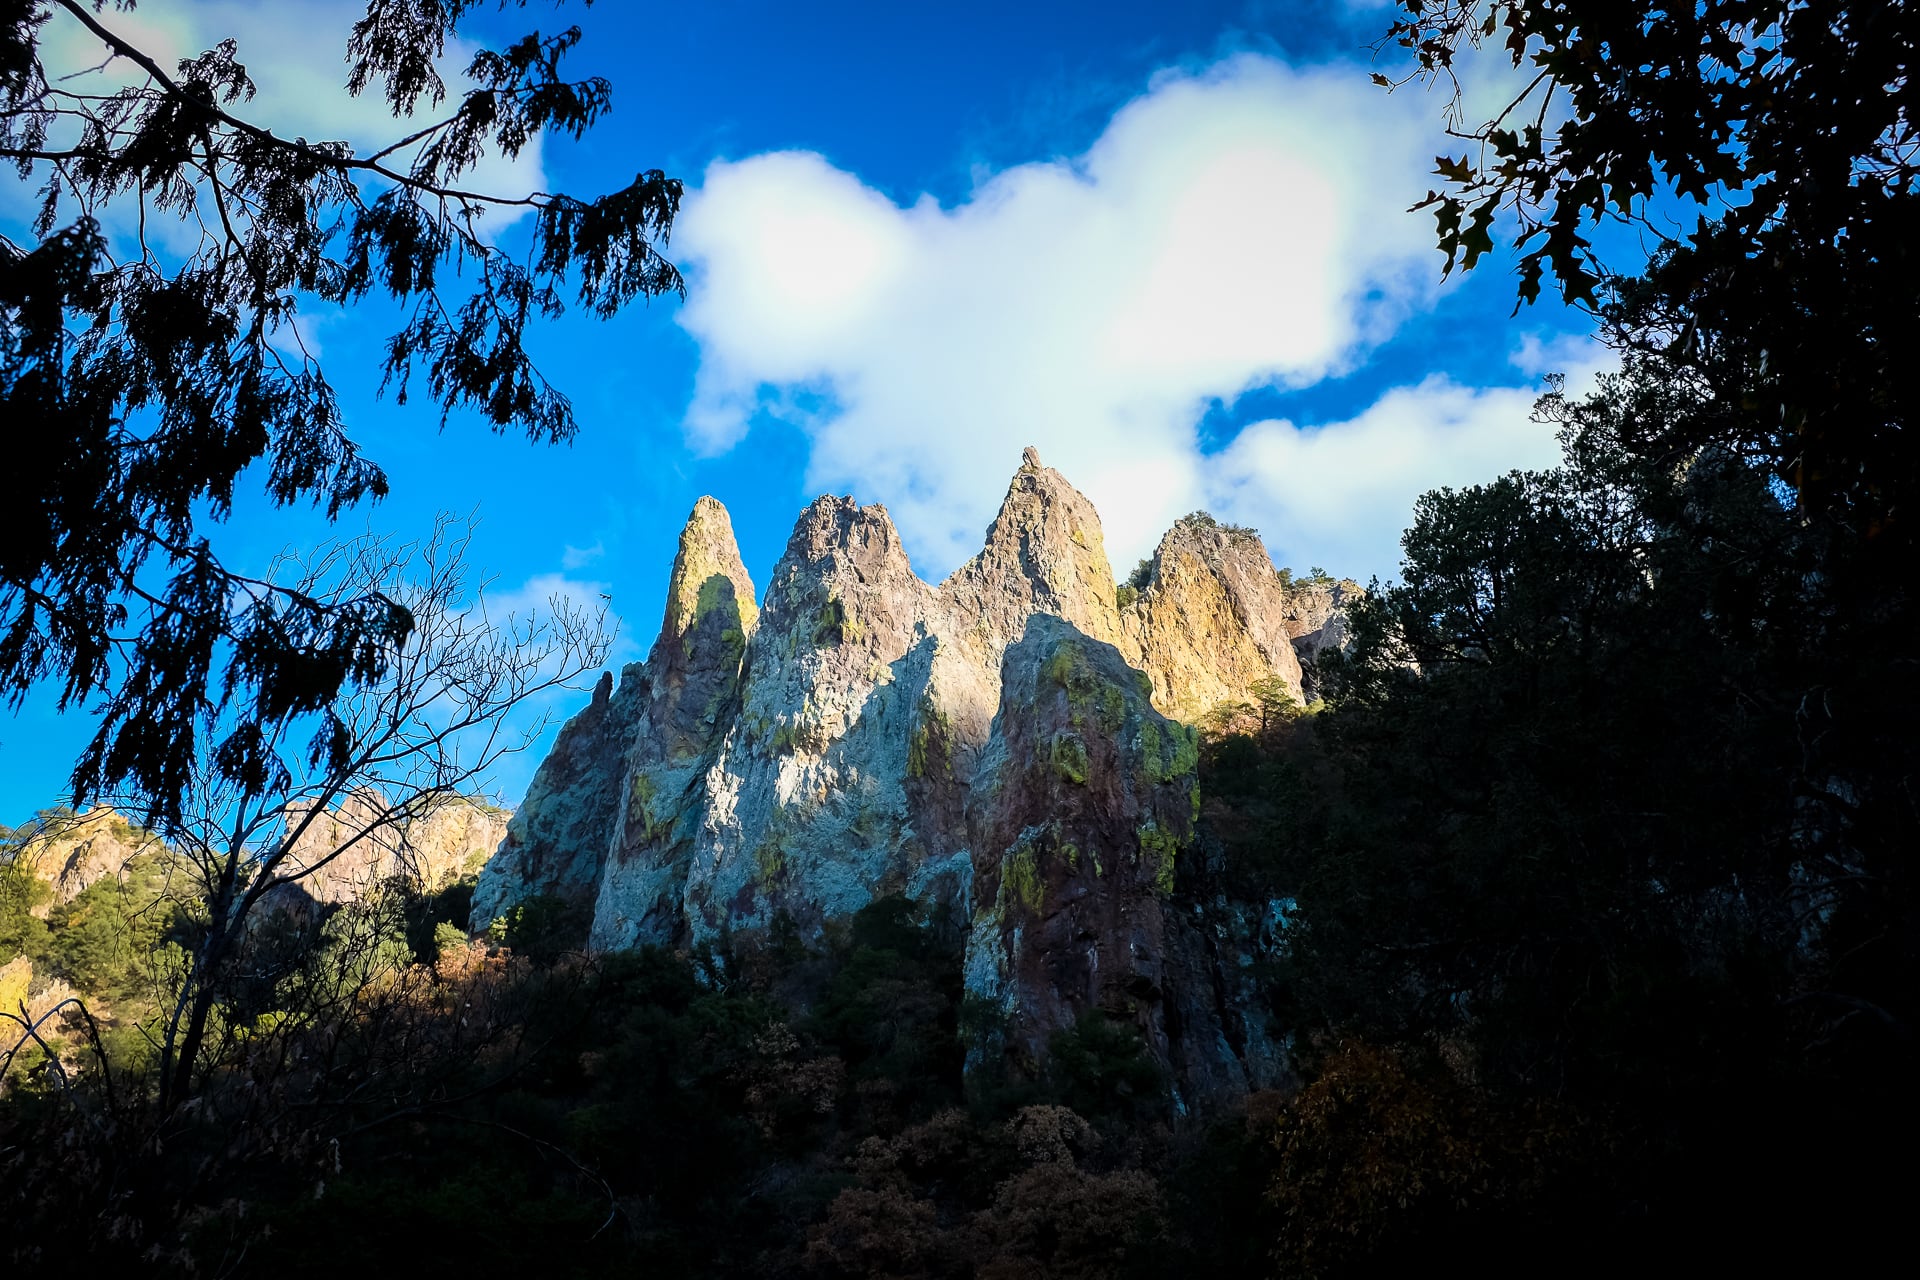
Here are a few more photos from the day:
Photo info: FUJIFILM X100T, 19mm, f/2, 1/25 sec, ISO200 “Campsite” Big Bend National Park, 2020Photo info: FUJIFILM X100T, 19mm, f/5.6, 1/240 sec, ISO200 “Cloudy Peak” Big Bend National Park, 2020Photo info: FUJIFILM X100T, 19mm, f/5.6, 1/220 sec, ISO200 “Sharp Peaks” Big Bend National Park, 2020Photo info: FUJIFILM X100T, 19mm, f/2, 1/125 sec, ISO200 “Setting Up Camp” Big Bend National Park, 2020Photo info: FUJIFILM X100T, 19mm, f/5.6, 1/25 sec, ISO200 “Sunset” Big Bend National Park, 2020
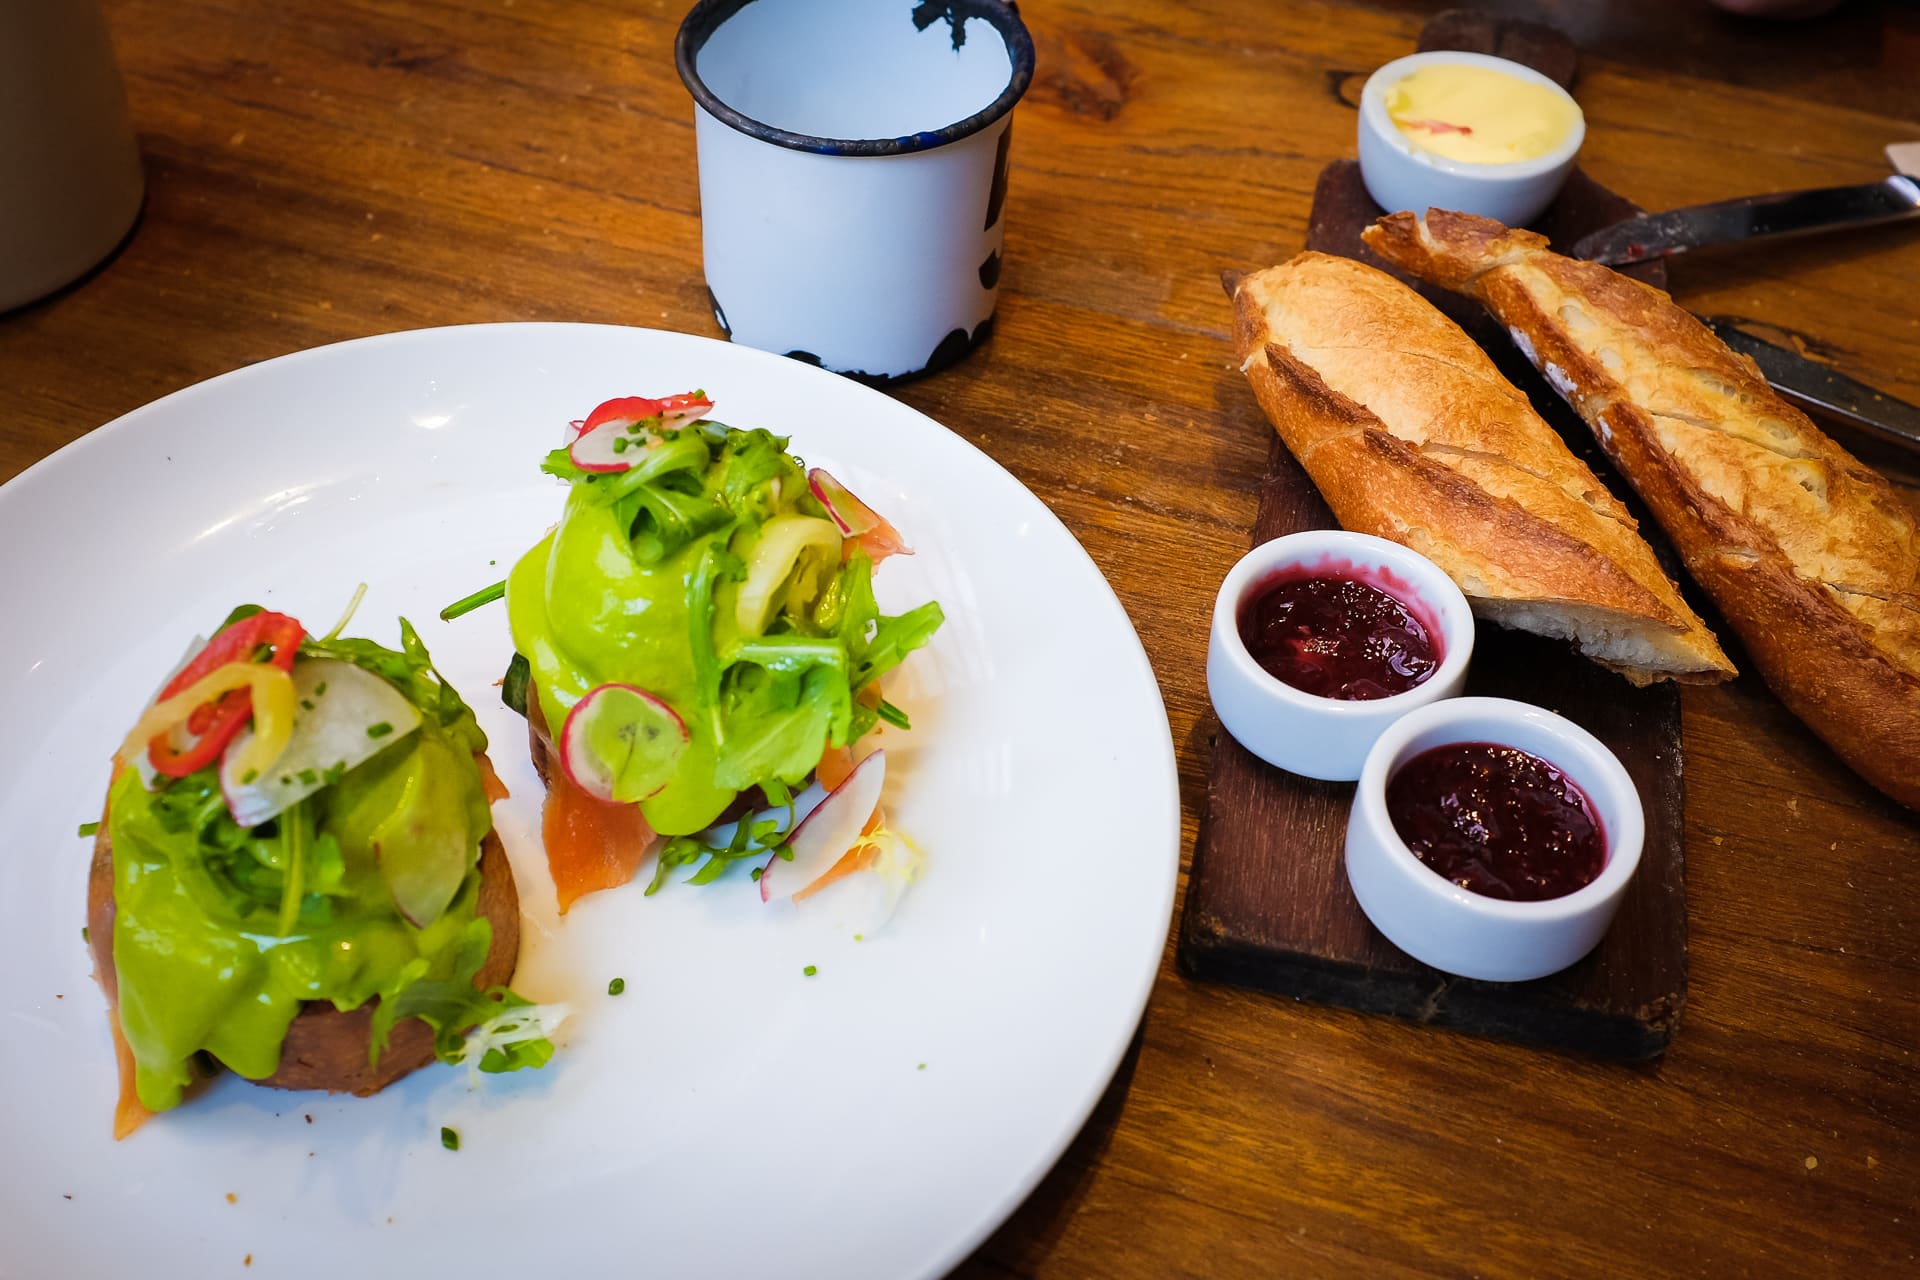
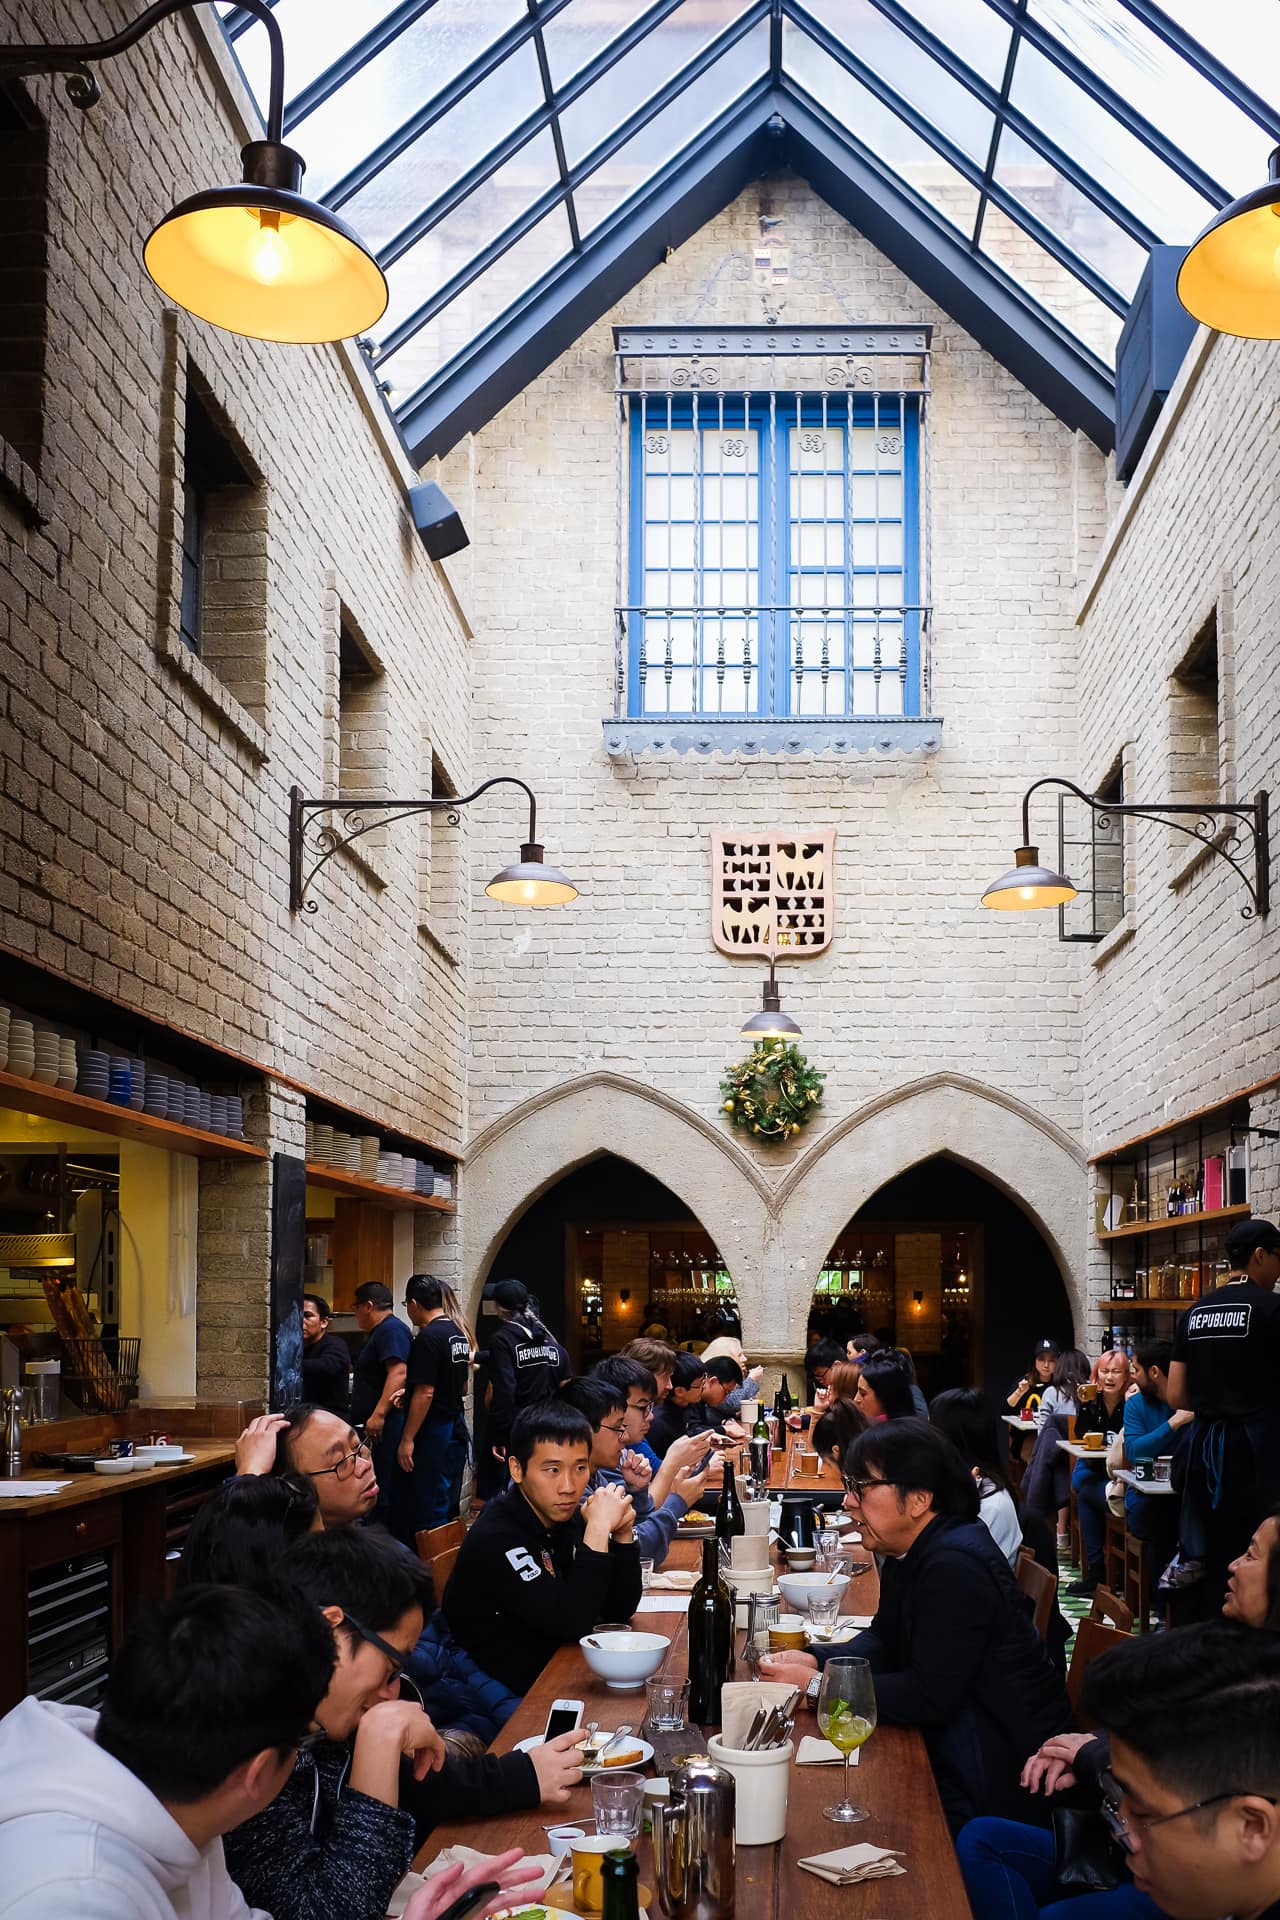
Today we had a bit of an excursion up to Los Angeles, for some eating, with a little shopping thrown in. First up was République Café and Bakery where we had This Morning’s Bread, Smoked Salmon Benedict, and a number of different coffees. The food was delicious, and the restaurant was really cool. I had never heard of République before, but it’s apparently very popular – I saw many selfies being taken there.
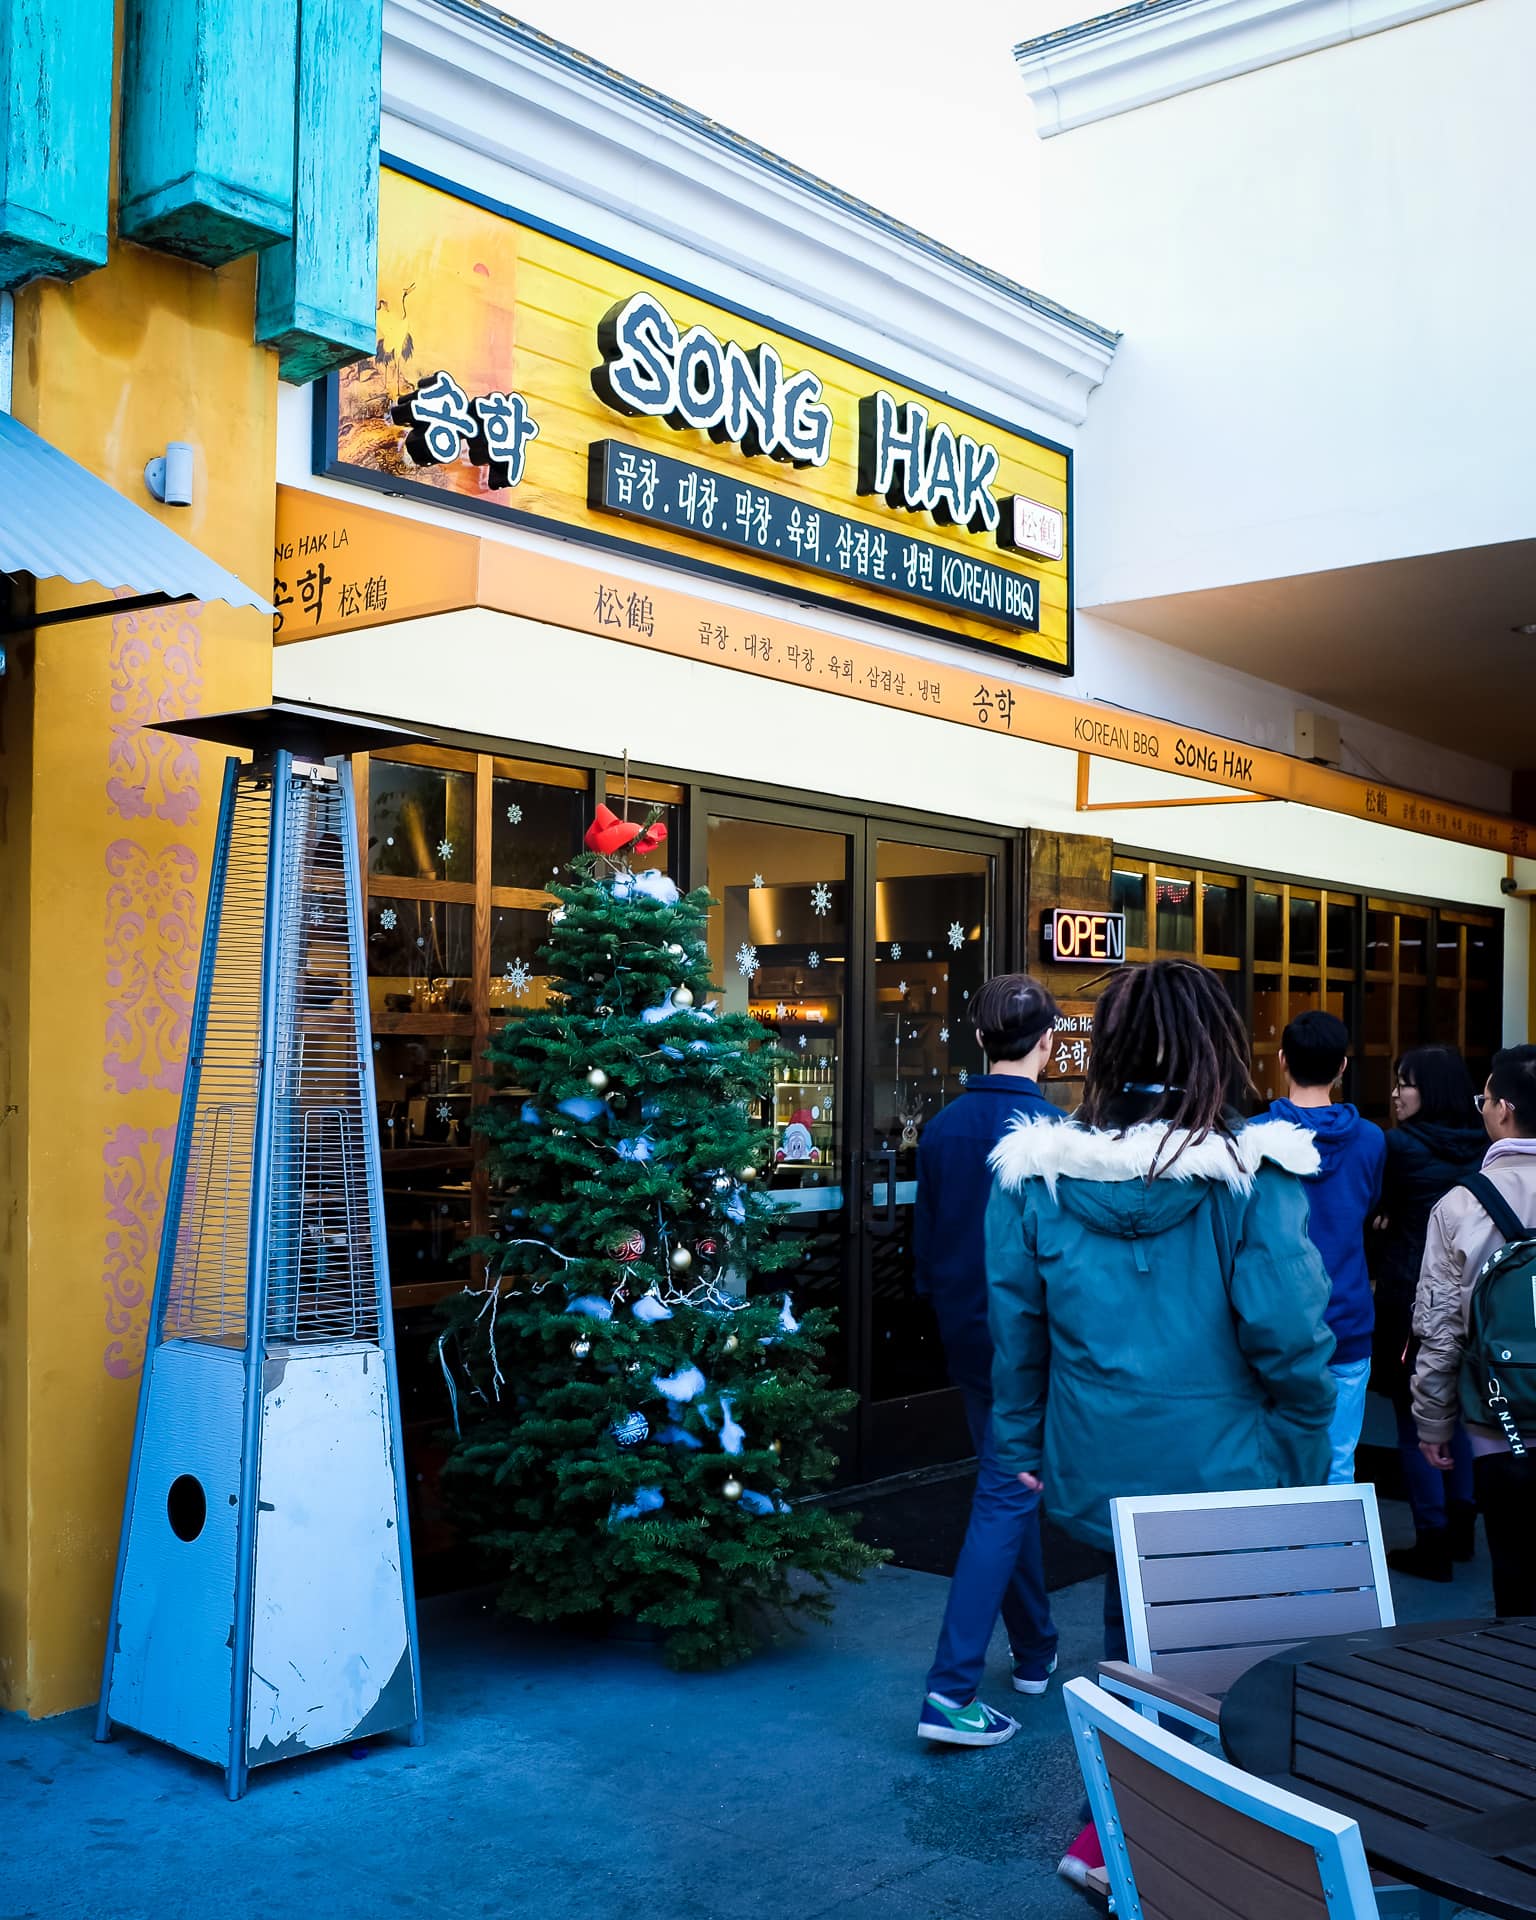
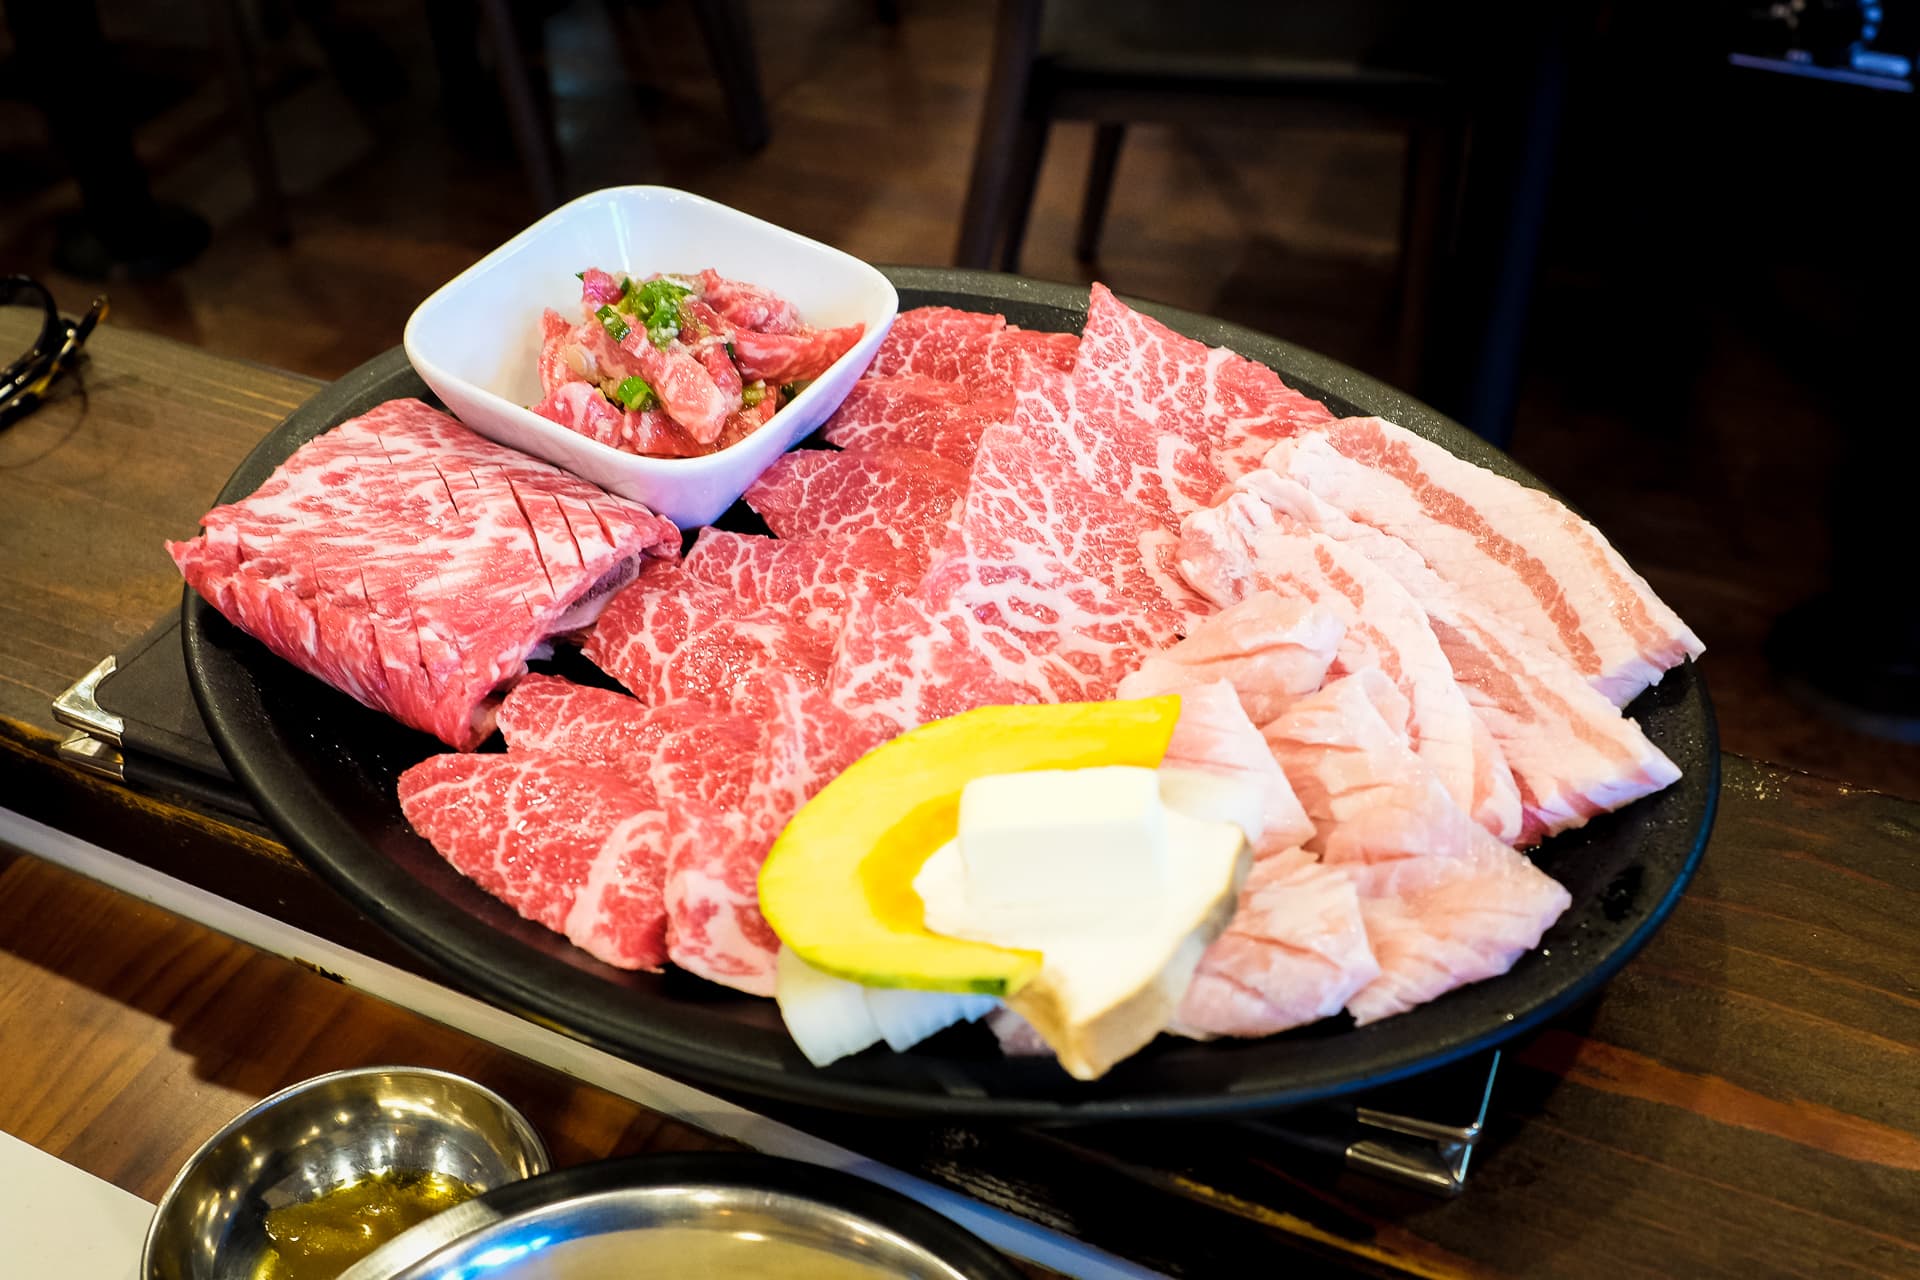
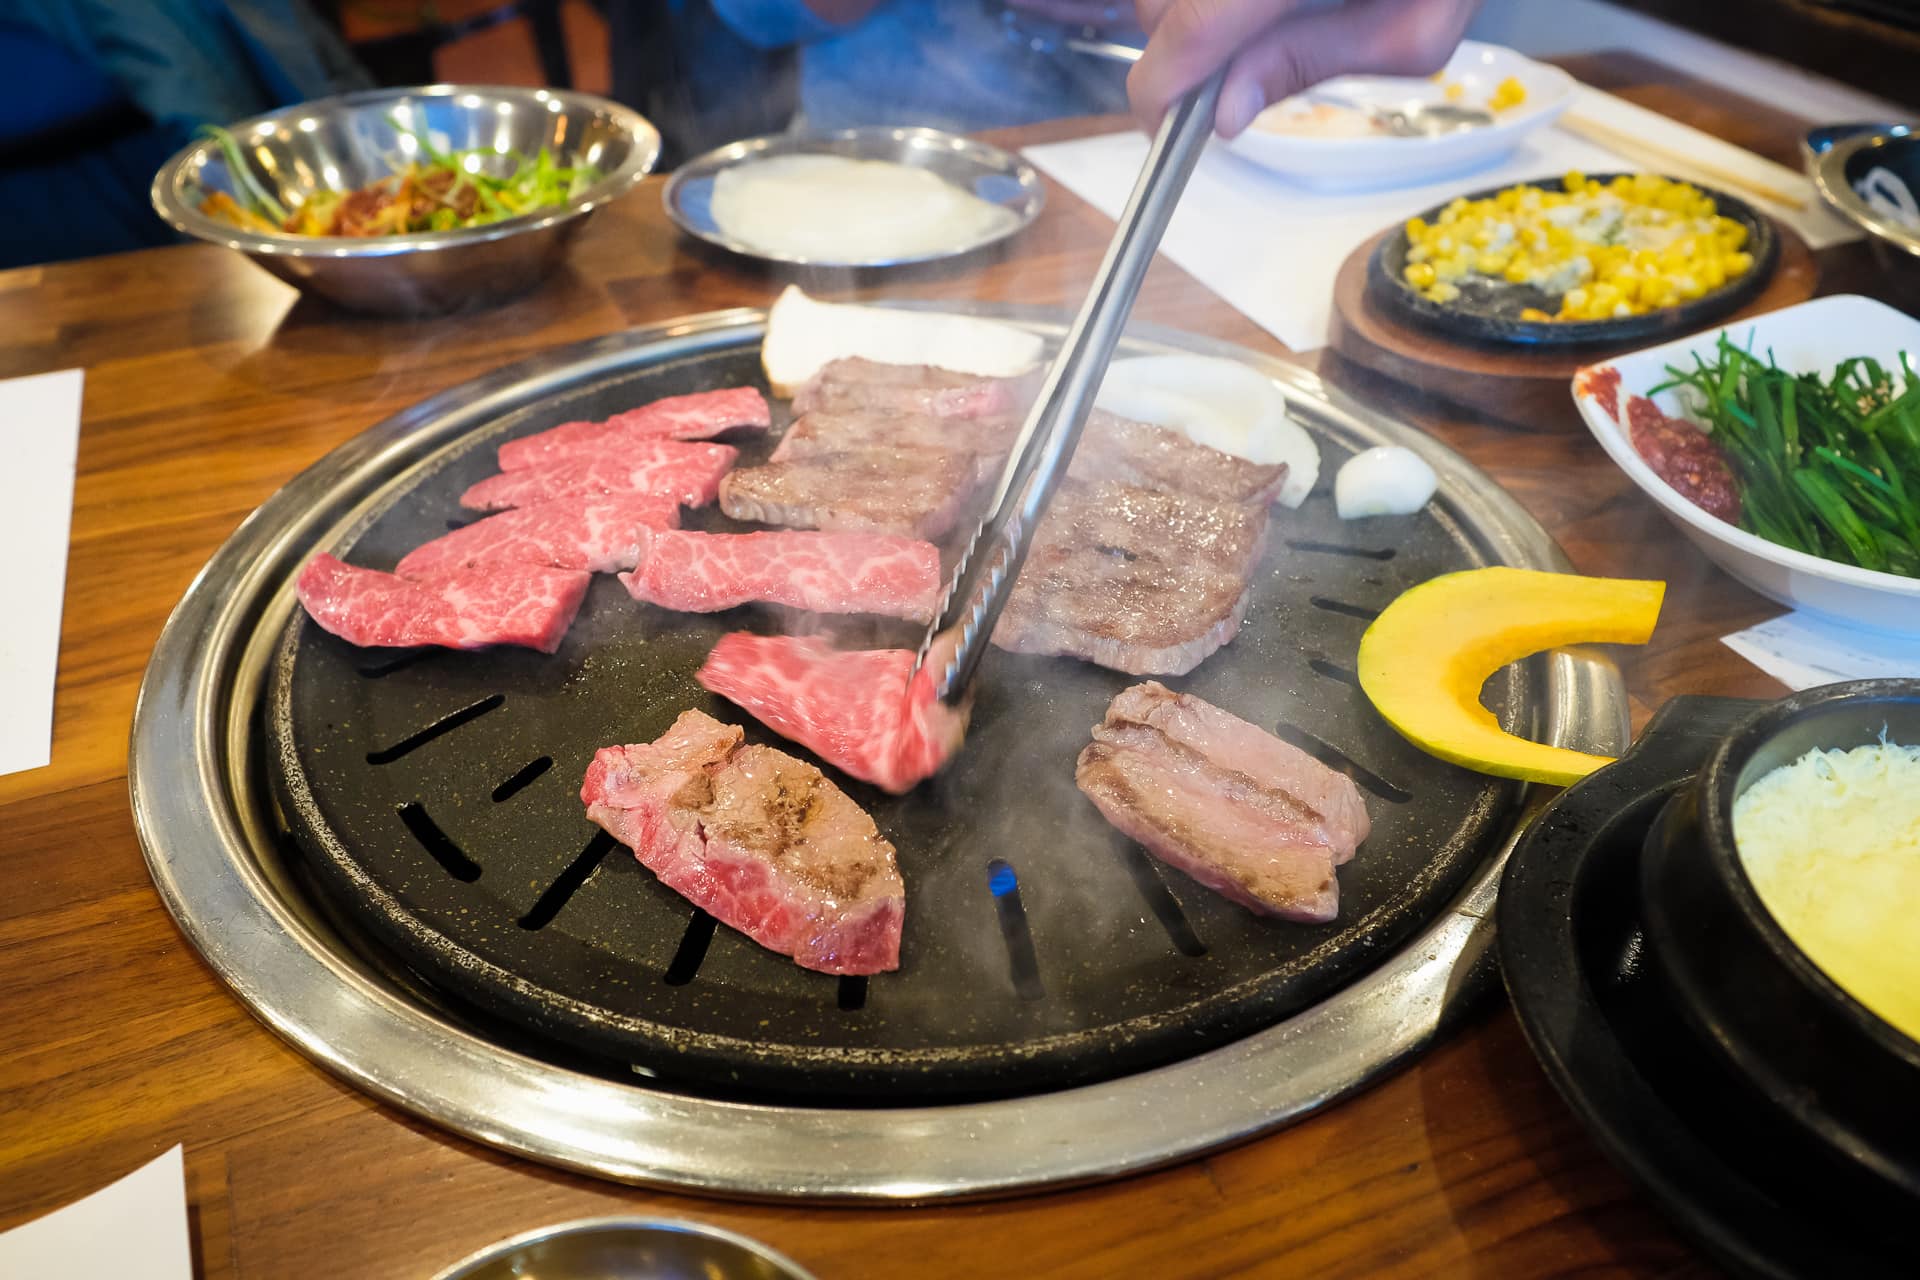
After République, we did some shopping at The Last Bookstore in downtown, then drove back over to Korea Town for some Korean barbecue at Song Hak. The meat was so yummy and tender. The side dishes were also delicious and the soju hit the spot. I definitely recommend Song Hak!
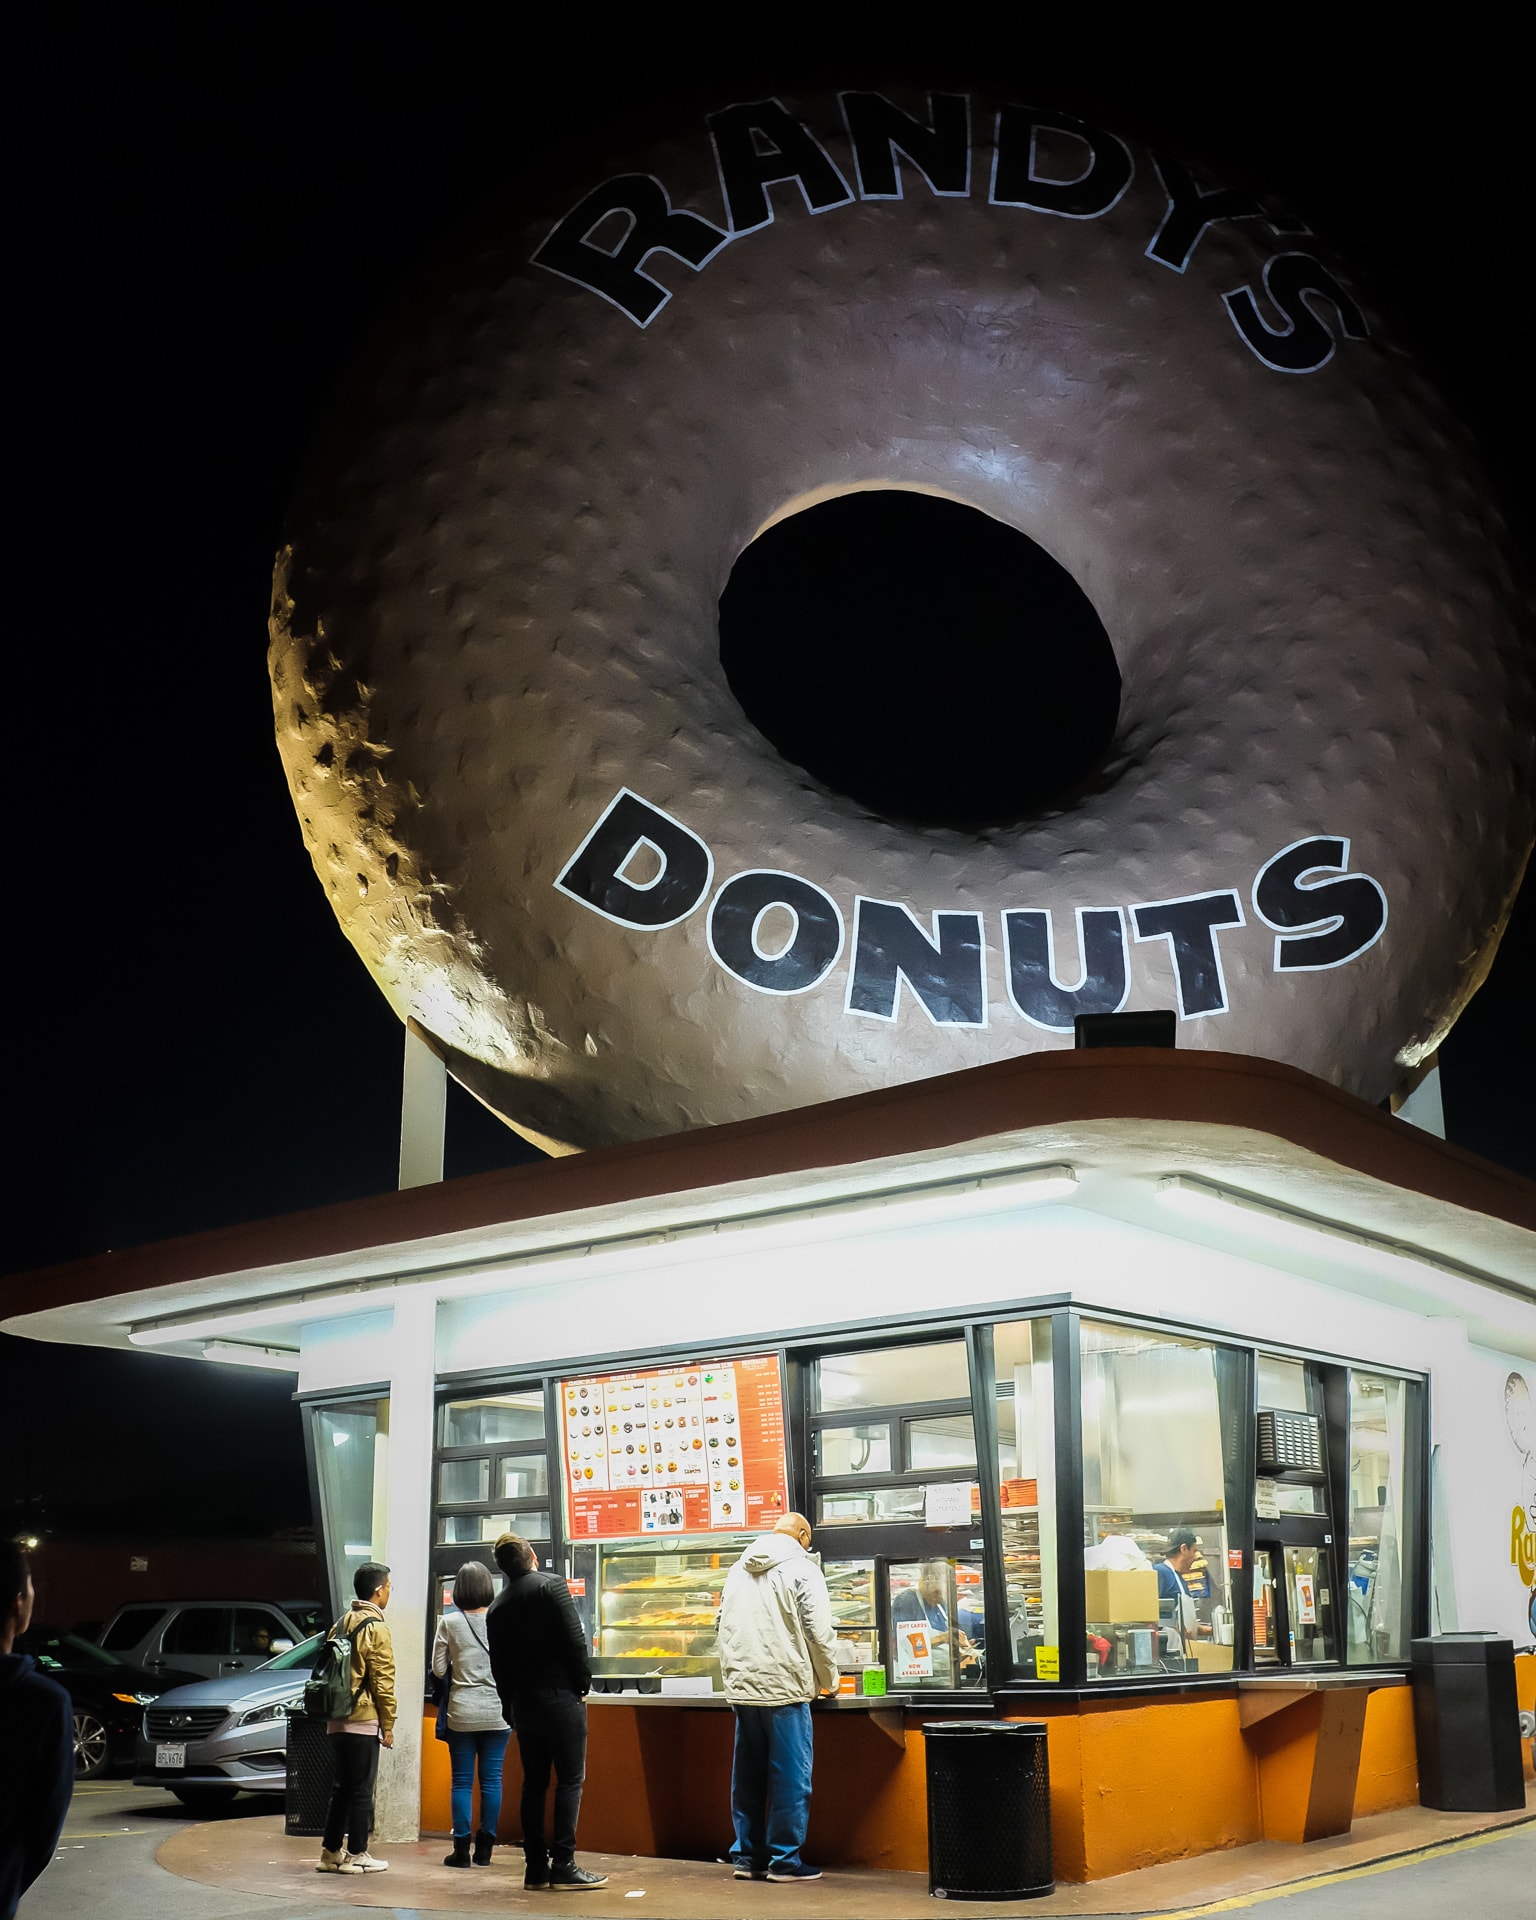
To close out our day in Los Angeles, we stopped by world famous Randy’s Donuts to pick up some dessert. Even though I grew up in SoCal, I had never been to Randy’s, so this was a special treat. Unfortunately, I thought the donuts weren’t very good. Our matcha donuts didn’t taste like matcha at all, and my churro-topped donut was a bit stale. I’m guessing since it was evening, the donuts weren’t as good, but still, it was pretty busy so I would have thought they’d be a bit fresher. I’m happy to finally try Randy’s, though!
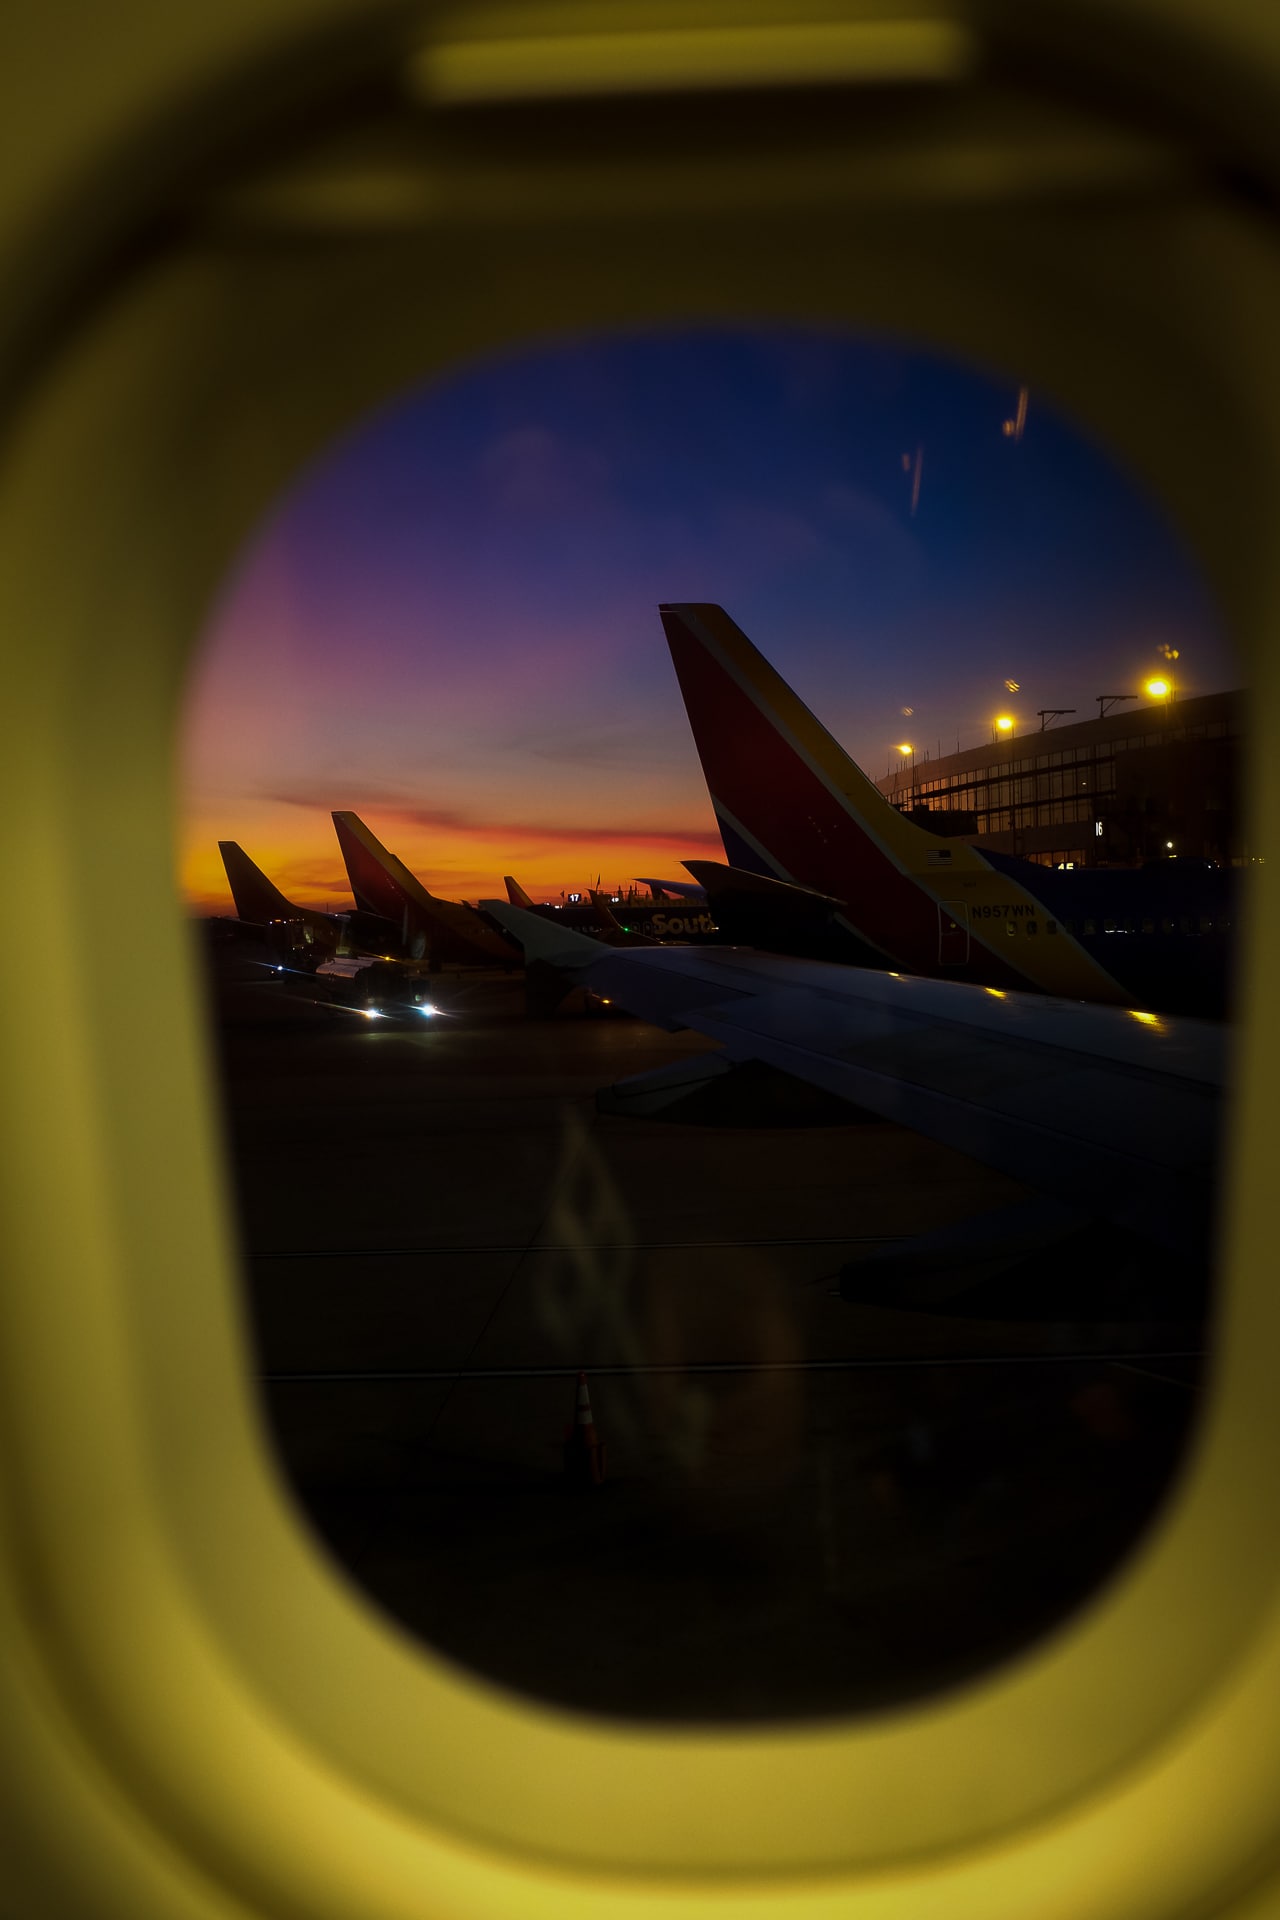
We’re on our way to Southern California for the holidays! Just a few photos for today’s post. It’s time to get some serious reading done on the plane.😊
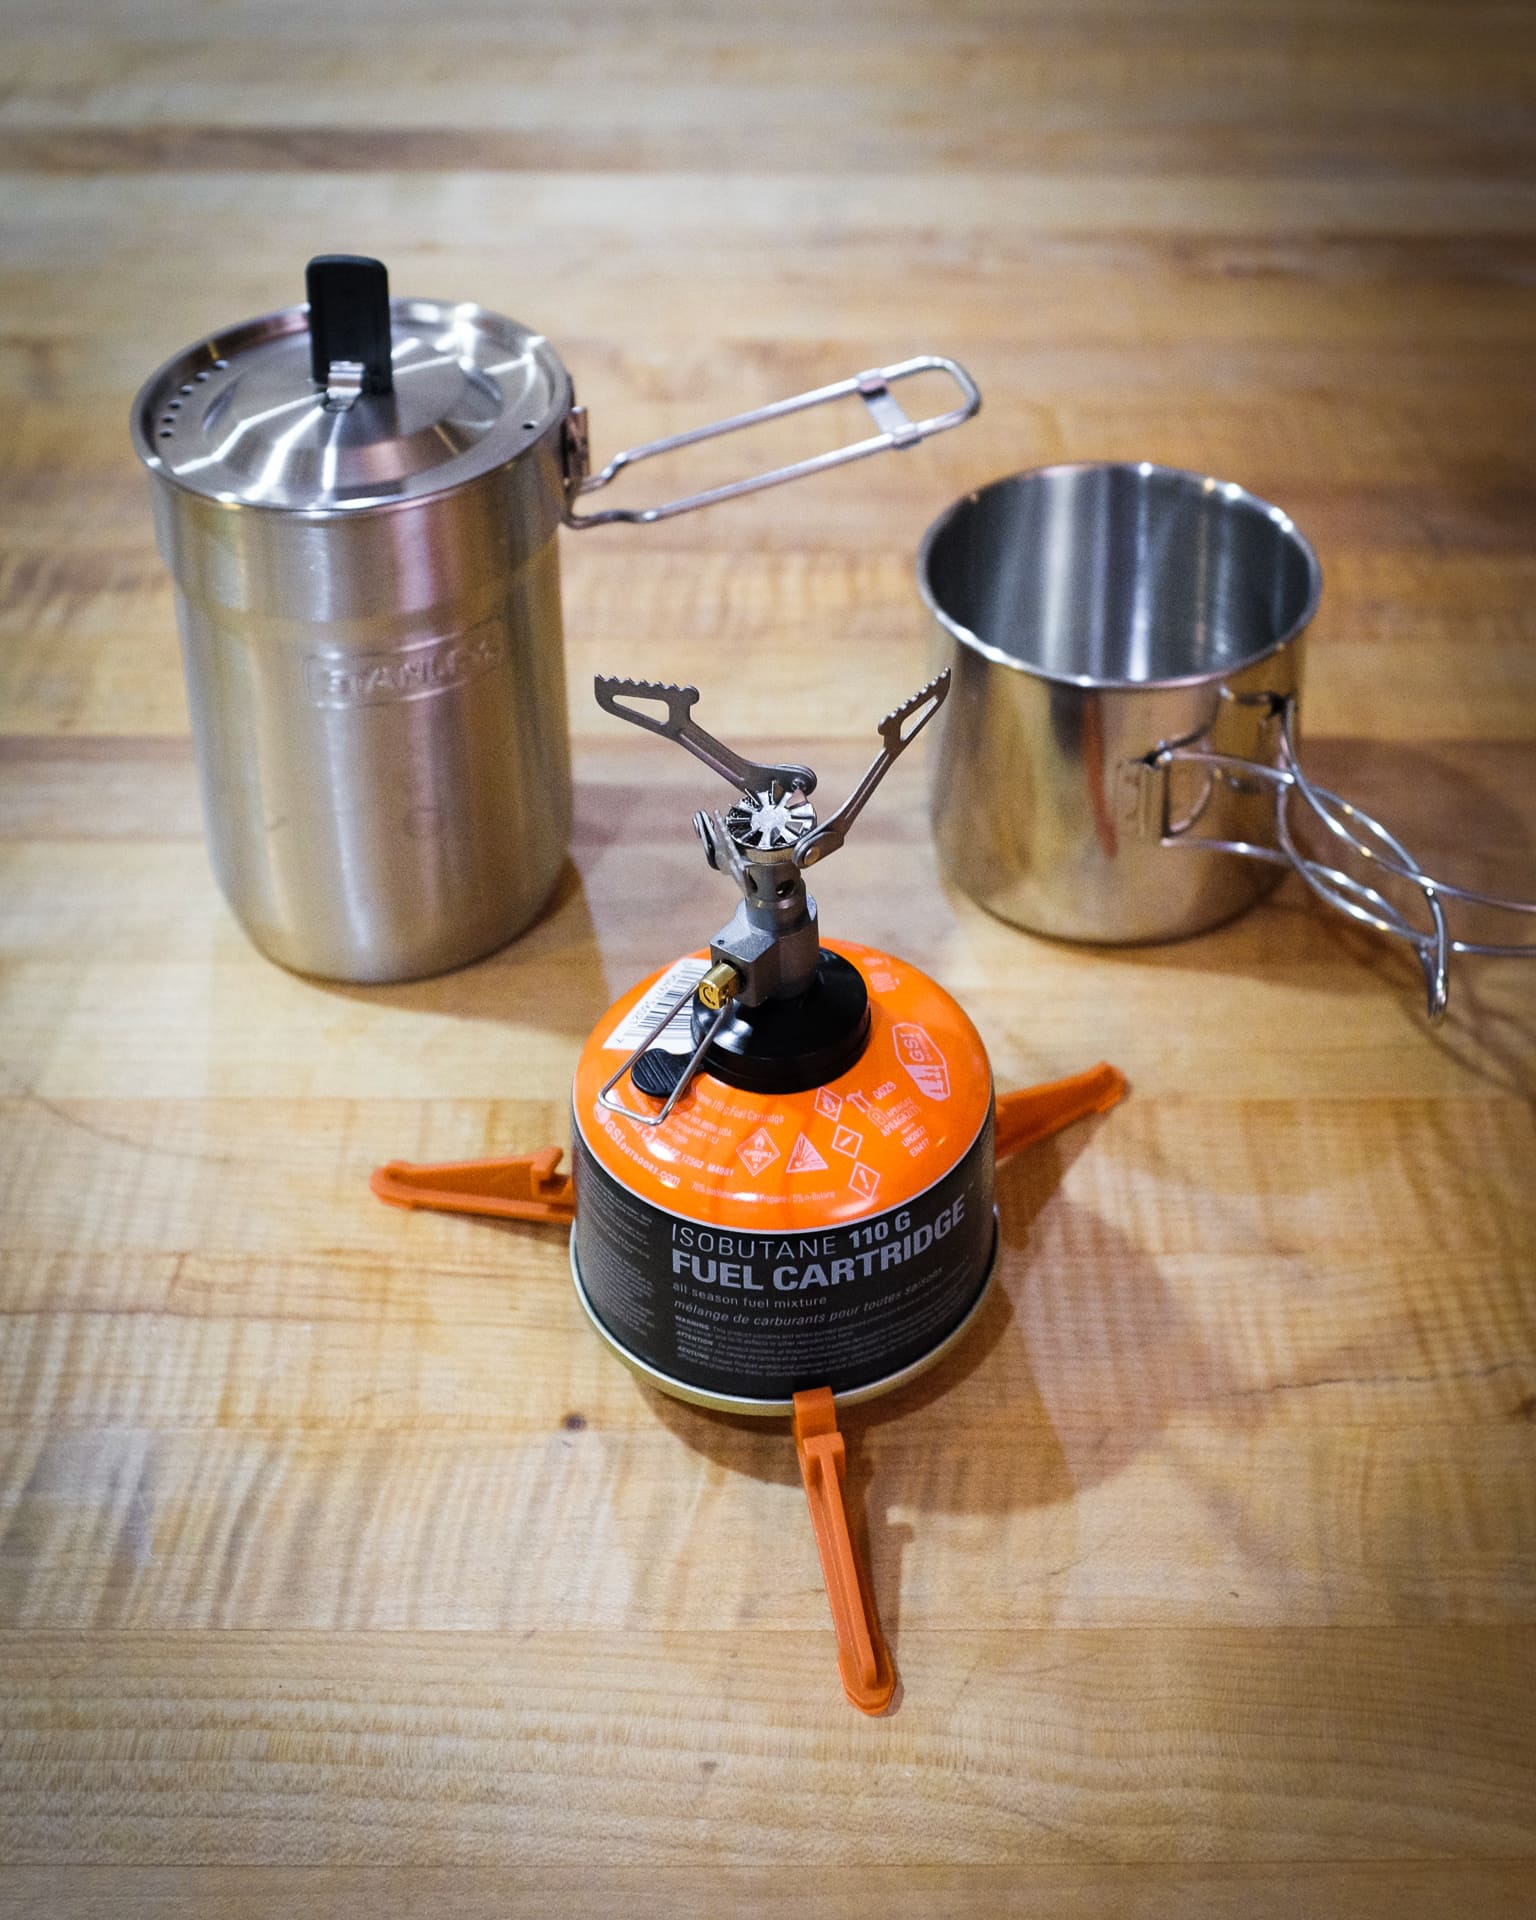
Photo info: FUJIFILM X100T, 23mm, f/3.2, 1/100 sec, ISO2500 “Camping Cook Set” Cedar Park, 2019
After last weekend’s Big Bend trip, I’ve been bitten by the camping gear bug, and have had my eye on some items for the solo camper. After doing a bit of research, I went with some budget items that have good reputations.
First up is Stanley Camp 24oz. Cook Set. It’s a skinny stainless steel pot, with foldable handle and lid. It includes two insulated green mugs that nest inside, but I probably wont be using those since I have another cup solution. But the pot and lid are great, especially because size/shape works well with a couple other camping items.
The standard canister fuel (small size), like the GSI 110 G canister in the photo, slides into the Stanley pot perfectly (even better if it’s upside-down).
Next up is an ultralight and ultracompact stove: the BRS-3000T Ultralight 25g Backpacking Camping Gas Stove. It’s basically a titanium alloy burner that attaches to the top of a fuel canister, and is a favorite of backpackers because of it’s simplicity, weight, and price. It comes with a small green bag, and since the arms of the stove are fold-able, the whole thing can fit in the palm of your hand. This sits easily in the Stanley pot as well.
Next, I purchased a Jetboil Fuel Can Stabilizer to keep the whole cooking unit stable. (You can find it at Academy for $5) It also has fold-able legs and fits easily in the cooking pot.
As I mentioned, it all fits perfectly in the pot, with enough room to also add a small lighter, small sponge, small microfiber towel, etc. But to do this, that meant not being able to use the green mugs. Of course I can just throw those in another bag, but there’s a much more elegant solution: the Ozark Trail 18-Ounce Stainless Steel Cup from Walmart. The beauty of this cup, other than being cheap and durable, is that the Stanley pot fits inside of it. And as an added bonus, the lid from the pot fits perfectly on the cup as well.
There are plenty of YouTube videos about this particular setup that I checked out before purchasing everything, so I’m confident it will work out nicely. It’s definitely a compact and inexpensive cooking system. I can’t wait to try it out on our next camping trip!
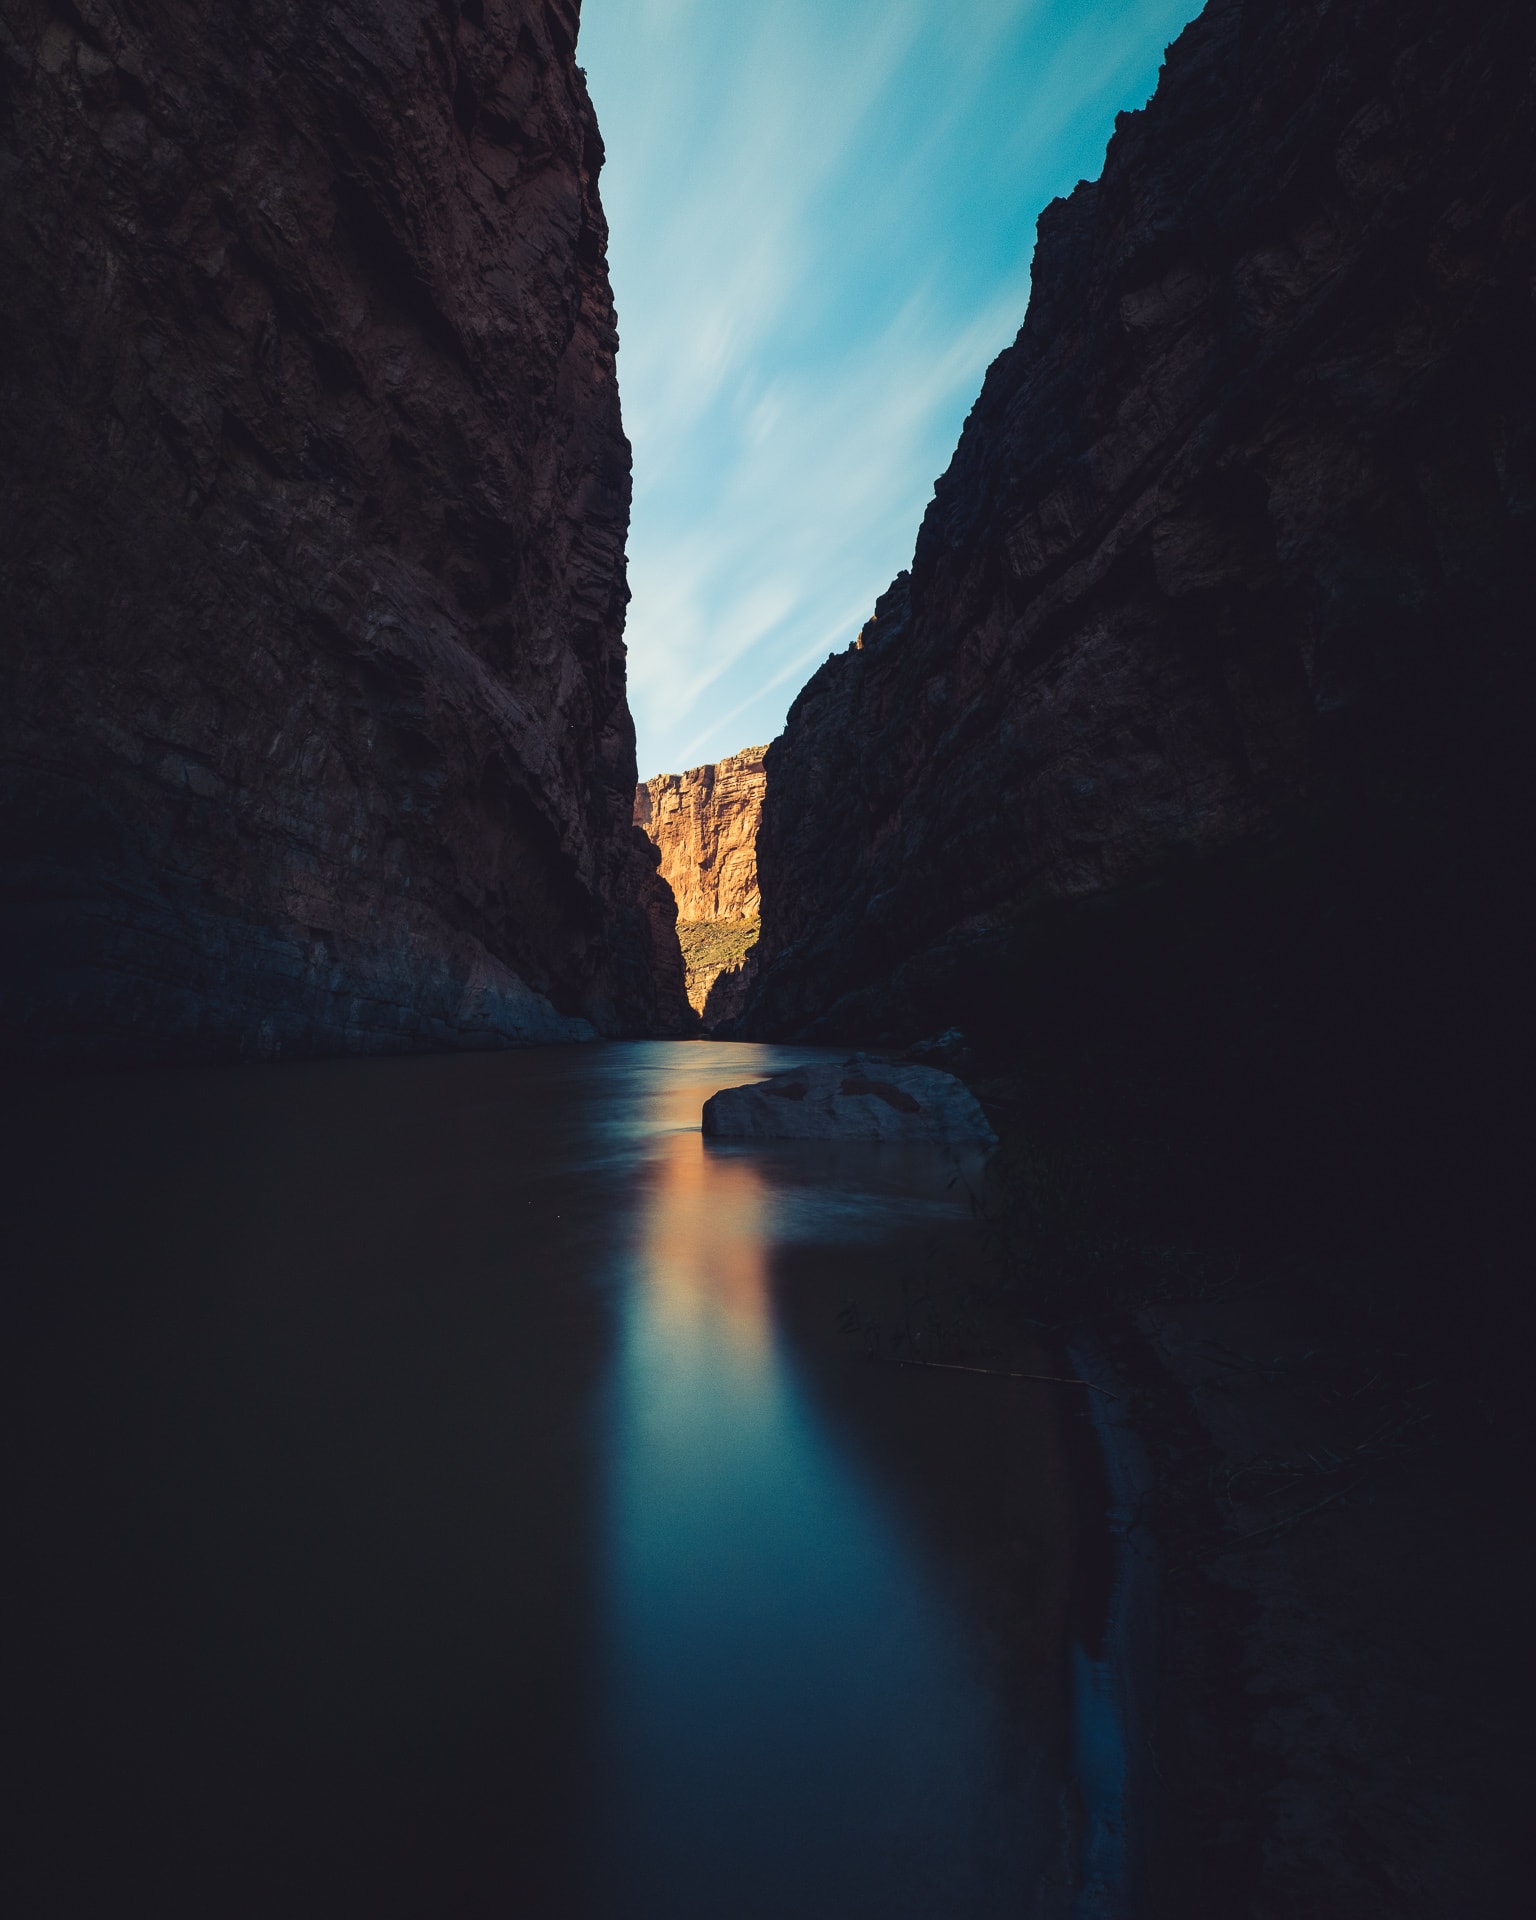
Photo info: FUJIFILM X100T, 19mm, f/16, 30 sec, ISO800 “Santa Elena Canyon” Big Bend, 2019
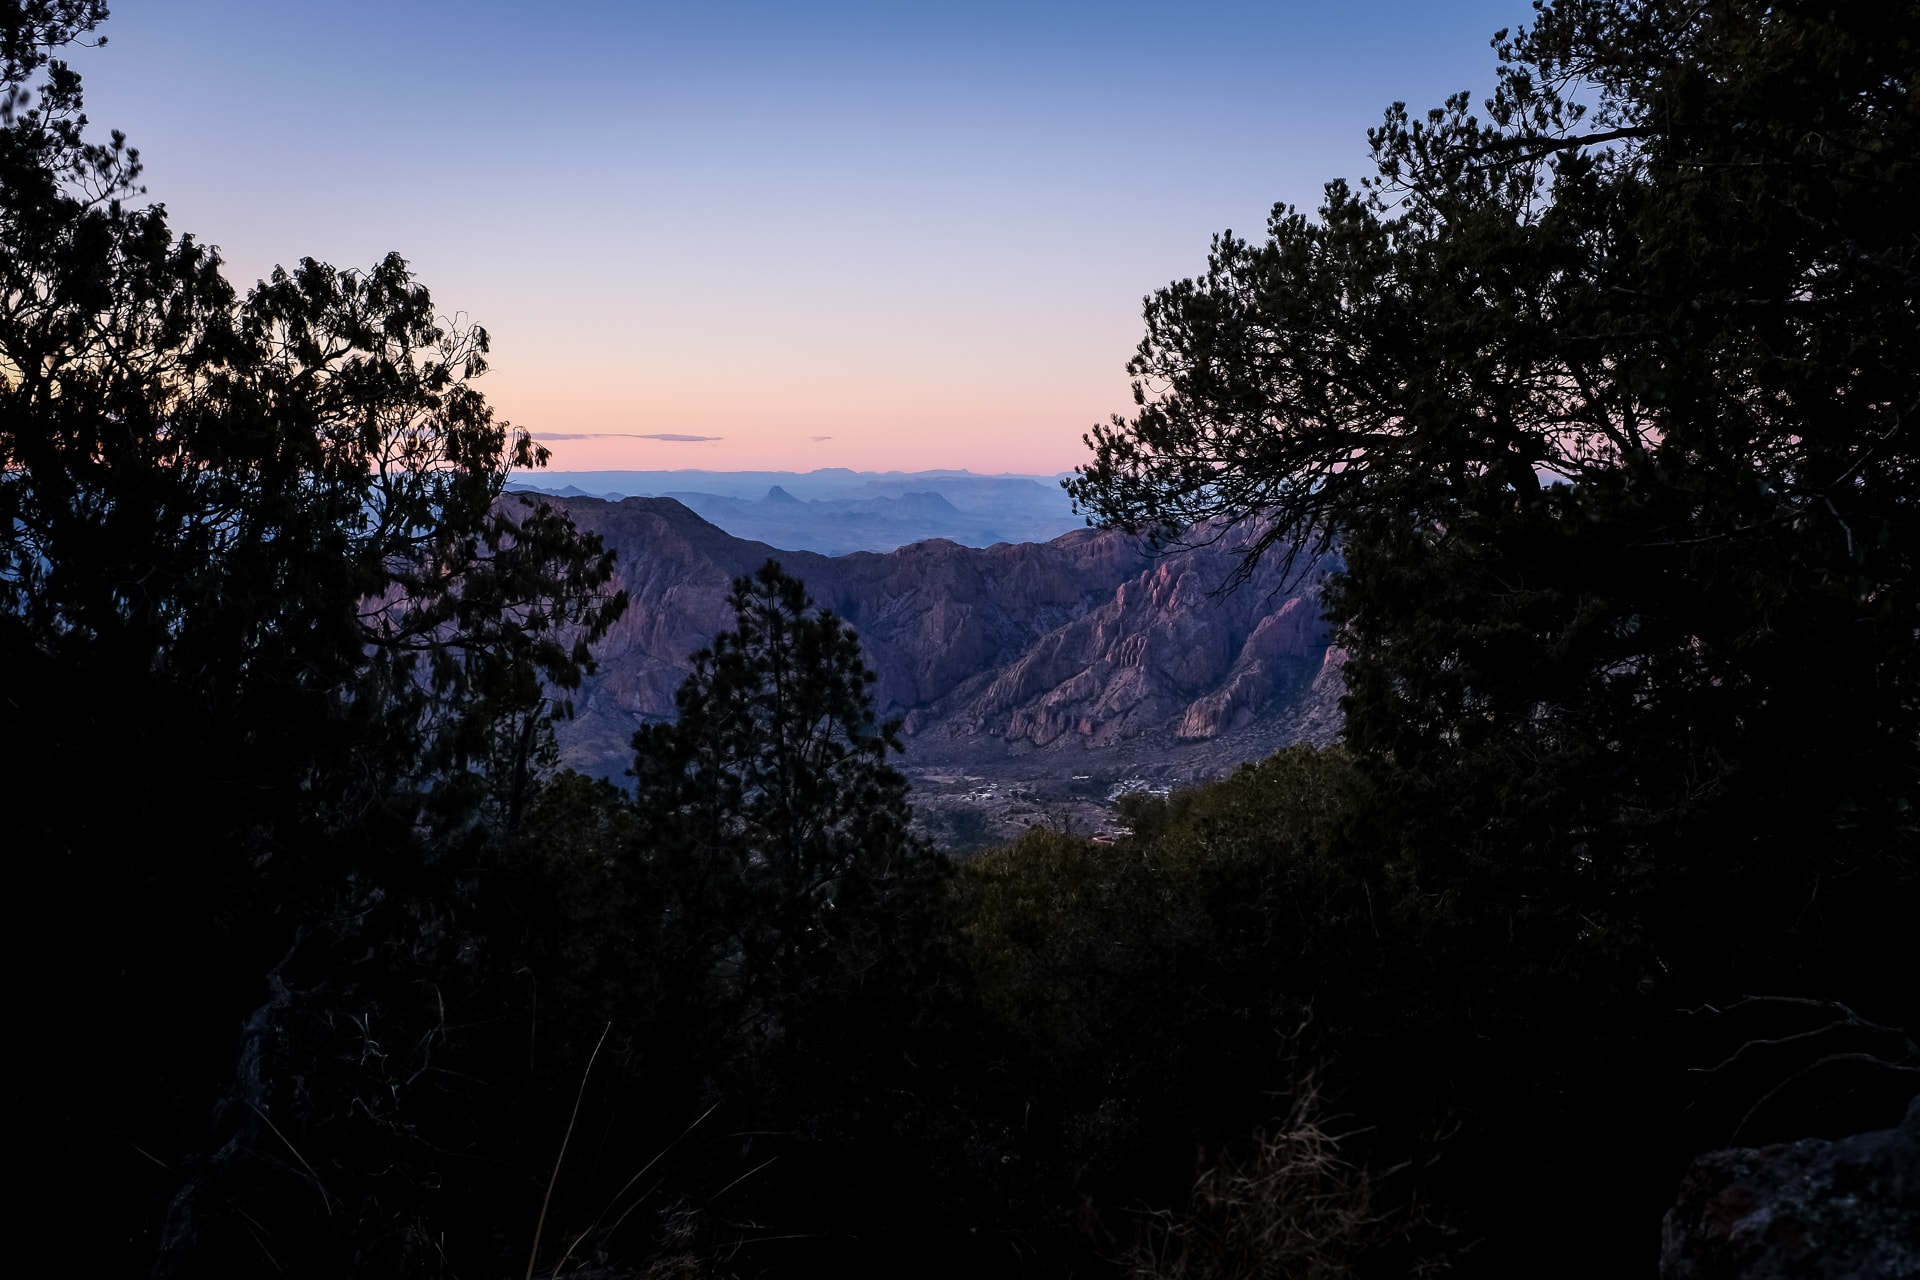
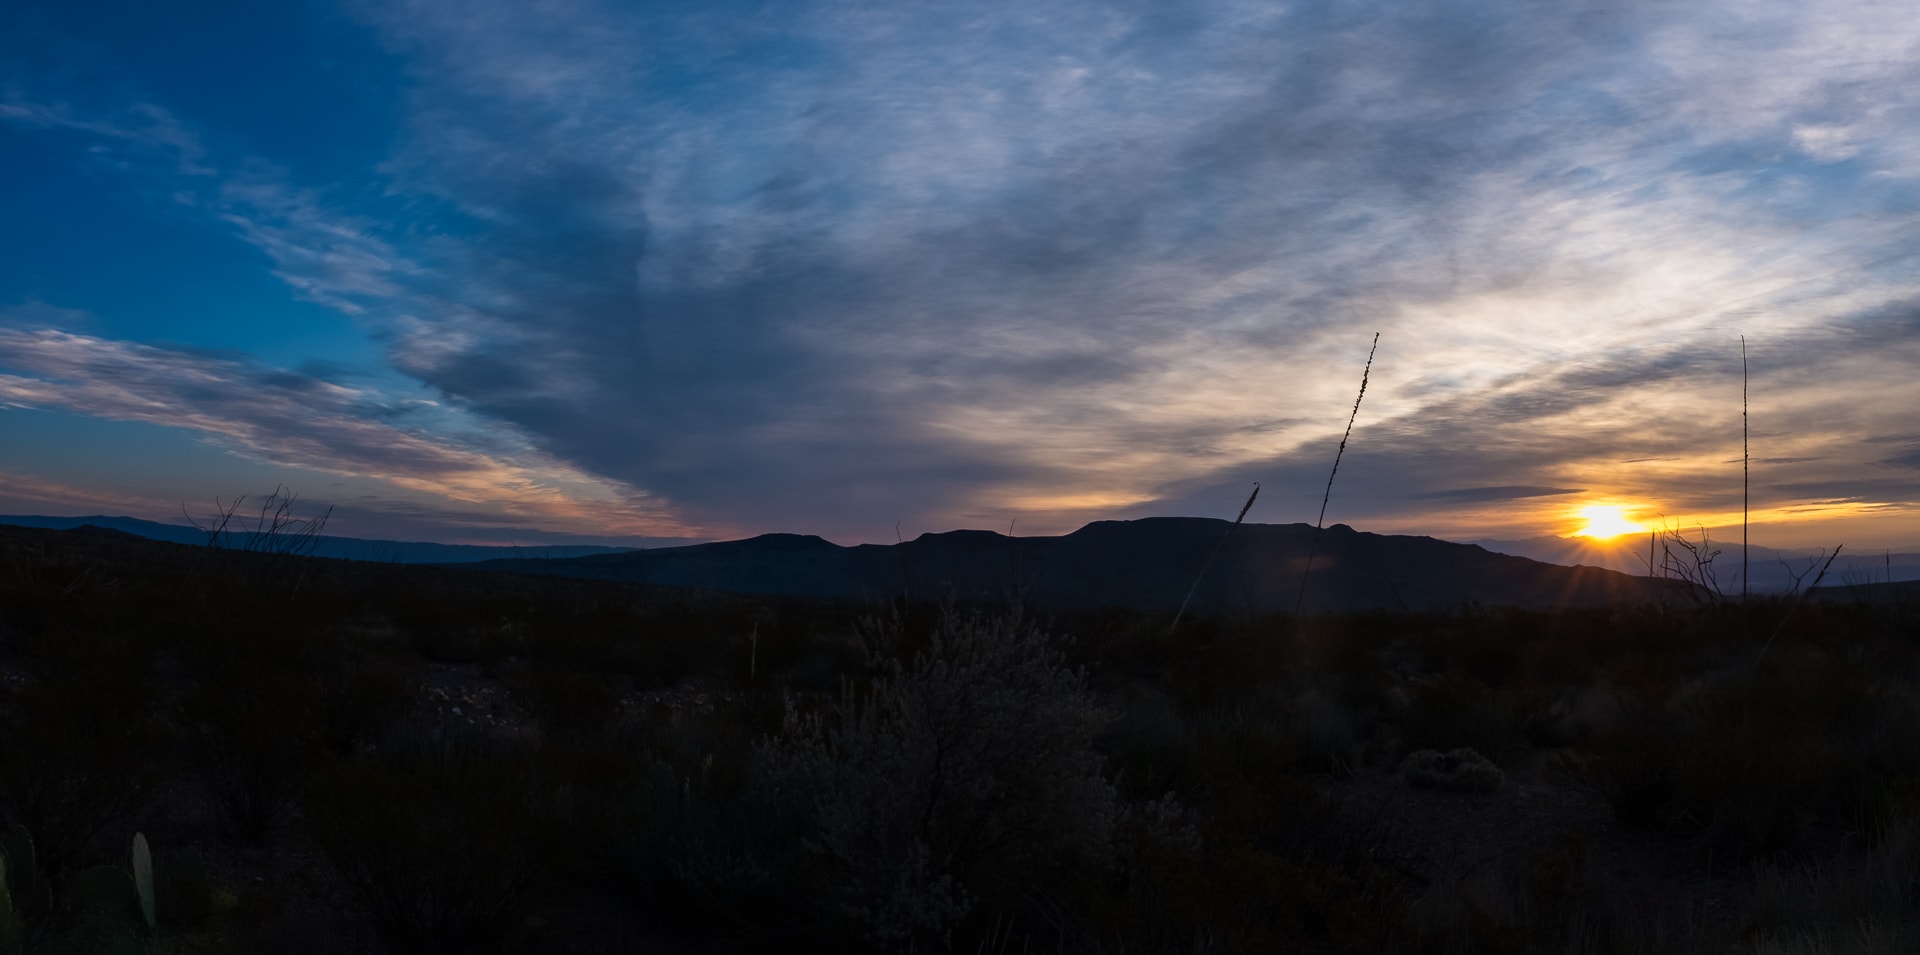
Day 3 of our our camping trip to Big Bend National Park would be our final day here, but it would end with one of the must-see sights of the park. But first, we were treated to a wonderful sunrise:
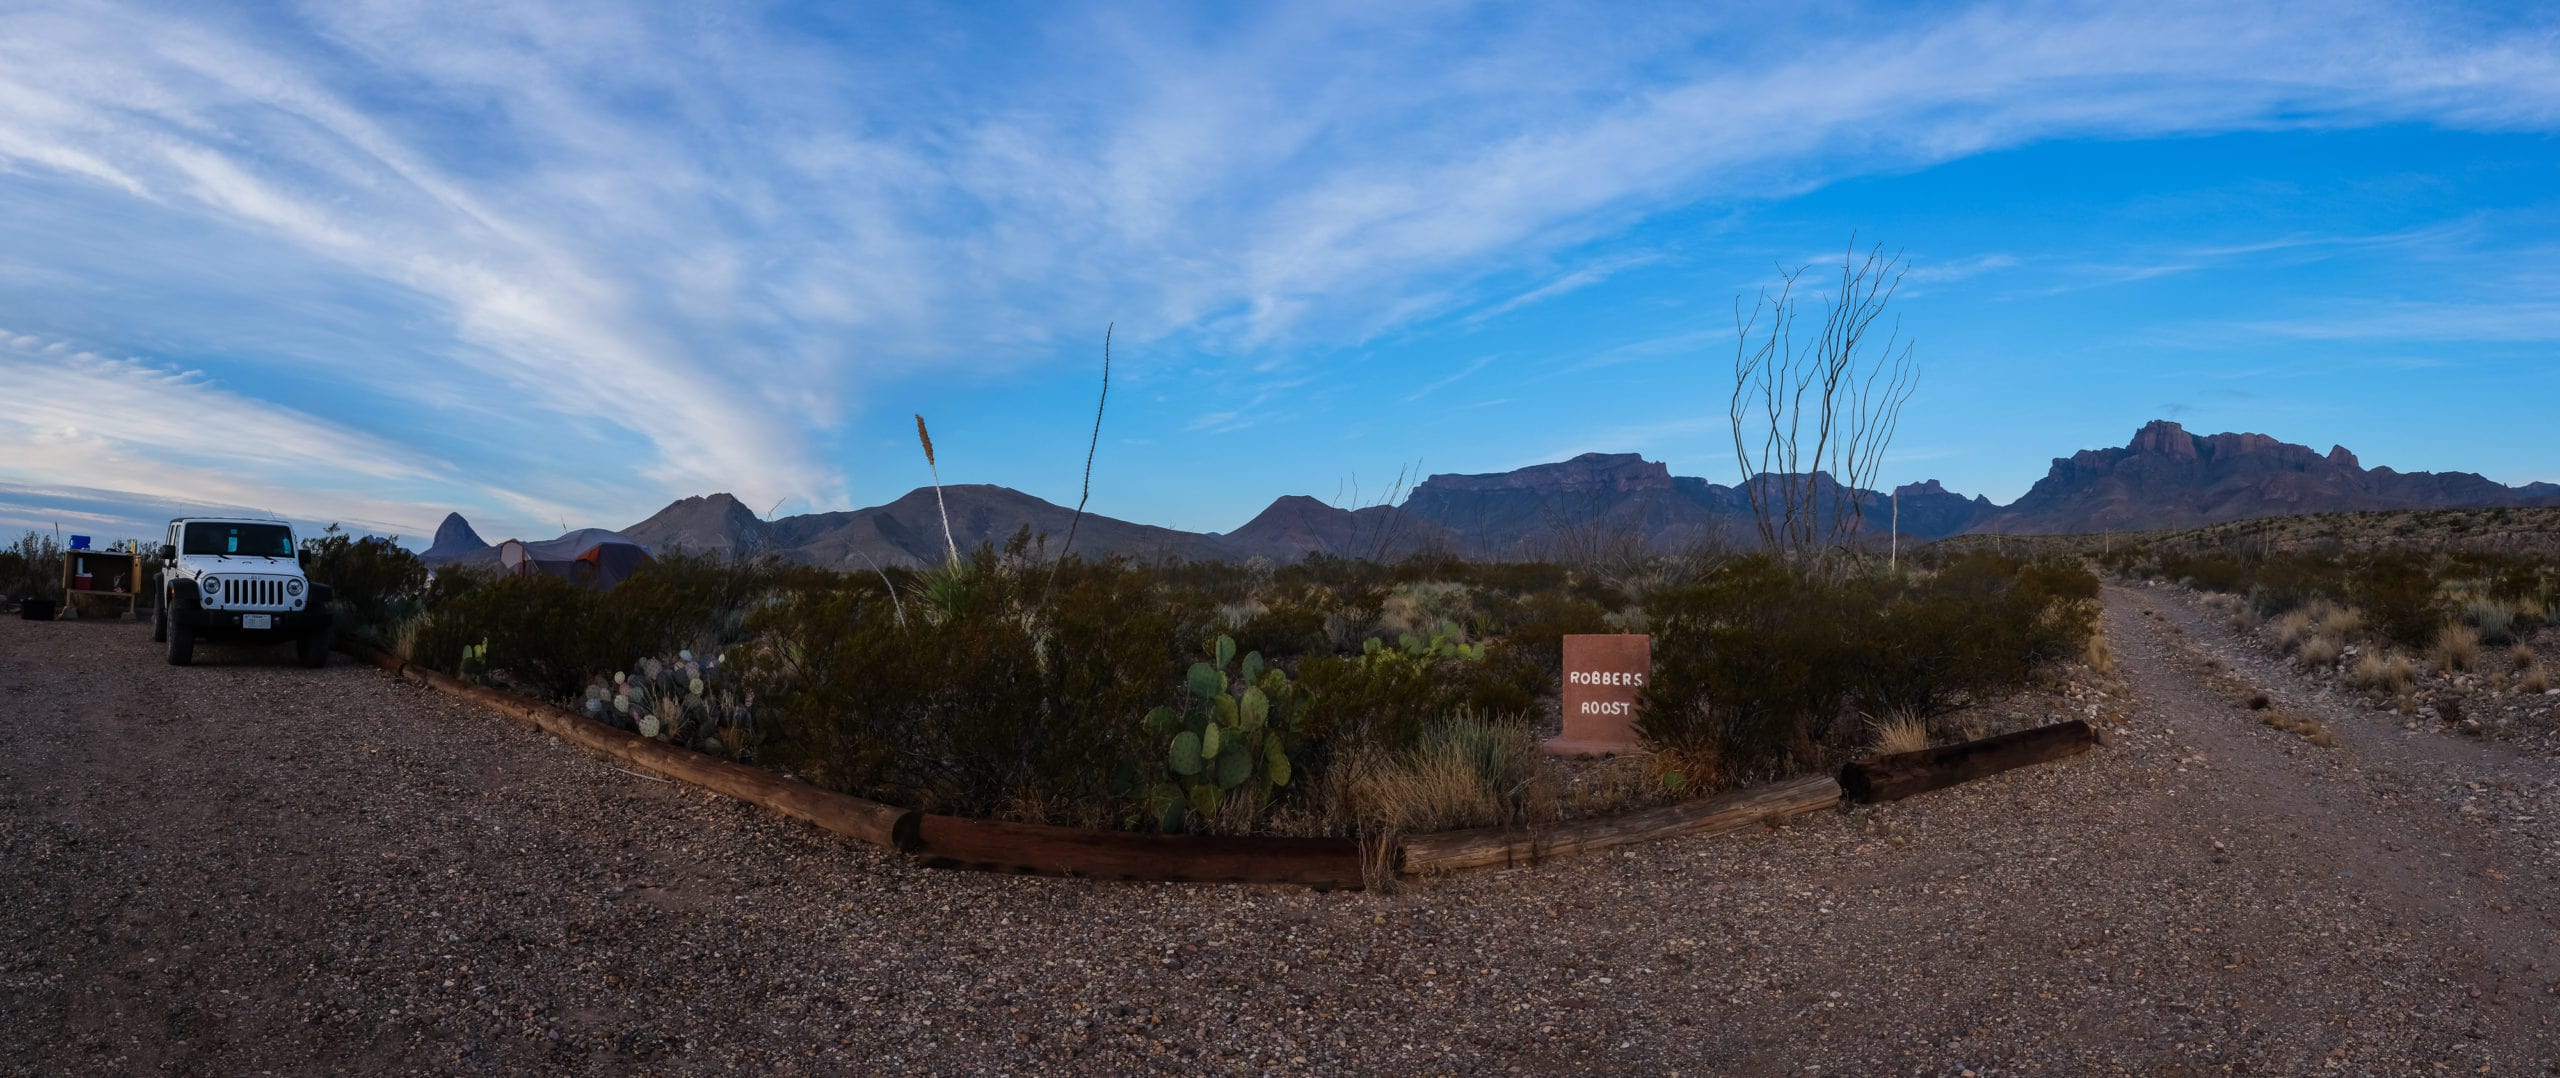
What made it spectacular was that we were able to view it from the remote back-country campsite. I highly recommend staying at one of these campsites at least once while in Big Bend! It’s such a different experience from waking up in the middle of a crowded campground. Our campsite, Robbers Roost, is accessible if you have a high-clearance vehicle, but there are other back-country campsites that are accessible by regular passenger cars. Just check with the visitors center rangers, and you can choose the campsite based on their recommendations (and you are required to pay for the back-country permit).
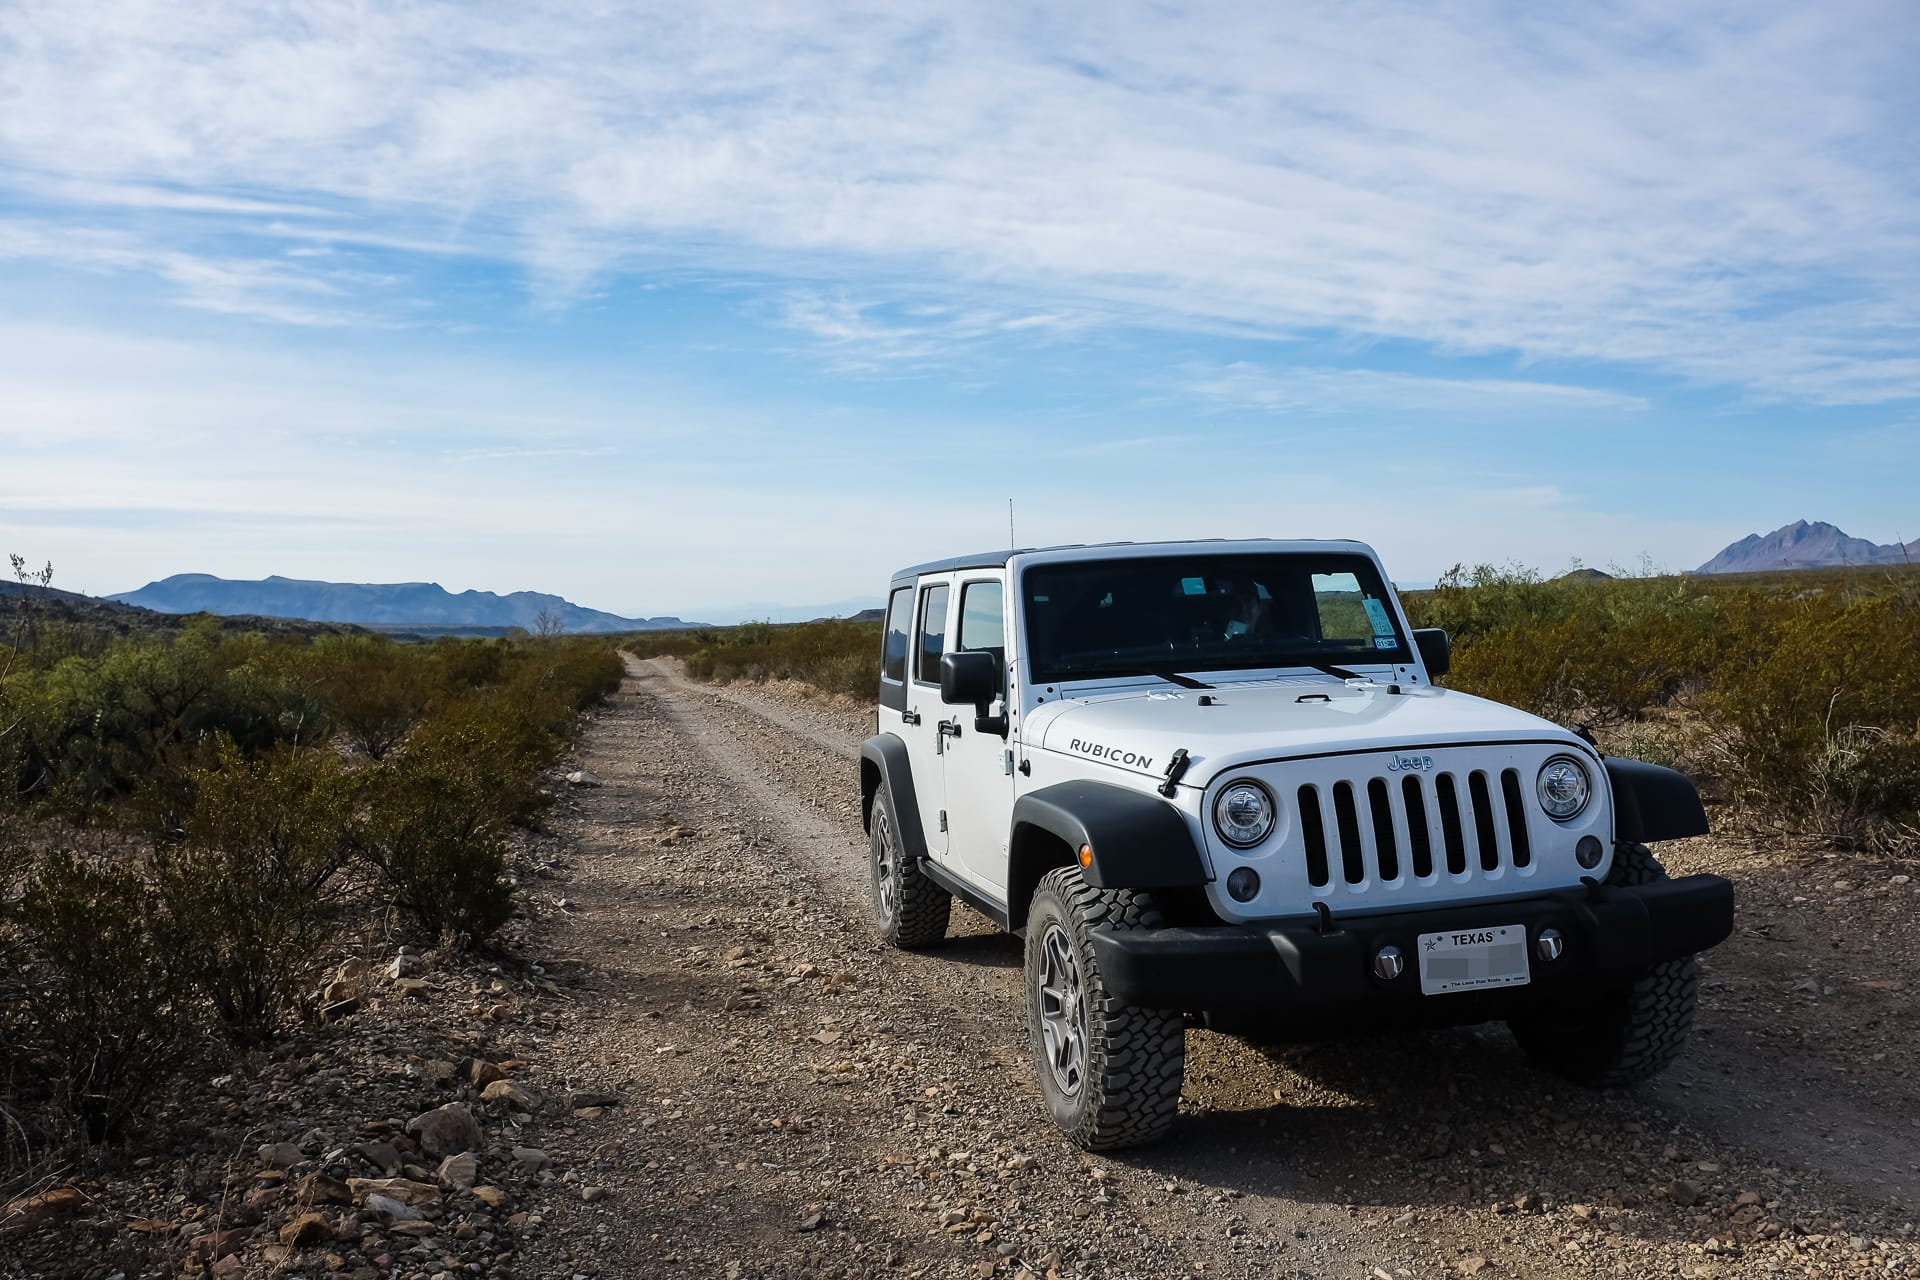
Speaking of high-clearance vehicles, my buddy drove us in his Jeep Rubicon, so we had no worries about traveling to the back-country campsites or trail-heads. It was lots of fun, and the Jeep was certainly in its element!
Photo info: FUJIFILM X100T, 19mm, f/6.4, 1/550 sec, ISO200 “On the Trail” Big Bend, 2019
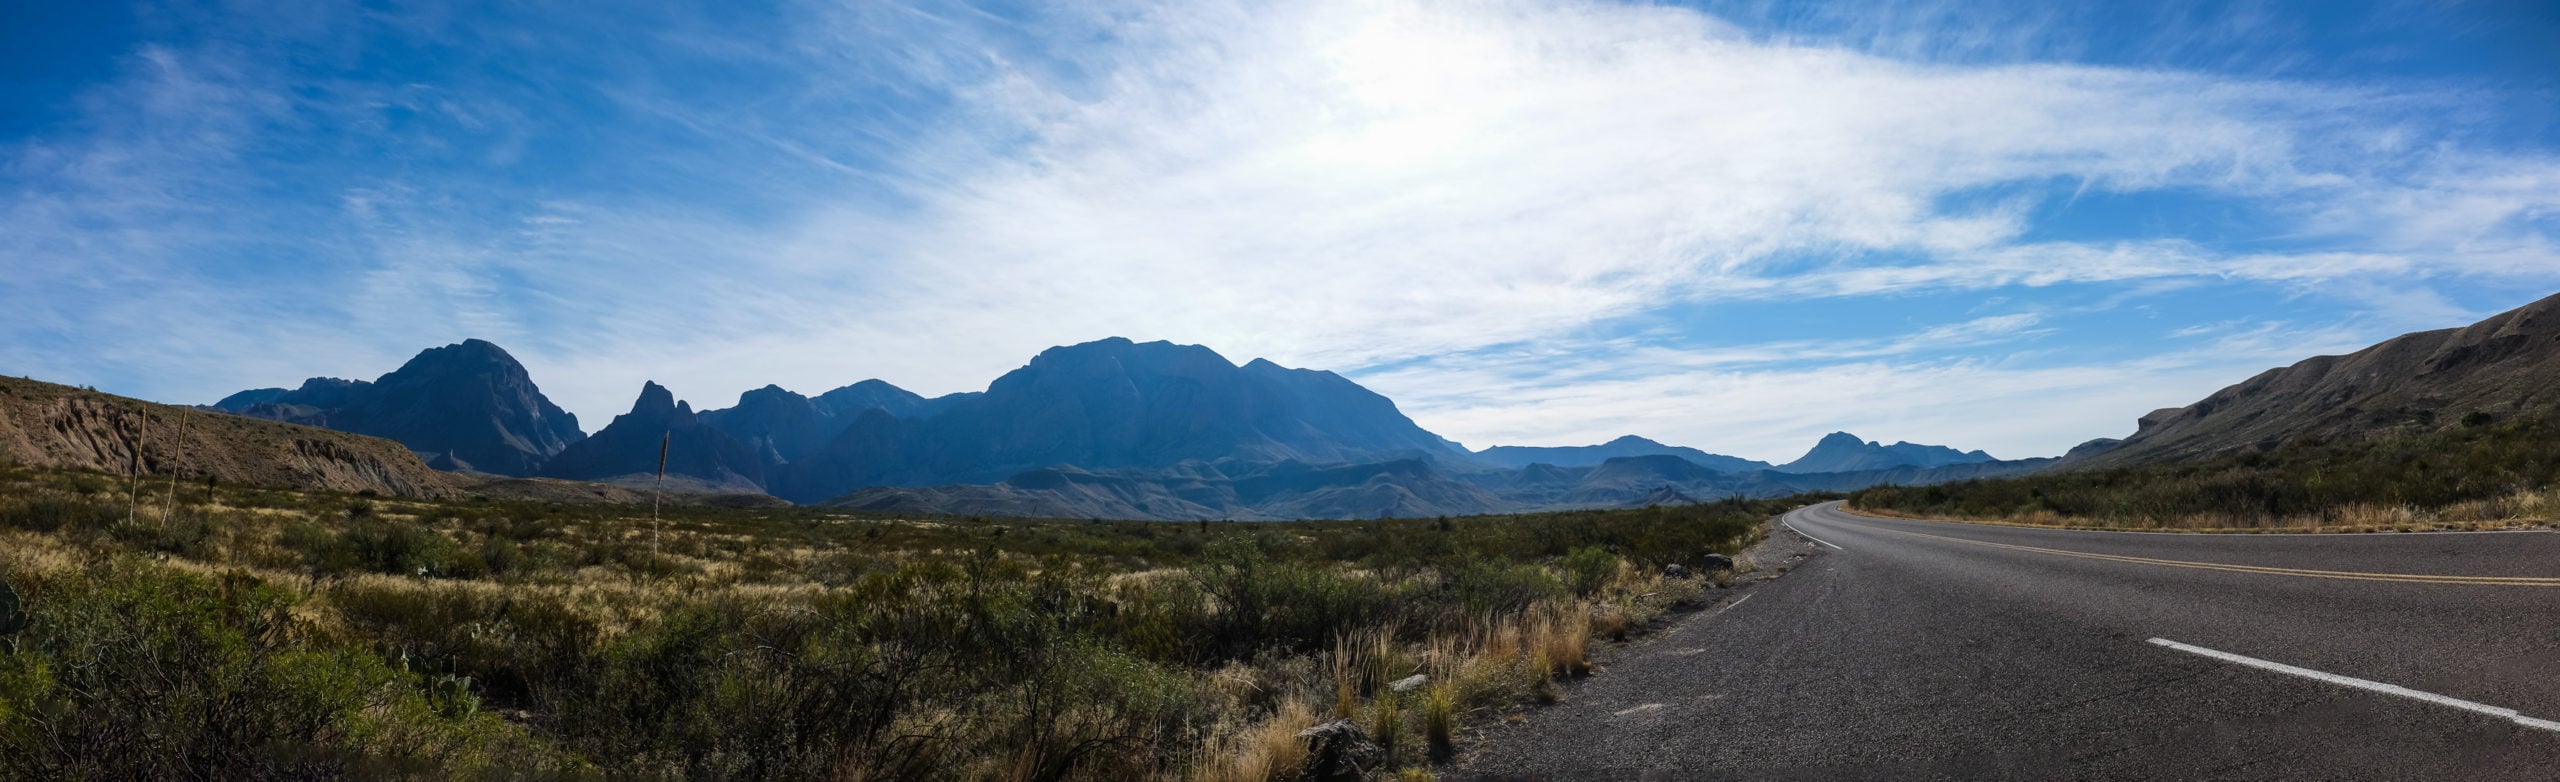
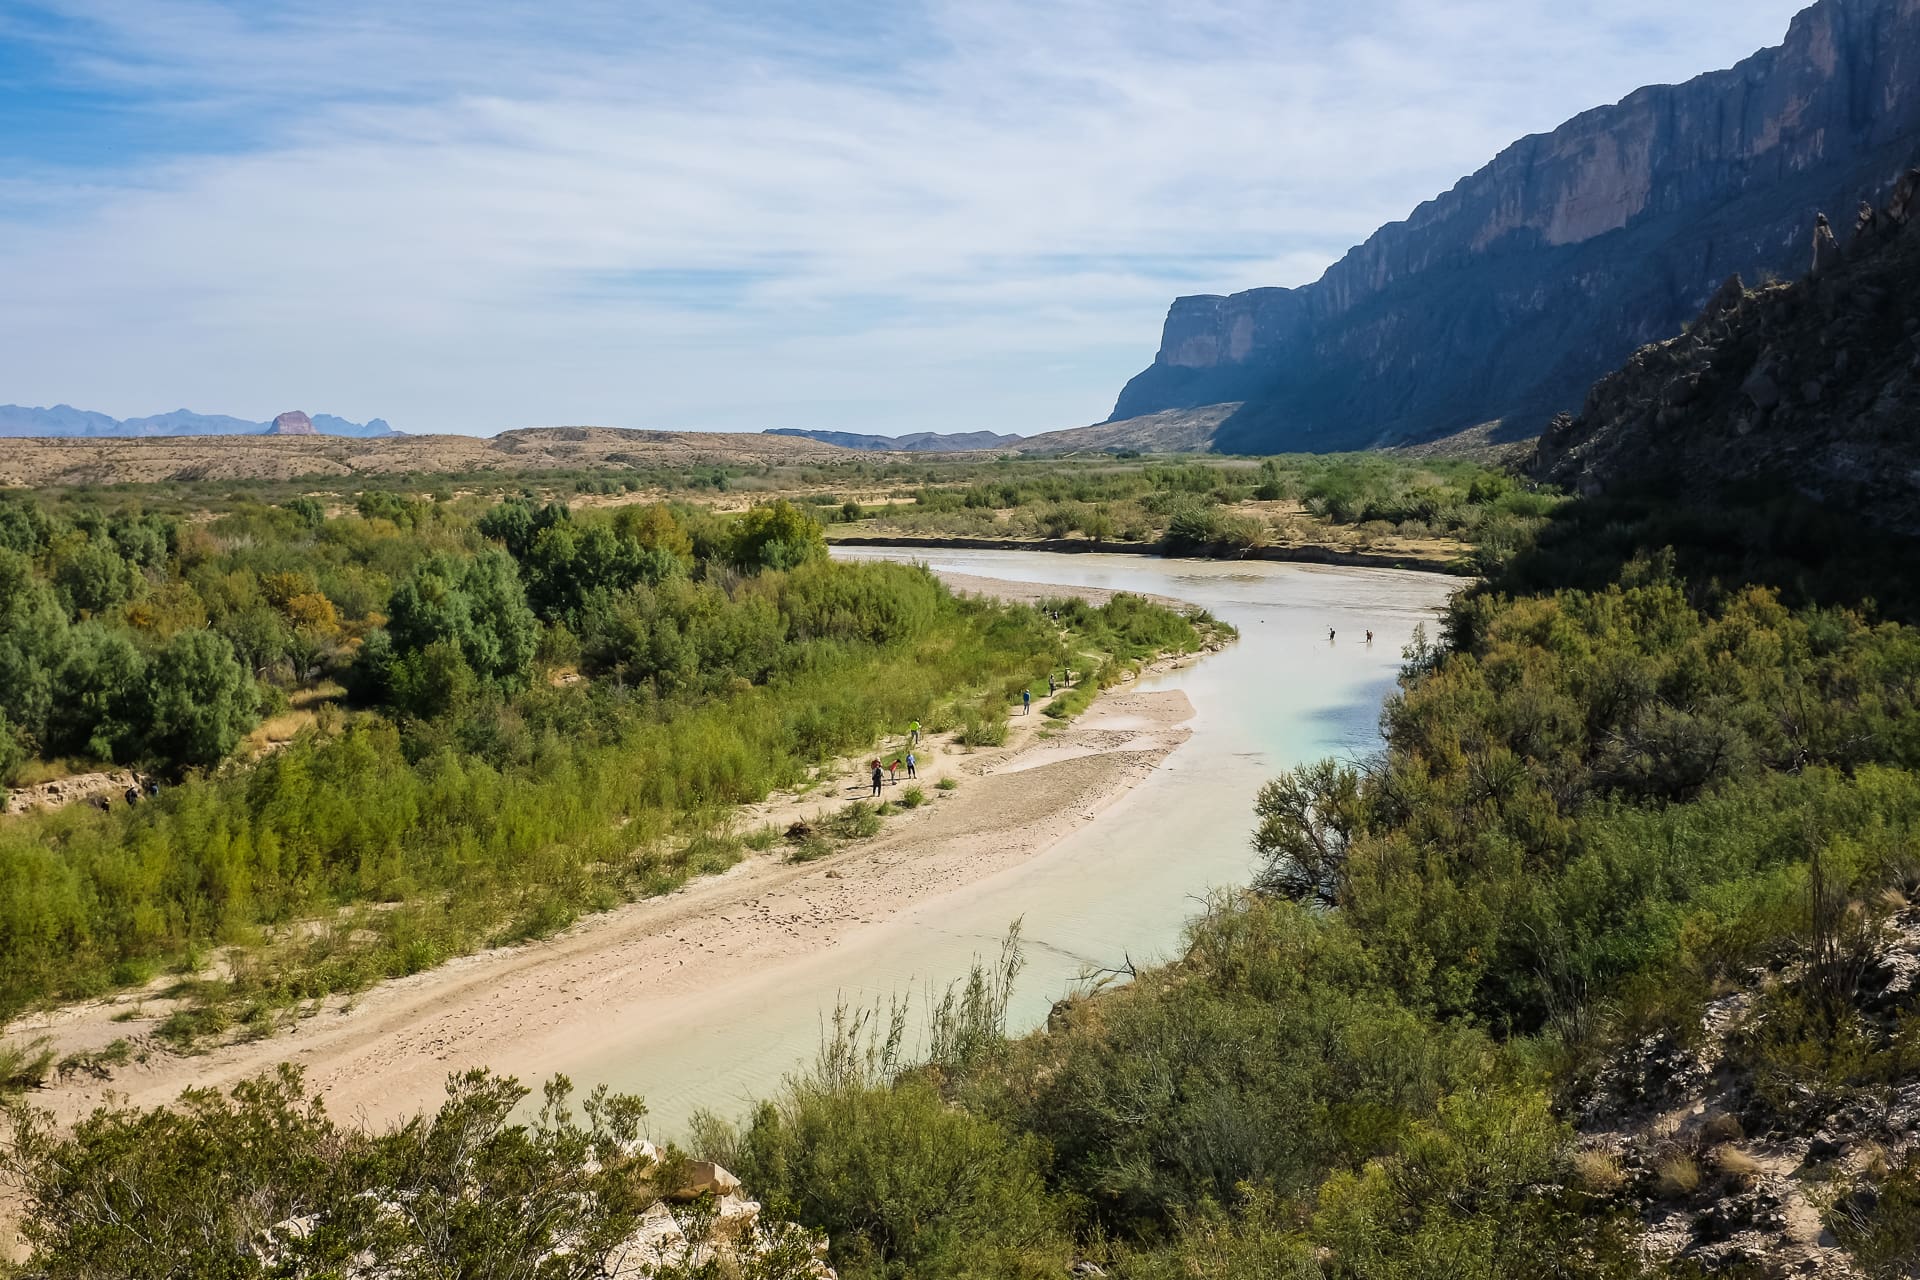
Next on the agenda was our final trail, and one of the must-see highlights of the park: Santa Elena Canyon. But before I write about that, I have to add a bit of important info about Big Bend. The park occupies a huge amount of land in Texas, so getting from one part of the park to the other takes a significant amount of time. For instance, getting from the Panther Junction Visitors Center, which is kind of in the middle of the park, to Santa Elena Canyon takes over an hour according to Google Maps. And of course, you’ll find yourself wanting to pull over several times on the way to take photos of the incredible landscape! So, make sure you build the travel time into your schedule, especially if you don’t want to set up your campsite in the dark.
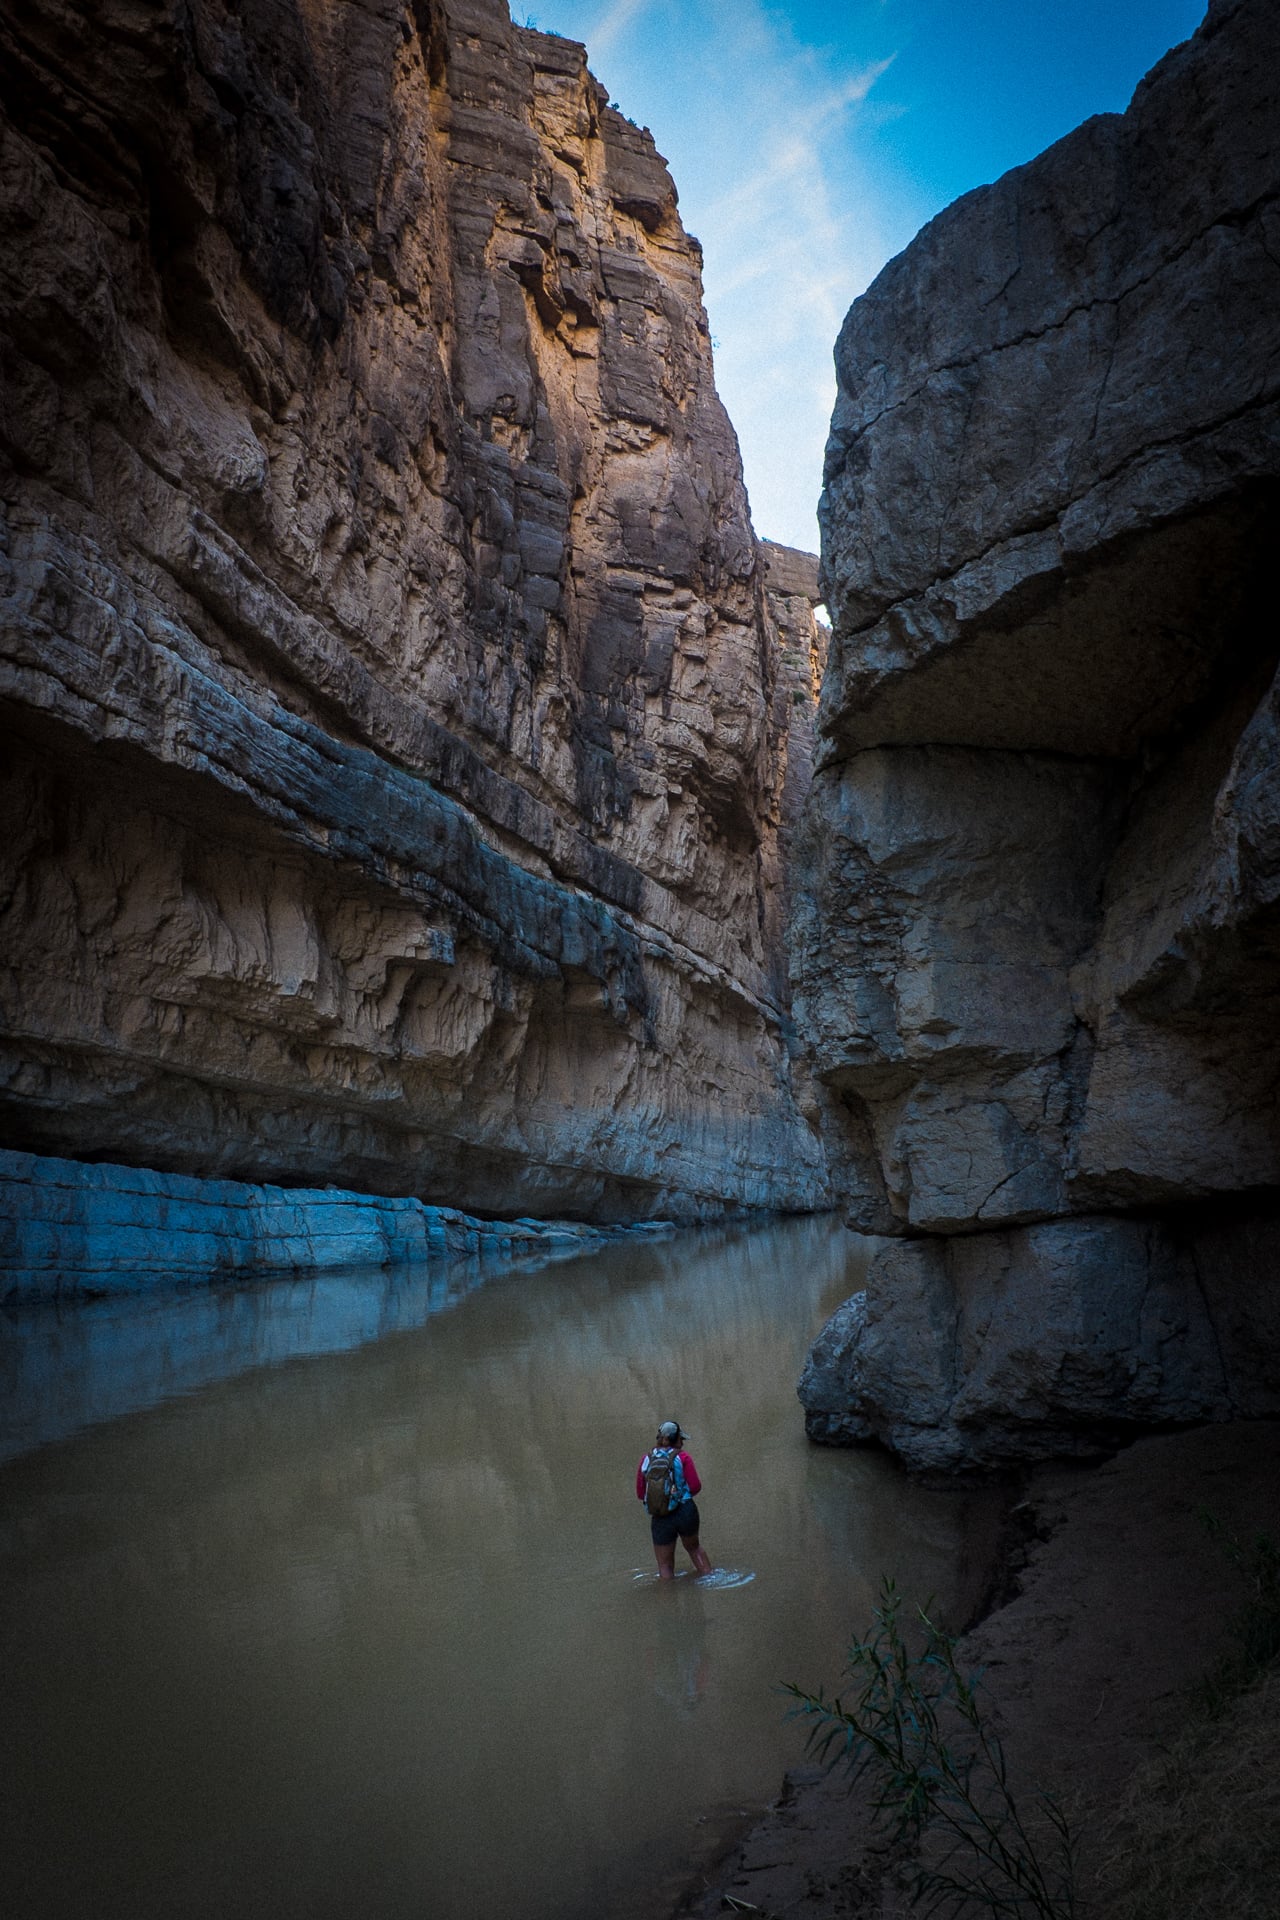
Santa Elena Canyon is an amazing sight and very cool trail, but getting on the main trail can be a bit of a challenge, depending on the flow of Terlingua Creek. I’d say half of the people crossed the creek, which came up higher than knee-level this day, and half walked upstream a bit to find a dry crossing. We did the latter on the way in. This dry route involves a little bit of scrambling up the hill to get to the trail, but is not too difficult. If you want to do the creek crossing, wear some shorts or swimming trunks, and have shoes you don’t mind getting wet. A towel would be good to have as well.
Photo info: FUJIFILM X100T, 19mm, f/16, 1/550 sec, ISO200 “Santa Elena Canyon” Big Bend, 2019
But the extra effort of getting across the river will be rewarded by a hike inside the majestic canyon, and some wonderful photos. It’s actually kind of difficult to capture the scale of the canyon because the walls go up so high, but it was fun to try. On this trip, I brought along my Moman tripod and ND-1000 filter so I could blur the water a bit. In the photo at the beginning of this post, I used and exposure of 30 seconds to blur the water. The ND filter and the WCL-X100 wide adapter for my Fujifilm X100T camera made for a nice combination. Still, I had to take four photos and stitch them together to create the final image since I couldn’t capture what I wanted in just a single frame.
That image was taken at a little outcropping not quite at the end of the trail. I think it’s a better view that the one at the end, but I did take a photo at the end. I think the hiker in the photo makes the image work… if she wasn’t there, I probably wouldn’t have posted the photo. But you can get a sense of scale when there’s a person in the image, so I like the photo:
Photo info: FUJIFILM X100T, 19mm, f/10, 1/30 sec, ISO200 “Santa Elena Canyon” Big Bend, 2019
On the way back, my two buddies decided to cross the river. I didn’t want to risk dumping my camera in the water (and I didn’t want to get wet) so I took the dry route back. However, that worked out nicely because I was able to take a photo of them crossing:
After a little break and cleanup at the Jeep, it was time to head home. This trip to Big Bend National Park was pretty epic, with fun camping, lots of hiking, a visit to Mexico, and an endless supply of photo opportunities. And to spend time with friends is priceless. I’m looking forward to our next camping trip! 😊🏕️📷🌌🚙🌇